Brother MFC J6910DW User Manual
Start here, Quick setup guide, Mfc-j6910dw
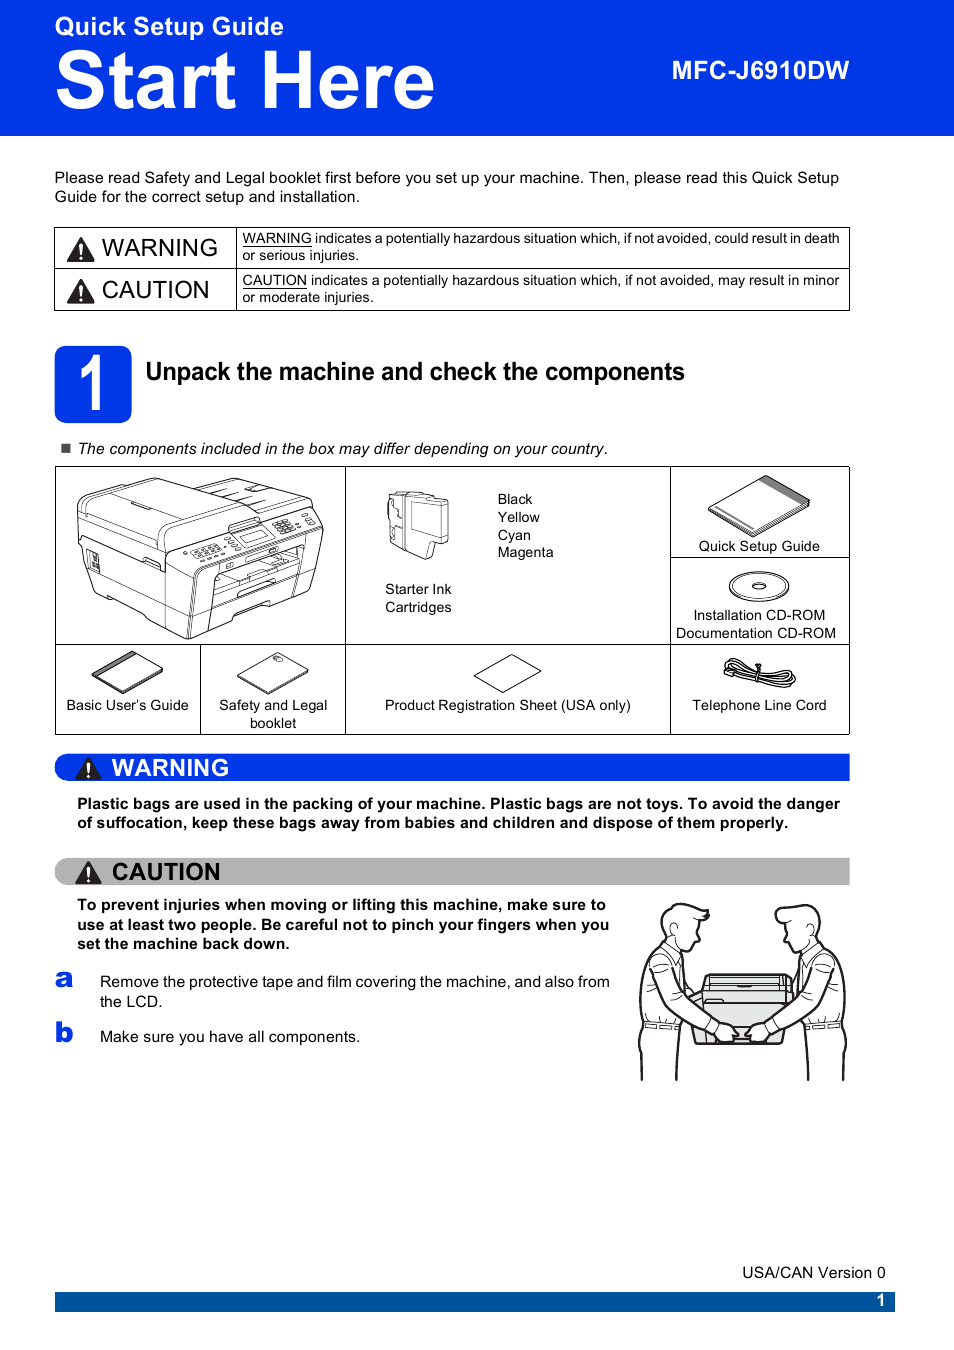
Table of contents
Document Outline
- Quick Setup Guide MFC-J6910DW
- Start Here
- 1 Unpack the machine and check the components
- 2 Load plain Letter/A4 paper
- 3 Connect the power cord and telephone line
- 4 Install the ink cartridges
- 5 Check the print quality
- 6 Set the paper settings
- 7 Choose your language (if needed)
- 8 Choose the correct Receive Mode
- 9 Set the date and time
- 10 Set your Station ID
- 11 Fax Transmission Report
- 12 Set Tone or Pulse dialing mode (Canada only)
- 13 Set the telephone line compatibility
- 14 Automatic Daylight Savings Time
- 15 Send in the Product Registration Sheet (USA only)
- 16 Manual Feed Slot
- 17 Choose your connection type
- For USB interface users (Windows® 2000 Professional/XP Home/XP Professional/Windows Vista®/Windows® 7)
- For USB interface users (Mac OS X 10.4.11, 10.5.x, 10.6.x)
- For wired network interface users (Windows® 2000 Professional/XP Home/XP Professional/Windows Vista®/Windows® 7)
- For wired network interface users (Mac OS X 10.4.11, 10.5.x, 10.6.x)
- For wireless network interface users
- 18 Before you begin
- 19 Choose your wireless install method
- 20 Manual configuration from the control panel (typical Wireless Setup in infrastructure mode)
- 20 One-push configuration using WPS (Wi-Fi Protected Setup) or AOSS™
- Troubleshooting
- Install the drivers & software (Windows® 2000 Professional/XP Home/XP Professional/Windows Vista®/Windows® 7)
- Install the drivers & software (Mac OS X 10.4.11, 10.5.x, 10.6.x)
- Install Optional Applications Windows®
- For Network Users
- Consumables
- brother USA/CAN
- Start Here