Micro-flo, 2 control panel, 4 run mode display – Blue-White Micro-Flo User Manual
Page 8: 5 run mode operation, 3 flow stream requirements
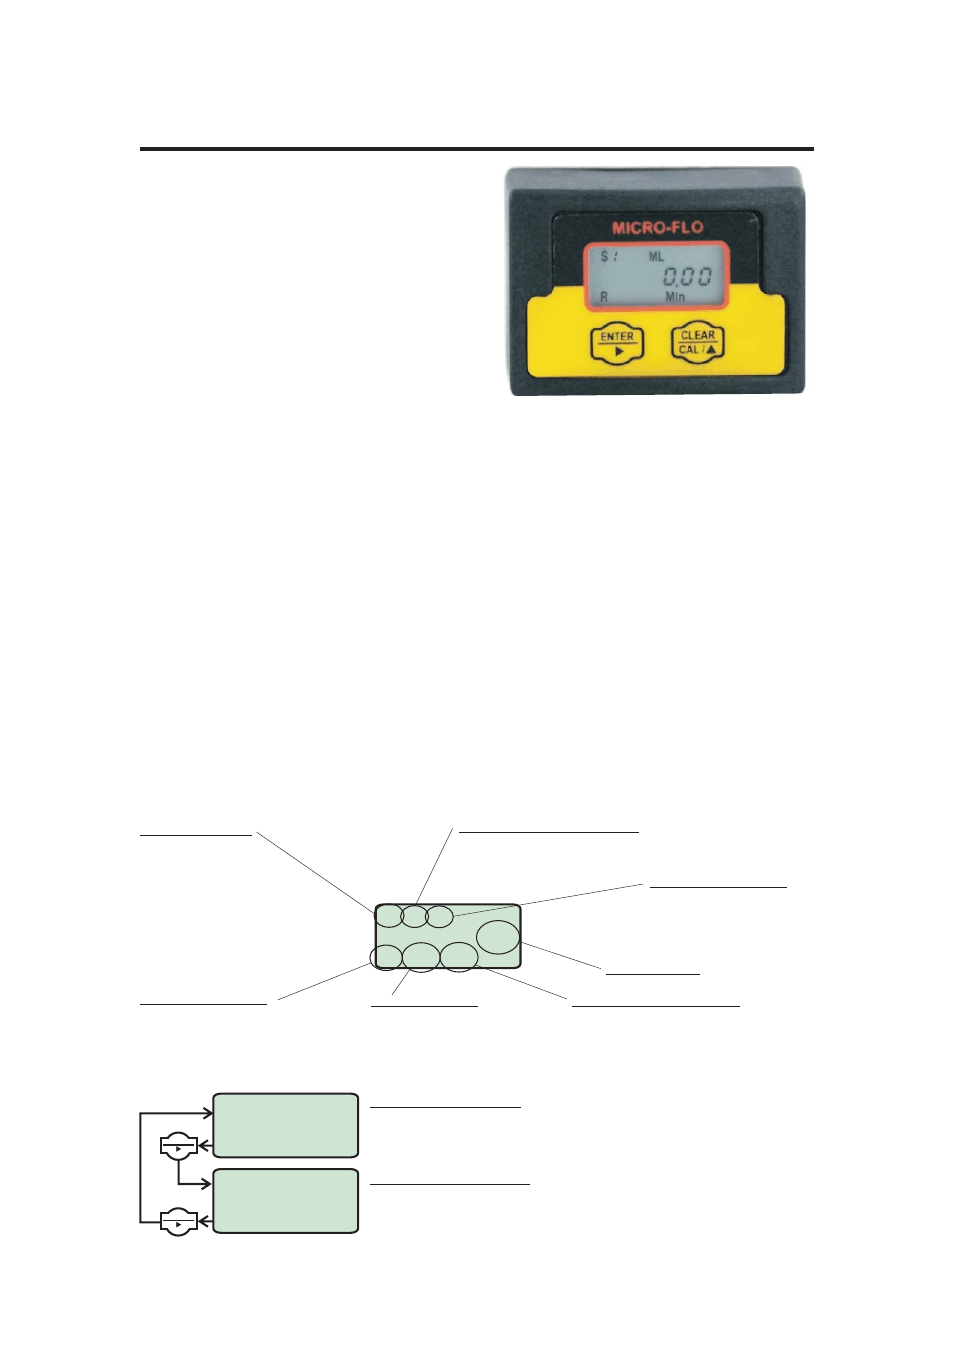
6.2 Control Panel
Enter Button (right arrow) -
! Press and release - Toggle between
Rate, Total, and Calibrate screens in
the run mode. Select program
screens in the program mode.
! Press and hold 2 seconds - Enter
and exit program mode. (Automatic
exit program mode after 30 seconds
of no inputs).
MICRO-FLO
Page 8
6.4 Run mode display
1
0
S
ML
R
Min
6.5 Run mode operation
1
S
ML
T
0
FLOW RATE DISPLAY - Indicates rate of flow, S1 = body size/range
#1, ML = units displayed in milliliters, MIN = time units in minutes, R
= flow rate displayed.
FLOW TOTAL DISPLAY - Indicates accumulated total flow, S1 =
body size/range #1, ML = units displayed in milliliters, T = total
accumulated flow displayed.
1
0
S
ML
R
Min
Body size/range
0 = Field calibrate
1 = 30-300 ml/min
2 = 100-1000 ml/min
3 = 200-2000 ml/min
4 = 300-3000 ml/min
5 = 500-5000 ml/min
6 = 700-7000 ml/min
Function indicator
R = Flow rate indicated
T = Flow total indicated
Rate time base indicator
Min = Rate per minute
Hr = Rate per hour
Day = Rate per day
Display Value
Flow units indicator
ML = Milliliters
OZ = Ounces
GAL = Gallons
LIT = Liters
SetP
Alarm indicator
SetP (steady) = active
SetP (flashing) = alarm
none = not programmed
Cal
Field Calibration indicator
Cal (steady) = active
Cal (flashing) = calibrating
none = factory cal. active
Clear/Cal (up arrow) -
! Press and release - Clear total in the run mode. Scroll through and Select
options in the program mode.
6.3 Flow stream requirements
! The Micro-flo flowmeter can measure fluid flow in either direction.
! The meter must be mounted so that the paddle axle is in a horizontal
o
position - up to 10 off the horizontal is acceptable.
! The fluid must be capable of passing infra-red light.
! The fluid must be free of debris. A 150 micron filter is recommended -
especially when using the smallest body size (S1), which has a 0.031”
through hole.
NOTE: To reset the circuit board: 1) Disconnect power 2) Apply power while pressing the two
front panel buttons.
ENTER
ENTER