Badger Meter Disc Meter User Manual
Page 9

Installation & Operation Manual
Change-Gear Calibration
If the accuracy test of a meter-accessory combination indicates that an adjustment is required and change-gears are the
medium for calibration, proceed as follows:
1 . Remove applicable Driver (Accessory) change-gear and Driven (Meter) change-gear .
NOTE:
N
The number of teeth and outside diameter is stamped on each gear .
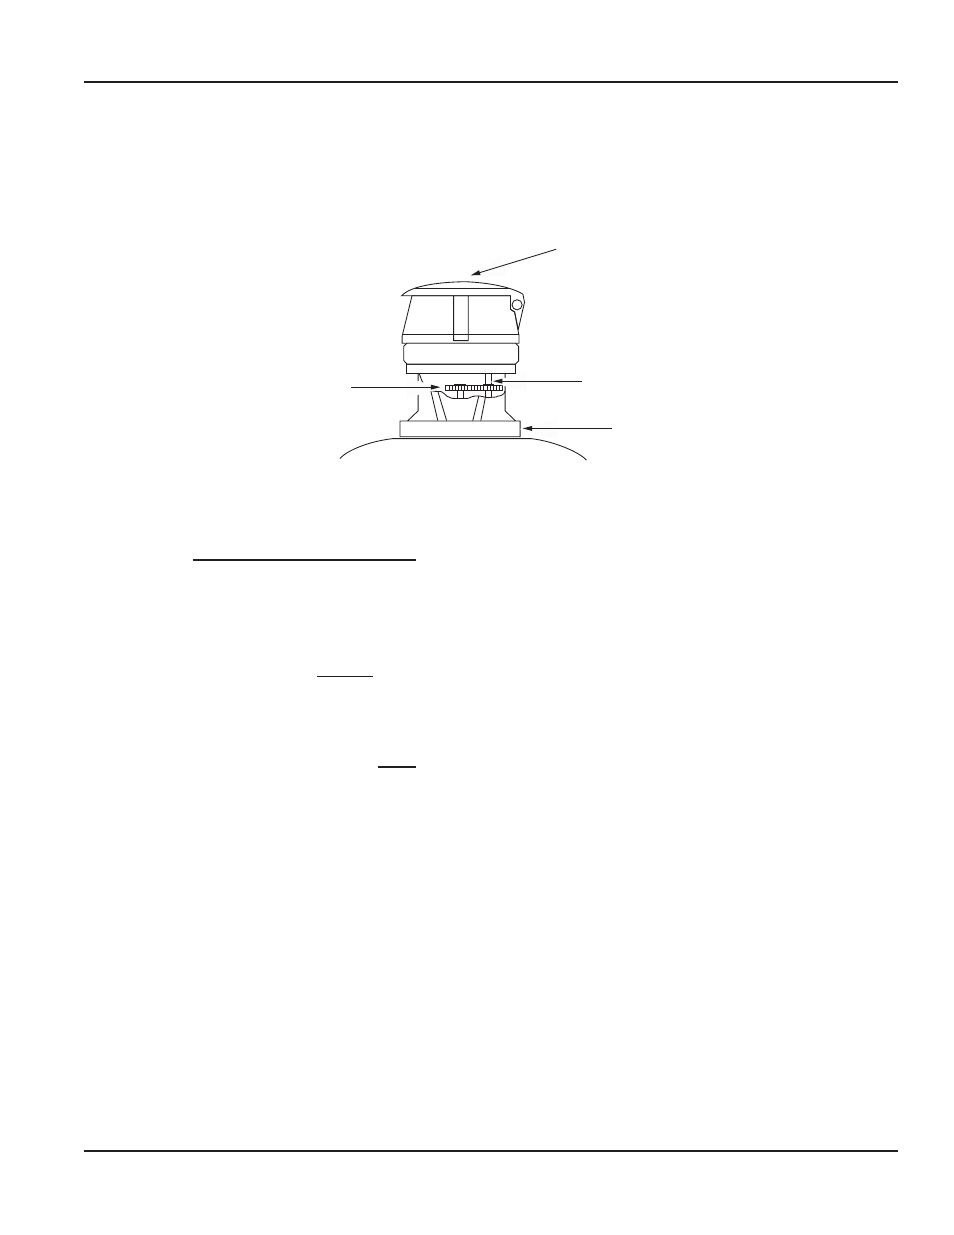
Meter (Driver)
Change Gear
Accessory (Driven)
Change Gear
Accessory
Device
Magnetic Gear
Train
Figure 2: Change-gear locations on model RCDL meters
2 . Calculate the ratio of the existing change-gears as follows:
Ratio = No. of Teeth on Accessory Change-gear
No. of Teeth on Meter Change-gear
3 . Calculate the new change-gear ratio required by multiplying the ratio of existing change-gears by the percent of the
meter accuracy determined in the accuracy test .
Example
Existing Change-gear Ratio = 42 Teeth = 0.976
43 Teeth
Meter Accuracy = 95%
Corrected Change-gear Ratio = 0.976 x
95
= 0 .927
100
4 . If change-gear charts are available, select a new change-gear combination that matches the corrected change-
gear ratio . If new gears are not available, submit an order for corrective change-gears to the nearest Badger Meter
Representative or contact the Industrial Division of Badger Meter, Inc .
NOTE:
N
When ordering, specify the serial number of meter, the meter model and size, the accessory device employed, the
number of teeth and diameter of existing change-gears, and the corrected change-gear ratio required .
5 . Observe the position of the old change-gears on the spindles before removing them . Install the new change-gears
on the meter and accessory spindles and assemble the accessory to meter . Make sure you obtain full mesh when
assembling the accessory to the meter gear train adapter . Note the position information from the old gears .
Page 9
February 2013
