Valve assembly, Removing the valve assembly, Replacing the valve assembly – Badger Meter Compound Series User Manual
Page 19: Valve assembly 19
Valve Assembly
Removing the Valve Assembly
With the cover assembly removed, the valve assembly is exposed for service
1 Remove the lock pawl (see
)
2 Turn the valve assembly counter-clockwise to unscrew it from the housing
3 Lift the valve assembly out of the housing
Replacing the Valve Assembly
If any portion of the valve assembly requires replacement, we recommend replacing the entire valve assembly
1 Drop in the new assembly
2 Turn the assembly clockwise to thread it into the housing
3 Drop the lock pawl back into position to lock in the assembly
NOTE:
N
The 4" and 6" assemblies cannot be disassembled and must be completely replaced Complete replacement of 2" and
3" is also recommended as noted, but the seal can be replaced with a special tool Please contact Badger Meter for
further details
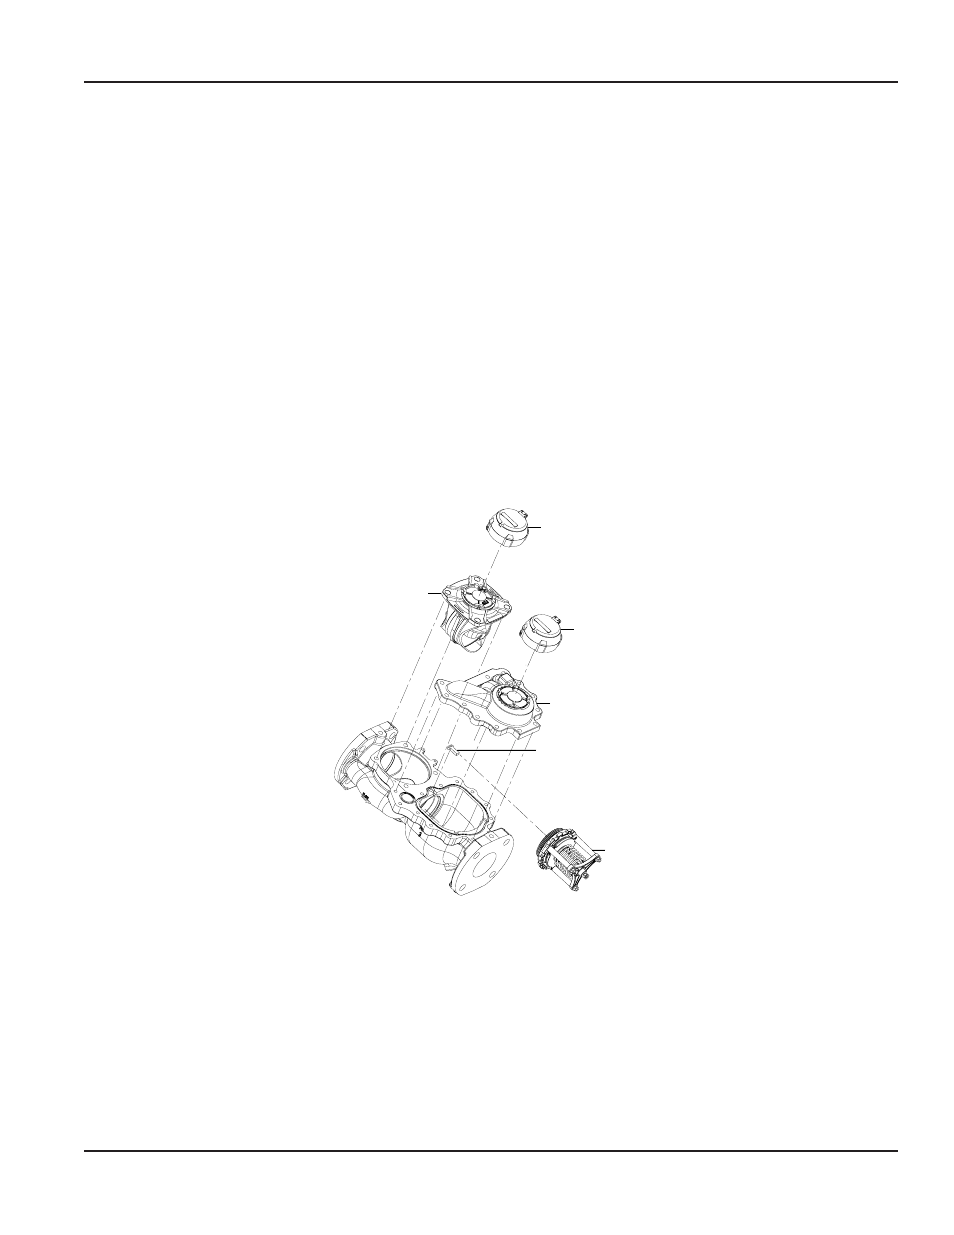
Valve
Assembly
Lock Pawl
Cover
Assembly
Low Flow
Register
High Flow
Register
Turbo Head
Assembly
Figure 14: Valve assembly
User Manual
Page 19
September 2013