Triton ARGO Installation Manual User Manual
Page 21
21
ARGO I
NSTALLATION
M
ANUAL
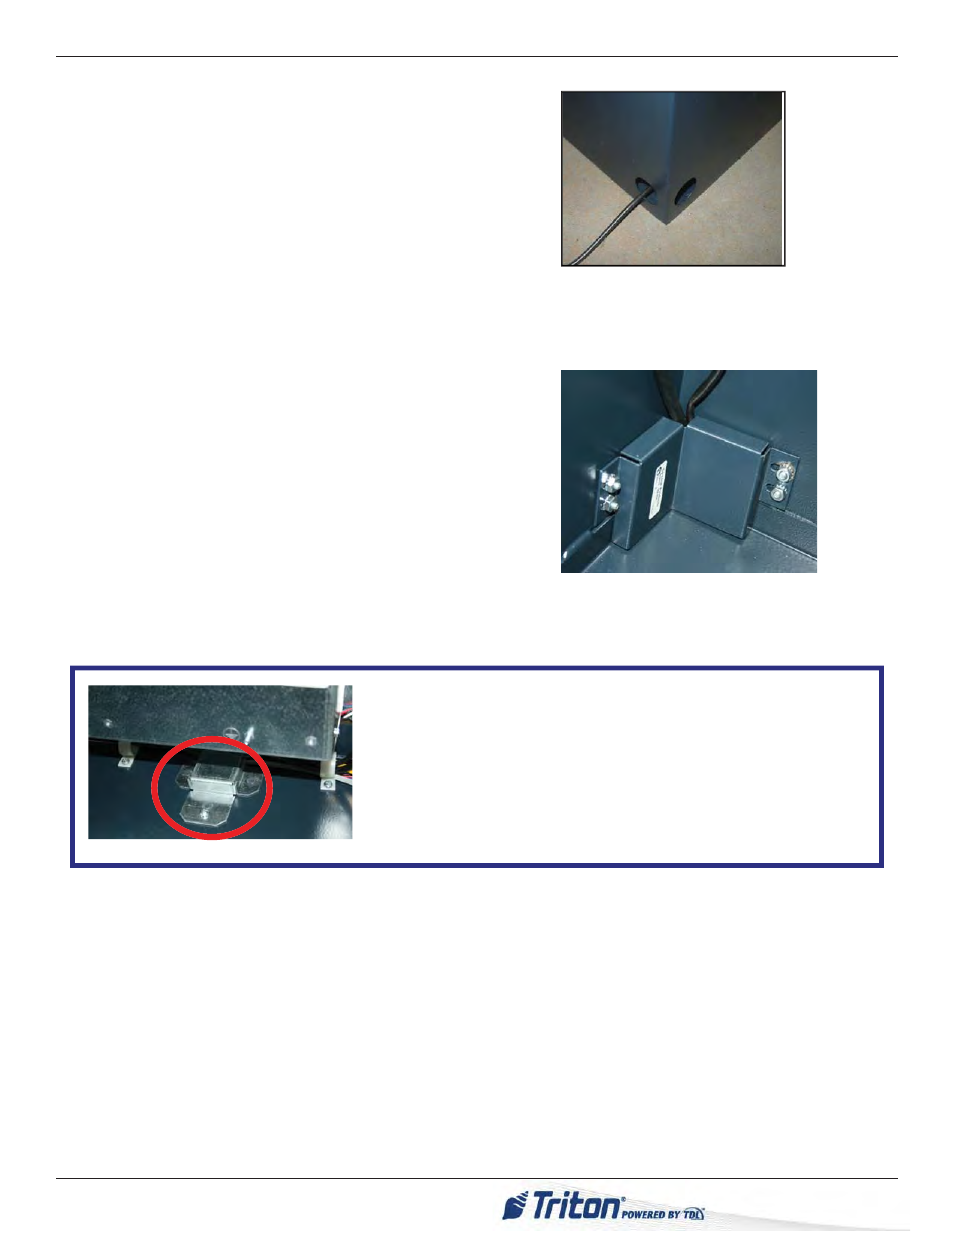
1. Route the AC power cord and the phone (or Cat-5) cable
through either the main or alternate cable access hole at
rear corner of unit, (as applicable).
2. Connect the AC power cord and communication cable to
their respective facility outlets.
3. Secure/plug the unused access hole with the grommet or
plug provided.
4. Install the security bracket. This new feature introduced
with the ARGO prevents both people and rodents from
accessing the dispenser and internal wiring through the
holes at the bottom of the cabinet. The bracket and four
(4) nuts are found packaged in the accessory bag that is
shipped with the ARGO.
Fit the bracket on the fi xed bolts, then use an 11/32” driver
to tighten the nuts.
This unit may be equipped with more than one power cord. Disconnect All Power Cords prior to Servicing!
For continued fault protection, follow the correct voltage and current ratings when replacing any fuses.
Route wiring and communication
harnesses through openings in
bottom rear of cabinet and to
power supply.
The ARGO unit has an additonal security feature with the additon
of a special bracket between the upper and lower cabinets to secure
cables and wiring running between the cabinets. This is already
installed on the ARGO from the factory. One must have access to
both the upper and lower cabinets in order to add or remove cables/
wiring. The bracket has a top screw and three fi xed bolts underneath.
Unscrew the screw and three nuts to release the bracket.
Attach security bracket to lower left
corner of cablinet as shown.