Focusing your scope, Zeroing your scope – NcSTAR STM3942GV2 User Manual
Page 4
4.
Once you have properly tightened the Slotted Set Screw and checked the rail tension of the
mount connection by opening and closing the Quick Release Lever, you can now tighten the
Locking Hex Nut to secure the adjustments you have made. Tighten the Locking Hex Nut with
the Quick release lever in the closed position for best results. Be sure not to over tighten the
Locking Hex Nut to avoid stripping it. You have now successfully mounted your scope and
adjusted the rail tension of the mount. By simply opening the Quick Release lever and pivoting
the scope in the direction of the locking nut, you can easily remove the scope from your firearm.
CAUTION: IT DOES NOT TAKE A LOT OF FORCE TO GET THIS UNIT MOUNTED
SECURELY. BE CERTAIN NOT TO OVER TIGHTEN THE SLOTTED SET SCREW TO
AVOID STRIPPING THE THREADS. DAMAGE CAN ALSO OCCUR TO QUICK
RELEASE LEVER IF TOO MUCH FORCE IS APPLIED.
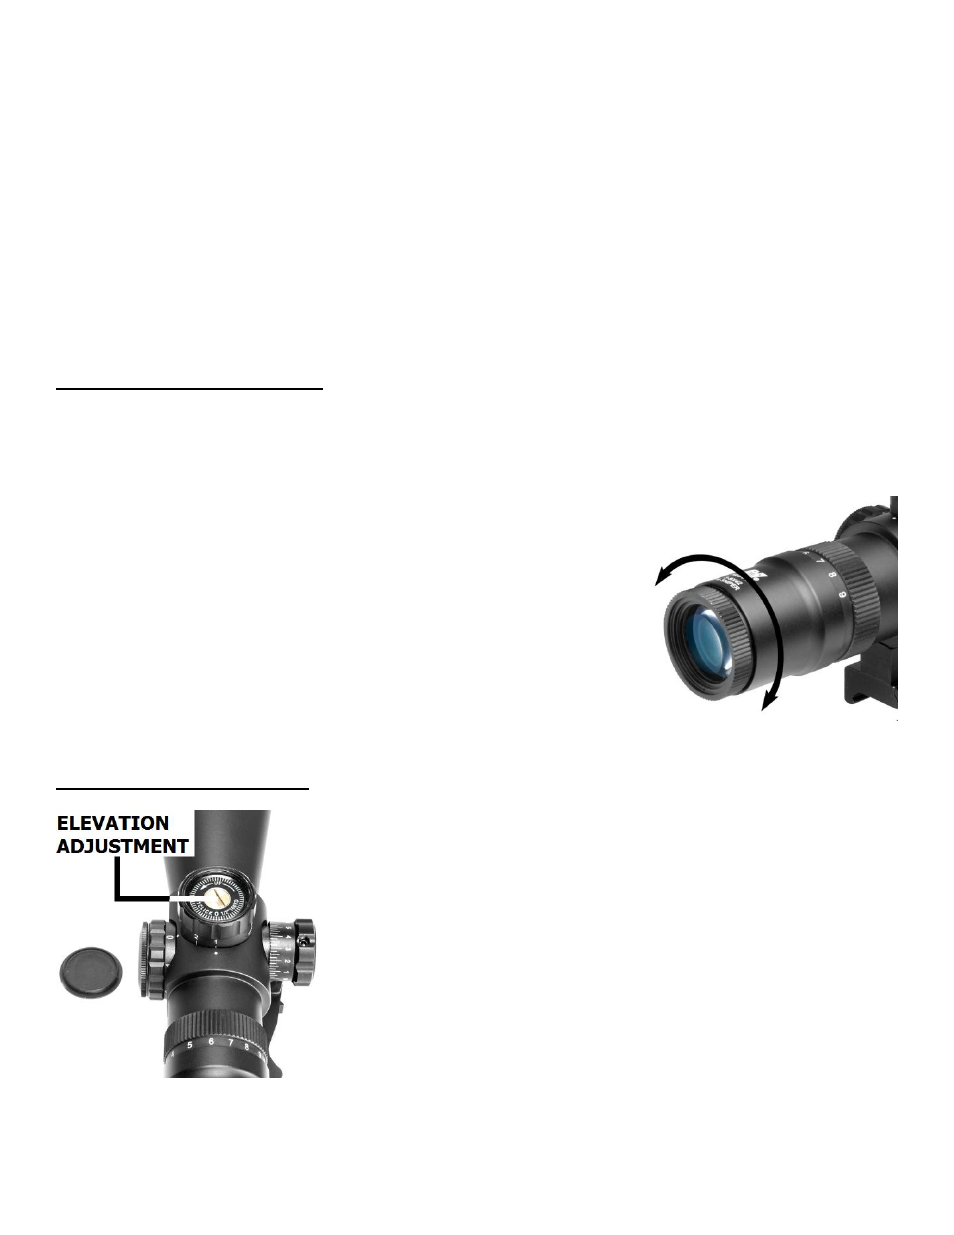
FOCUSING YOUR SCOPE
Your Mark III Tactical Gen 2 Scope is equipped with a Quick Focus Eyepiece on the rear of the Ocular
Lens, easily distinguished by the serrated ring (Fig. 3). Once your scope is properly mounted you can
focus your reticle to ensure a clear and crisp image.
1. Hold your firearm and look through your scope in a comfortable
position to where you see a full field of view. Make quick glances
through the eyepiece at a featureless, flatly lit area such as a wall
or open sky.
2. Rotating the eyepiece Counter-Clockwise will extend the
eyepiece outward (generally suitable for those who are Far
Sighted). Rotating the eyepiece Clockwise will bring the eyepiece
back into the Ocular Lens housing (generally suitable for those who
are Near Sighted) Fine tune your adjustments until the reticle
appears clear and sharp.
3.
Once the eyepiece reaches the outer limits of adjustment, be
sure not to force it so as not to ruin the integrity of the seals.
Figure 3
ZEROING YOUR SCOPE
Figure 4
Your Mark III Tactical Scope is equipped with adjustment
turrets for Windage and Elevation. The Elevation Adjustment
turret is located within the Bullet Drop Compensator (BDC) on top
of the turret housing. To access the Elevation Adjustment, remove
the slotted Elevation Cap on top of the BDC by using a thin coin or
a flat blade screwdriver.
Turning the Elevation Adjustment Counter-Clockwise will move
the crosshairs Up, moving your bullet impacts Down. (Fig. 4).
Turning the Elevation Adjustment Clockwise will move the
crosshairs Down, moving your bullet impacts Up.
Replace the Slotted Elevation Cap once you have made all
necessary adjustments.