Hardware installation – Sonnet Technologies 3Gb_s RAID Controller Card User Manual
Page 6
Installation Preparation
Sonnet strongly recommends that you read the section in your computer’s
user manual that addresses PCI Express card installation, prior to installing the
Sonnet card into your system.
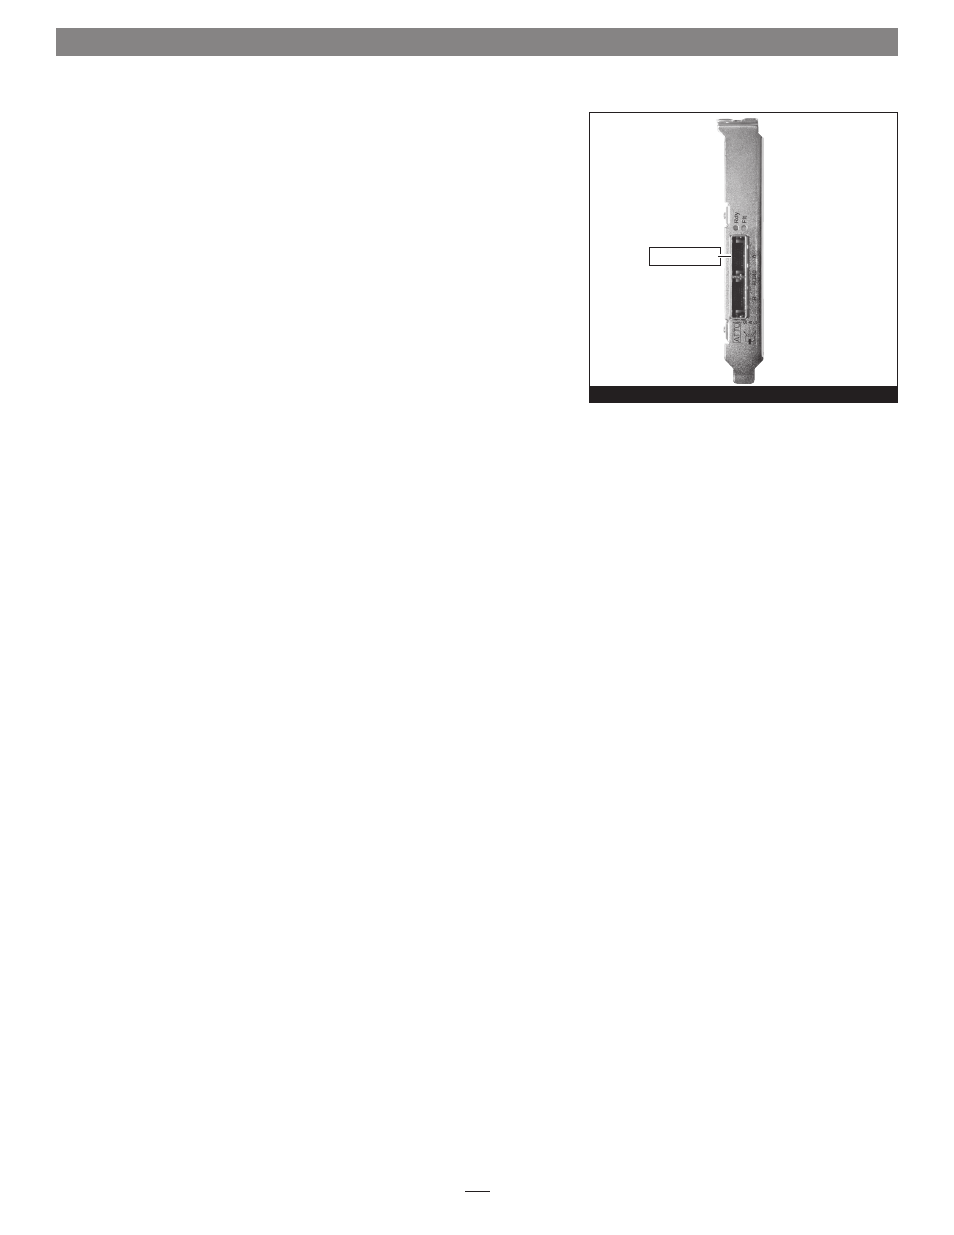
1. Figure 1 shows the RAID controller card’s mini-SAS ports, as well as the
status LEDs.
Installation Steps
This section covers the installation of the Sonnet RAID controller card into
your system.
1. Shut down your computer, and then open it to access the expansion card
area (PCI Express slots); refer to your computer’s user manual for specific
information.
2. Locate an available x8 (8-lane) or x16 (16-lane) PCI Express slot* inside
your computer and remove its access cover.
3. Remove the Sonnet card from its packaging, and then install it into the
PCI Express slot;
make sure the card is firmly seated and secured.
4. Close your computer.
5. Turn on your computer; depending on the computer and operating system
used:
• If you installed the card into a Mac Pro (Early 2009) or Mac Pro (Early
2008), your installation is complete.
• If you installed the card into a pre-2008 Mac Pro, depending on which
version of Mac OS X your computer is running, Expansion Slot Utility will
open automatically. If it does not open by itself, you must do so manually
(Expansion Slot Utility is located in the /System/Library/CoreServices
folder). Select the configuration appropriate for your setup (your Sonnet
card is an x8 card, and should be assigned to at least a x4 slot), and then
click Quit if the default configuration was appropriate, or click Save and
Restart if you changed the configuration. Your installation is complete.
• If you installed the card into a Power Mac G5, your installation is
complete.
• If you installed the card into a computer running Windows, various pop-
ups will appear during startup as the card is “installed”; your installation
is complete.
* (x4 slot compatible with decreased performance)
Figure 1
Hardware Installation
mini-SAS ports