General Tools and Instruments DT4947SD User Manual
Page 9
3. To use Type J, T, E, R or S thermocouples to measure up to four channels of
temperature, first press the Type ▲ button as many times as necessary until the letter
of the thermocouple type you are using appears on the display. Then plug one to four of
the optional accessories into the jacks on the top of the thermometer. As with Type K
thermocouples, display readings are instantaneous.
4. To use Pt 100 ohm probes (resistance-temperature detectors) to measure up to two
channels of temperature, first press the Type ▲ button as many times as necessary until
the term “Pt” appears on the right side of the display. Then plug one or two of the
optional accessories into the dedicated jack(s) on the right side of the thermometer
(callouts 1-10 and 1-11). As with thermocouple measurements, RTD measurements
appear instantly on the display.
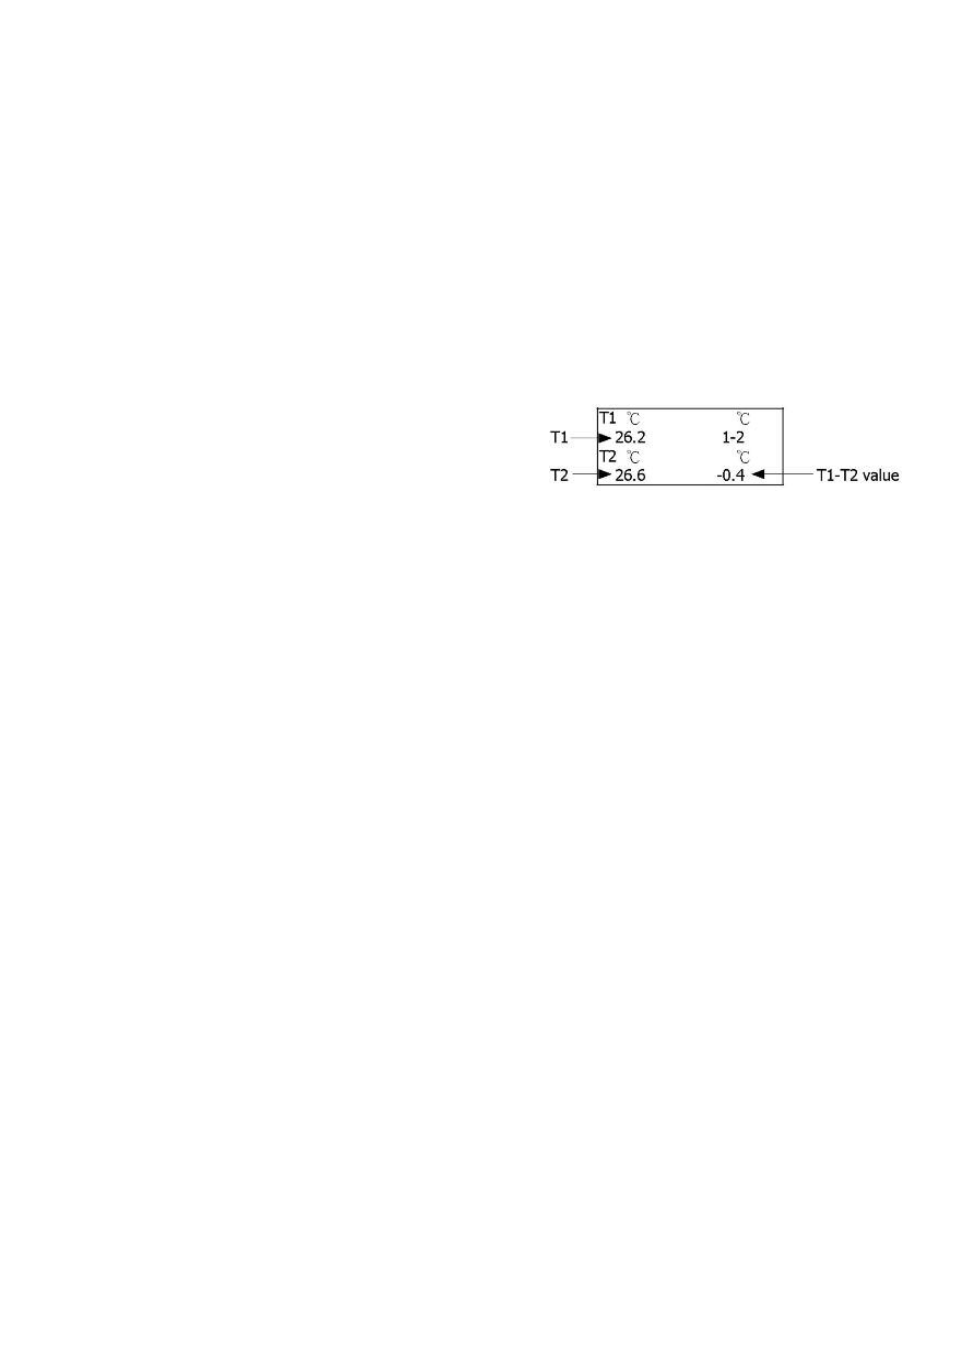
5. To measure the temperature difference between any two channels represented by
thermocouples or RTDs already plugged into the
instrument, press the T1-T2 button with the
thermometer in normal measurement mode. Doing
so will cause the following screen to appear:
Whenever the thermometer is in measurement mode, you can turn off the backlight (which
is on by default) by briefly pressing (but not holding) the POWER/ESC button. To reactivate
the backlight, briefly press the button again.
Whenever the instrument is in measurement mode, you also can check the current date
and time by briefly pressing the SET button (which has the words “Time check” stenciled to
its right). Doing so causes both values to appear briefly at the lower left of the display.
HOLDING AND STORING MEASUREMENTS
1. To hold a measured value, press the HOLD/NEXT button during the measurement.
Doing so will cause the word “HOLD” to appear at the top of the display. Pressing the
HOLD/NEXT button again releases the hold.
2. To record and recall readings, press the REC/ENTER button while making
measurements. This will make the term “REC” appear at the top of the display. Pressing
the REC/ENTER button again, briefly, will make the term “MAX” appear to the right of
“REC” and switch the display to the maximum value stored in memory during the last
recording session. Pressing the REC/ENTER button again, briefly, will make the term
“MIN” appear to the right of “REC” and switch the display to the minimum value stored
during the last session.
3. To exit recording mode, press the REC/ENTER button and hold it for at least three
seconds, until the term “REC” disappears from the top line of the display. The display will
then revert to showing the current reading.
AUTOMATIC VS. MANUAL DATALOGGING
The DT4947SD can automatically log data with a user-selected sampling period from
1 second to 3,600 seconds (one hour). To view the sampling time that the instrument has
been set up to use, press the LOGGER OFFSET button (which has the words “Sampling
check” stenciled below it) once. To change the sampling time, perform Step 8 of the setup
procedure.
9