Settings – Bosch TES50129RW VeroCafe Machine à café Expresso automatique Noir User Manual
Page 13
9
TES501.. | 02/2014
en
Settings
You can customize the settings on the
appliance�
You can make the following adjustments:
Water hardness
The water hardness setting can be adjusted
on this appliance. It is important to set the
water hardness correctly so that the appli-
ance can accurately indicate when it is time
to run the descale process. The factory
setting for the water hardness is 4. You can
establish the water hardness either by using
the test strip provided or by asking your
local water provider.
Dip the test strip in the water briefly, shake it
gently and check the result after one minute.
Level Water hardness
German (°dH) French (°fH)
1
2
3
4
1-7
8-14
15-21
22-30
1-13
14-25
26-38
39-54
If you wish to change the default degree
of water hardness, or if you have inserted
a water filter, proceed as follows:
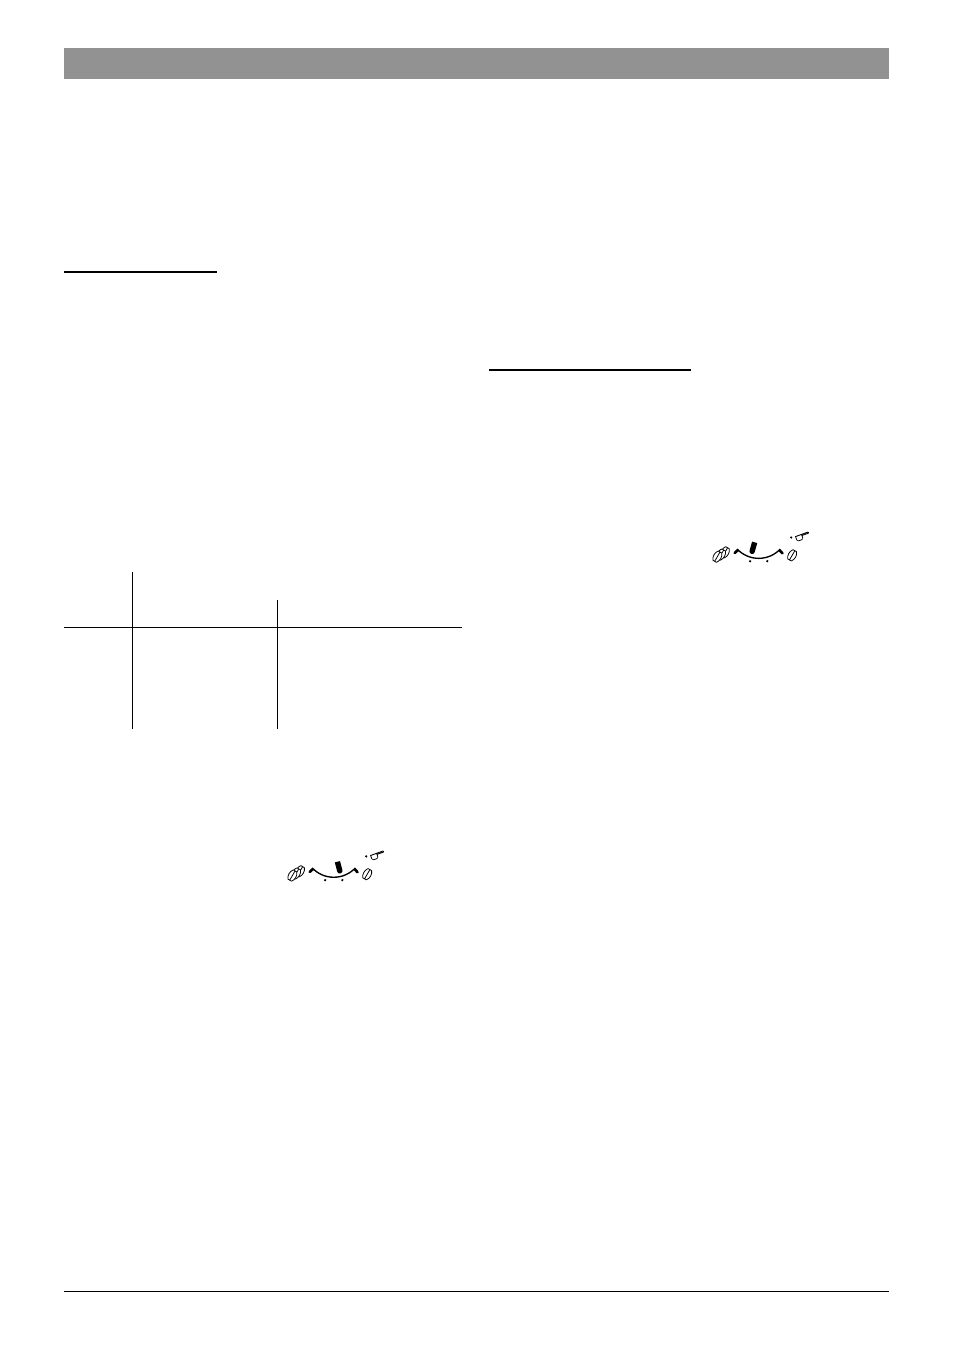
1� Turn the rotary
knob (13) to position
2� Press and hold buttons
B
(11) and
A
(12) simultaneously for at least
5 seconds. The set water hardness is
indicated by the number of LEDs that
now light up.
3� Now press the start button (10) repeat-
edly until the required water hardness
is indicated, e. g., for water hardness 3,
LEDs
D
,
E
and
F
will light up.
4. Press and hold the start button (10)
for at least 5 seconds. The set number
of LEDs will light up to indicate that
the selected water hardness has been
saved successfully.
Important: If a water filter is used (see
“Accessories”), proceed as follows, see
“Water filter”.
Note: If no button is pressed within
90 seconds, the appliance switches to
stand-by mode without saving the new
settings. In this case, the previously saved
water hardness setting is retained.
Automatic switch-off
Here you can set the period of time after
which the appliance should switch off auto-
matically following the last drink preparation.
A time between 15 minutes and 4 hours can
be set. To save power you can specify a
shorter period.
1� Turn the rotary
knob (13) to position
2� Press and hold buttons
B
(11) and
A
(12) simultaneously for at least 5 seconds.
The time after which the appliance
should switch off is indicated by the
number of LEDs that now light up.
3� Now press the start button (10) repeat-
edly until the required number of LEDs
light up to indicate the switch-off time:
D
= 15 minutes
D
and
E
= 30 minutes
D
,
E
and
F
= 45 minutes
D
,
E
,
F
and
G
= 1 hour
D
,
E
,
F
,
G
and
H
= 2 hours
D
,
E
,
F
,
G
,
H
and
I
= 4 hours
4. Press and hold the start button (10) for
at least 5 seconds. The set number of
LEDs will light up to indicate that the
selected switch-off time has been saved
successfully.
Note: If no button is pressed within
90 seconds, the appliance switches to
stand-by mode without saving the new
settings. In this case, the previously saved
switch-off time is retained.