Installation general rules, Step 1) mount cards in card cage, Step 2) connect horizontal runs – Nitek CX452 User Manual
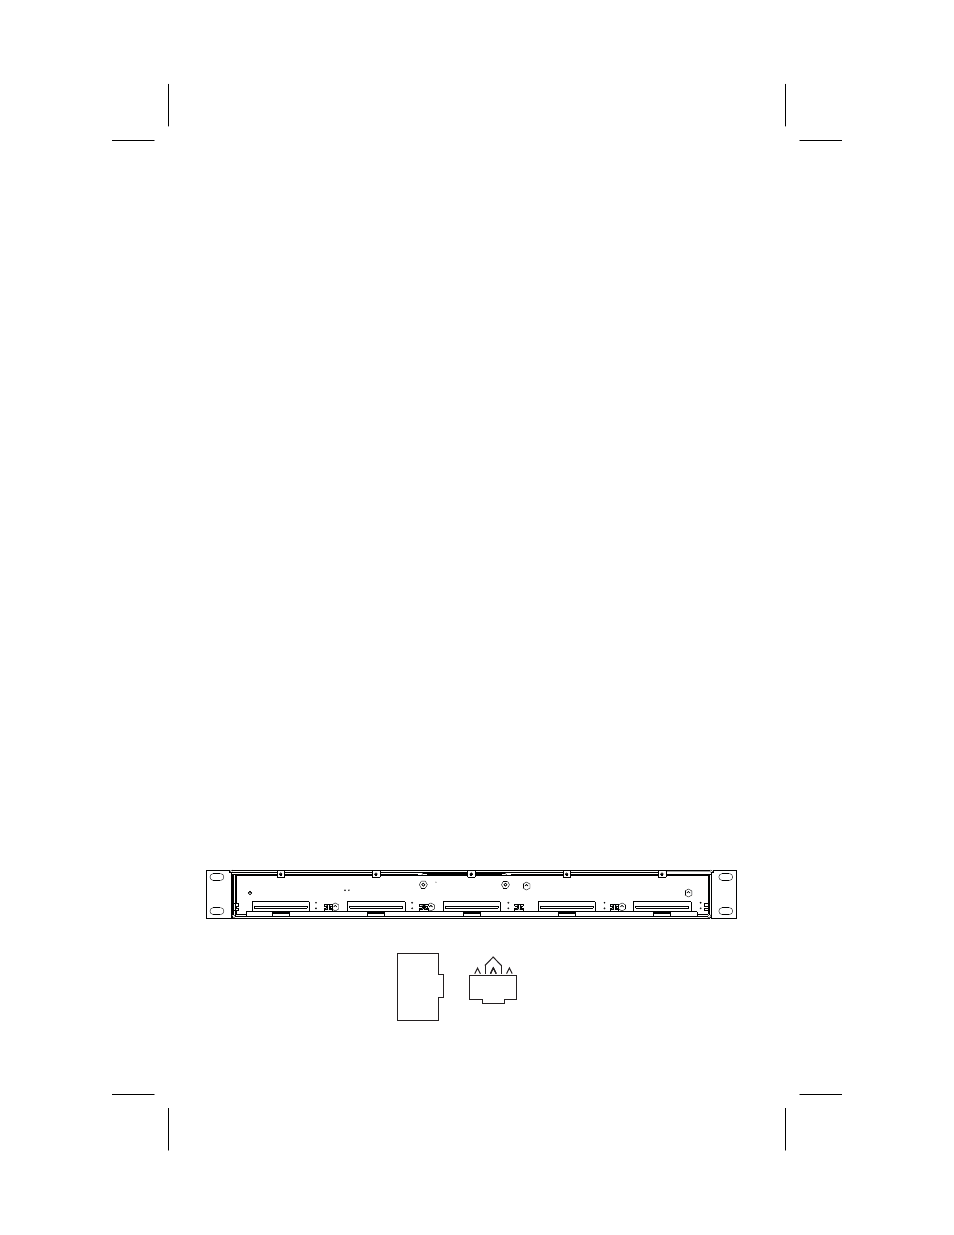
Page 6: Camera ports in front of cx452
6
INSTALLATION
General Rules
- All horizontal cable runs from a CX452 unit to cameras must
be 100 meters or less to meet TIA/EIA standards
- Fixed camera (10 watts or less) wire must be Cat 5 or better
22awg or 24awg
- All PTZ cameras (10 to 21 watts) must be 23awg Cat 5e or
better
- TIA/EIA Category w iring standards should be used
- All cabling should be T568B wiring
- Always disconnect power to the system while working on the
wiring
Step 1) Mount Cards in Card Cage
The CX452 Crossover unit has 5 card slots. When installing
a card into the CX452 slide it in using the card guides for
alignment. Use the #4-40 screw on the top to secure the card in
place. Unused card slots can be covered up with blank covers.
RJ45 jacks on the front of the card provide the connection
for each camera run. To meet TIA/EIA standards your camera runs
should be terminated in a patch panel. Using standard patch cables
connect the camera ports to the patch panel. The camera runs
should be wired for T568B standard.
Step 2) Connect Horizontal Runs
Before connecting each camera run to a card verify that it is
properly wired using the CAMERA PORT chart below. The
maximum output of any camera port is 21 watts. The maximum
current output for all 4 camera ports on a card is 80 watts.
Slot 1
Slot 2
Slot 3
Slot 4
Slot 5
CAMERA PORT
8
7
6
5
4
3
2
1
+
-
+
+
-
-
-
+
Power
Power
Power
Data
Data
Power
Video
Video
12345678
568B
2
1
4
3
Camera Ports in front of CX452