Clock Audio CW 200 User Manual
Page 12
11
To change the transmitter frequency.
Important:
Each receiver (A and B) has its own independent setup buttons for changing
frequency and other parameters on each of the transmitters. Make sure you use the correct setup
buttons for setting up each respective transmitter. As the transmitters do not carry any
identification and look identical, It may be useful to mark or apply an ID to each of the transmitters
A and B to ensure that the correct transmitter / receiver is being operated, this will be especially
be useful if several systems are in operation.
.
a, Press the required CH A or CH B ﹤/ ﹥ button once on the receiver front panel to select a new
frequency. The display will flash and after short time will remain stable.
b. Position the transmitter (powered up) as shown above and press the Synch button on the front
panel and SYNCH >>> will show indicating that the new frequency is being transmitted to the
transmitter. After a few seconds the display will return to normal and the receiver and transmitter
old frequency will have been changed to the new frequency. If >>>> continuous more then 20
seconds then make sure the transmitter is powered up and its IR sensor is facing the receiver
sensor as shown above.
In cases where there are other transmitters being used and causing interference Press and hold
﹤/﹥button on the receiver for 3 seconds and the receiver will auto-scan and lock on to an open,
interference-free frequency. Now press the SYNCH button to transfer this new frequency to the
transmitter.
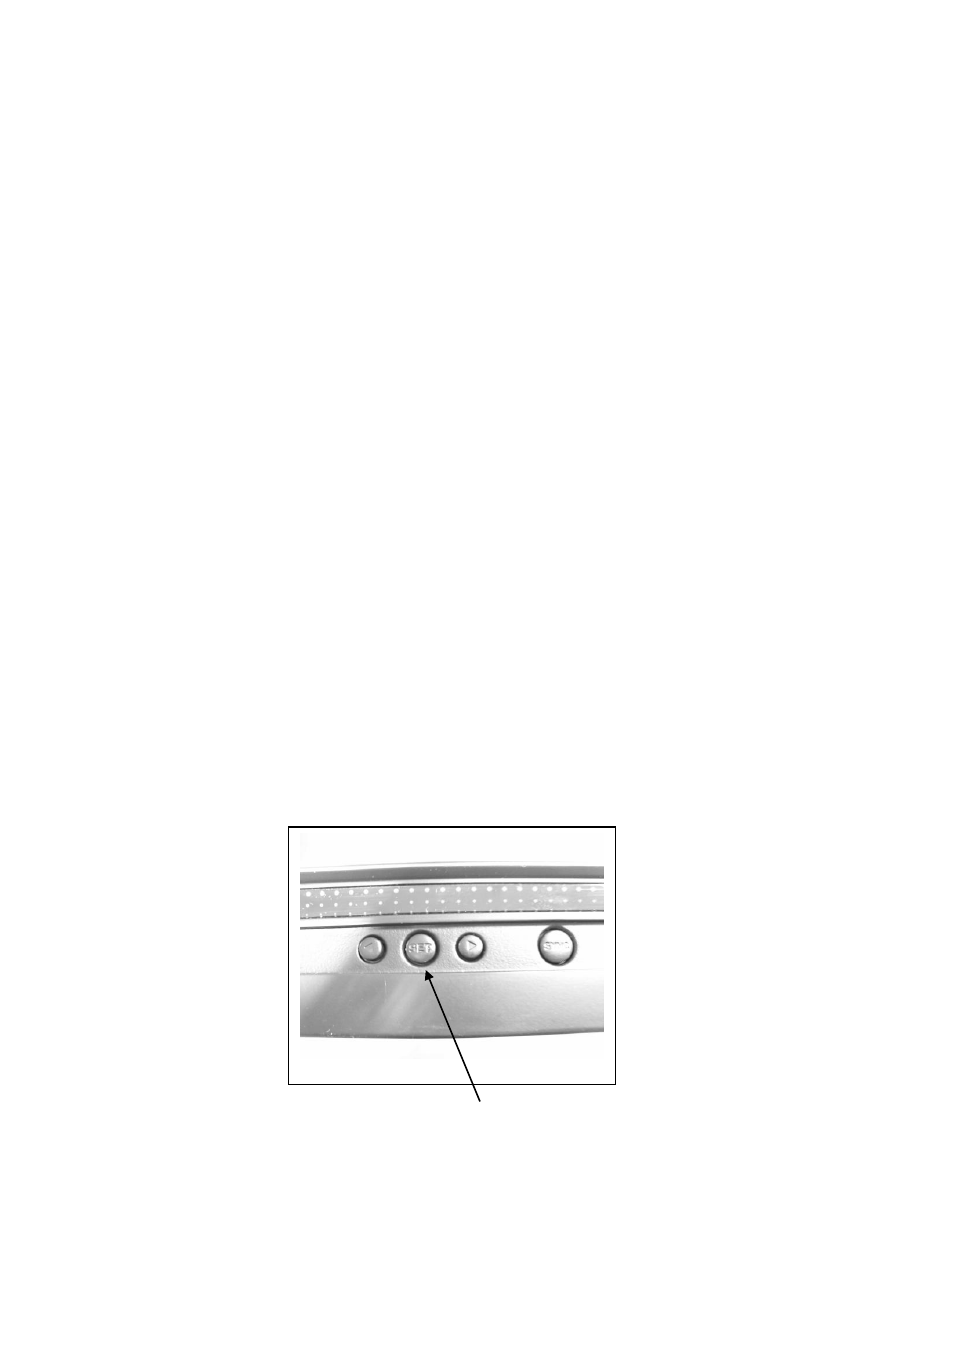
Menu options
1. To enter the menu mode: Press and hold the Set button (CH A or CH B) on the receiver for 3
seconds until DISPLY shows, press ﹤/ ﹥each time the < / > button is pressed the options
shown will change, LOCK or SQUELCH, DISPLAY modes.