Step three: connect a feed water line to the unit, Step four: sanitize the pura ultimate unit – Hydrotech PURA Ultimate 19-GU-PURA Operation Manual User Manual
Page 10
10
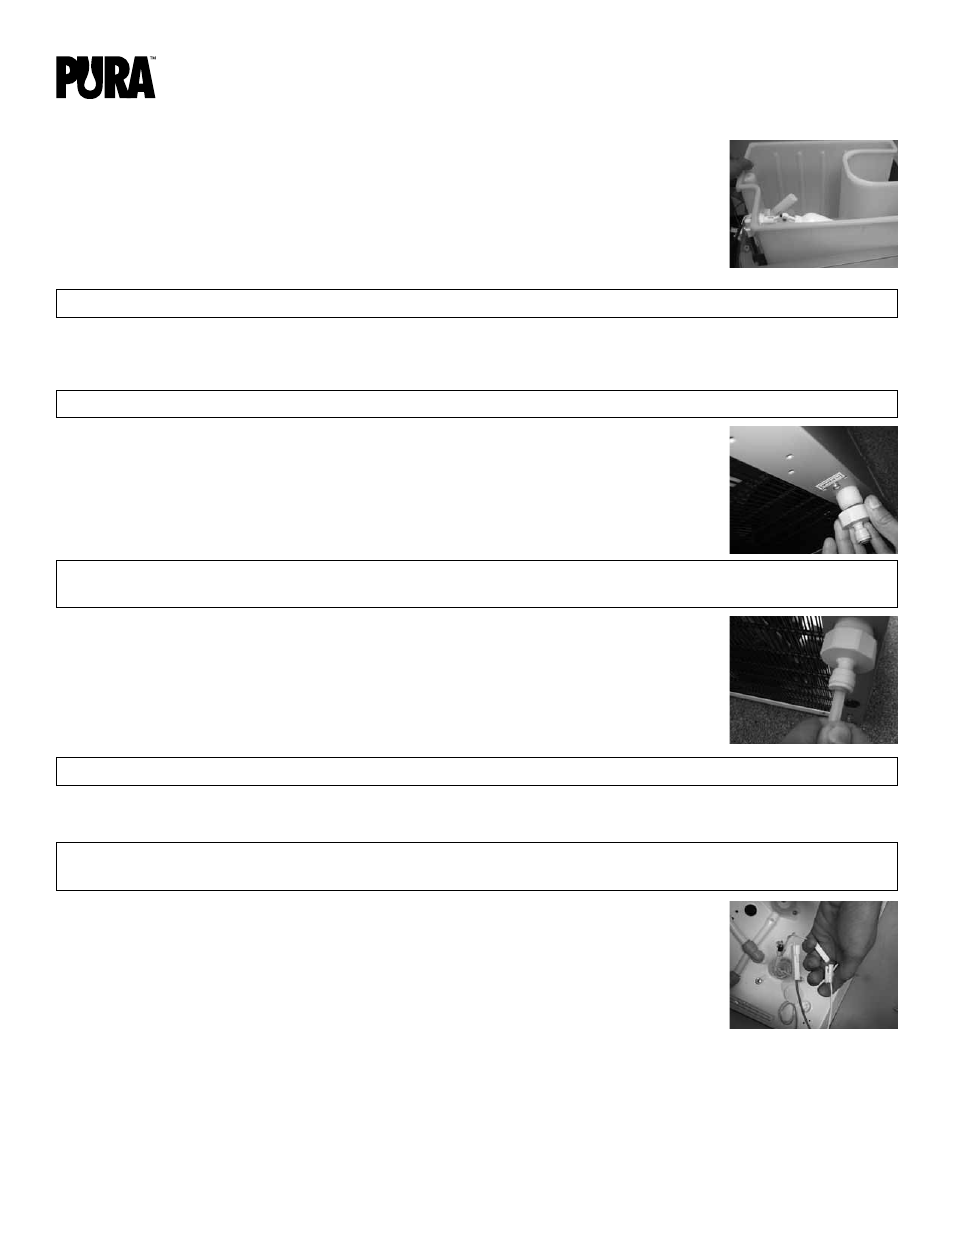
b. Disconnect the white plastic electrical connectors attached externally to the electronic
float.
c. Disconnect the silicon ¼-inch vent line from the hot tank where it attaches to the plastic
reservoir.
2. Once the reservoir is removed from the unit, Use a sponge to scrub the internal surfaces
of the tank with a dish soap solution, including the floats.
3. Pre-rinse with filtered soft water. A final rinse with RO or DI water is recommended.
4. Re-install the reservoir into the unit, reversing the removal steps you performed in step 1 above.
STEP THREE: connect a feed water line to the unit
1. Locate and install the hose adaptor fitting that is packed in the accessories bag (found in
the drip tray), onto the water inlet fitting on the back of the unit.
2. Locate and install the metal stand-off plate in the accessories bag over the water inlet.
This helps protects the inlet fitting from damage.
3. Connect ¼” plastic tubing from the back of the unit to a filtered, soft water supply. RO or
DI water is recommended.
STEP FOUR: Sanitize the PURA Ultimate unit
For 1240 RO Sanitization, please refer to manual #36101290.
1. Check that the red switch on the rear of the unit is in the OFF position.
2. Unplug one of the UV wire connectors in the top of the unit. The connectors are
white, plastic connectors located on the lamp wiring harness. The lamp needs to
be disconnected while sanitizing the unit to prevent foul taste being created by the
interaction of the UV with the chlorine sanitizer.
3. Connect the power cord to a power supply. (15A with GFI is recommended). The power LED will be illuminated
on the front of the unit. (Figure 2, item 5).
NOTE
Use brand-new sponges or paper towels when scrubbing the reservoir.
NOTE
Wear new latex gloves to avoid touching the wetted surfaces of the reservoir with your hands.
NOTE
Install a plastic shutoff valve in the ¼” tubing just ahead of the unit to make servicing easier.
NOTIcE
Latex gloves must be used when handling the filters, UV bulb, quartz sleeve or any
components that have contact with the drinking water.
NOTE
do Not Over-Tighten! Tighten ¼ turn after gasket makes contact. Tighten more if it leaks under
pressure.