eLine Technology SIP-VD-R User Manual
Page 22
33
34
Configuration
You can set the camera’s date and time the following ways:
• Using an NTP server (recommended)
• Using your computer’s system time
• Manually
The camera is configured to use NTP by default, but you
must set the time zone and Daylight Savings Time settings
to ensure accurate time. After a power failure, the camera
is configured to connect to an NTP server and automatically
update the time when power is restored. If using another
method to set the camera clock, time must be manually
updated after a power failure.
To set the camera’s date and time using an NTP server:
1. Click Device Configuration>Date & Time.
2. Under Time Zone, select your time zone.
3. If your region observes daylight savings time, check Adjust clock for
daylight saving changes.
• Under
Start and End, select the start and end times for daylight savings.
4. Next to Current PC Time, click Apply.
To sync the camera’s date and time to your computer’s system time:
1. Click Device Configuration>Date & Time.
2. Un-check Enable NTP and click Apply at the bottom of the screen.
3. Under Time Zone, select your time zone.
4. If your region observes daylight savings time, check Adjust clock for
daylight saving changes.
• Under
Start and End, select the start and end times for daylight savings.
5. Click Apply next to Current Computer Time. The Current Device Time
updates.
To set the camera’s date and time manually:
1. Click Device Configuration>Date & Time.
2. Under Time Zone, select your time zone.
3. Un-check Enable NTP and click Apply at the bottom of the screen.
4. If your region observes daylight savings time, check Adjust clock for
daylight saving changes.
• Under
Start and End, select the start and end times for daylight savings.
5. Click Set Manually, and use the on-screen calendar to set the time and
date.
6. Click Apply. The camera updates to the newly entered time.
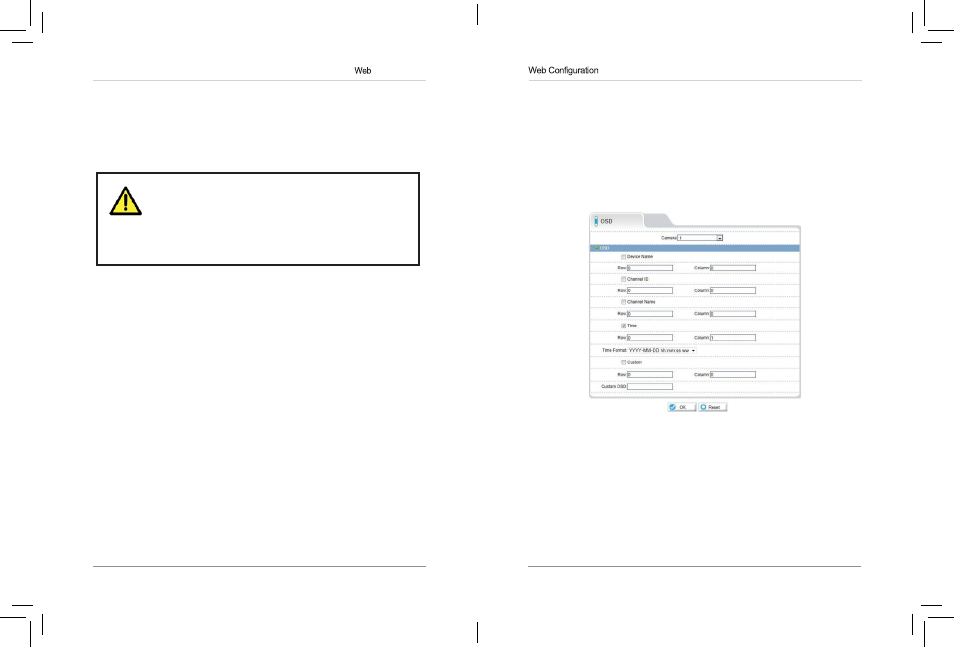
8.7.5 OSD
The OSD page allows you to configure the camera’s on-screen display text.
To configure the camera OSD:
1. Click Device Configuration>OSD.
2. Check the following options to enable OSD text:
•
Device Name: Display the Device Name.
•
Channel ID: Show the channel ID number.
•
Channel Name: Show the name of the channel set in the Camera menu.
•
Time: Show the date and time on the OSD. Select the desired date and
time format under
Time Format.
eLineTechnology.com