Card installation – Datamax-O'Neil DMXNetII User Manual
Page 4
O v e r v i e w
2
Card Installation
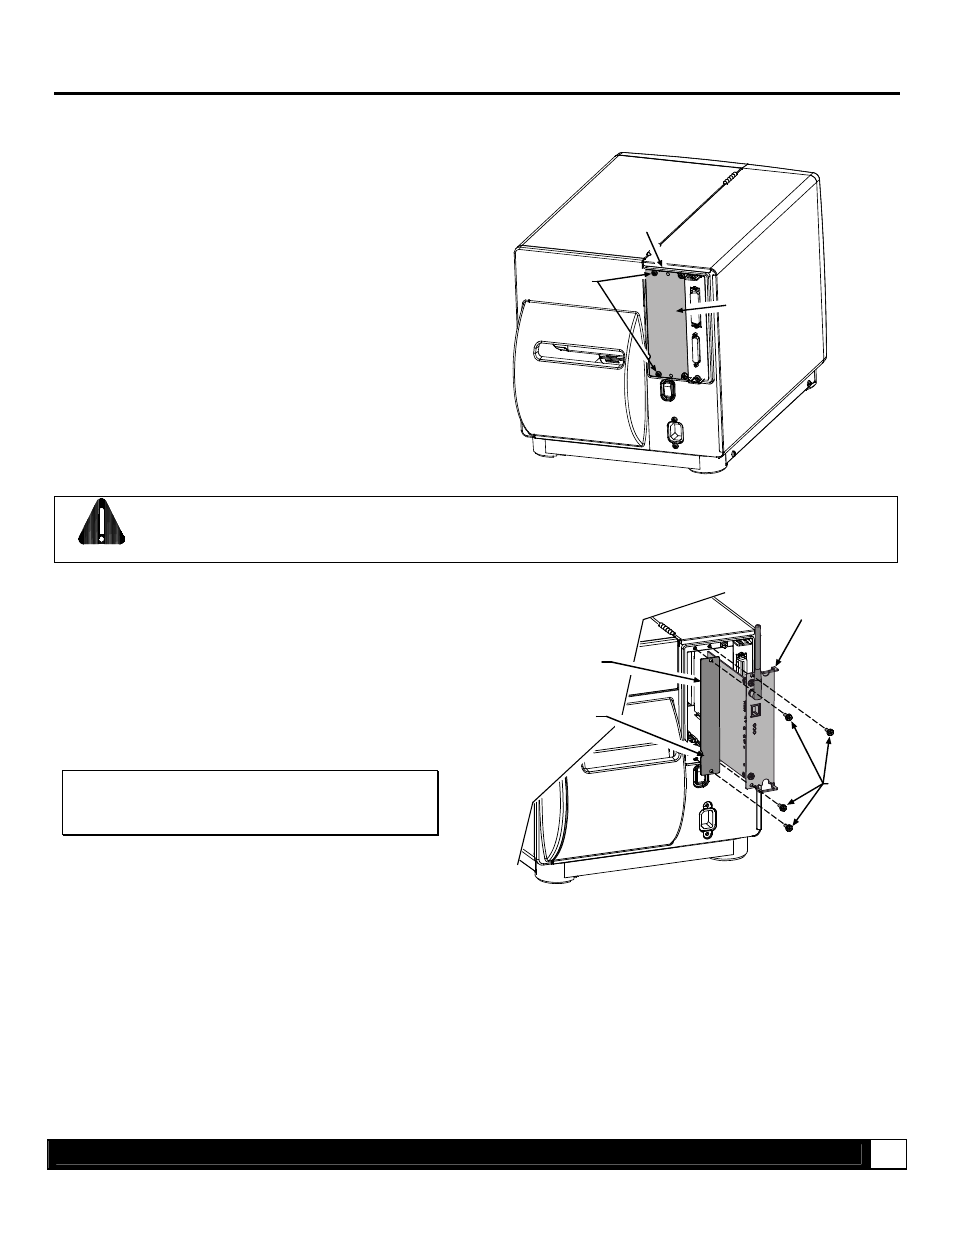
The following illustrations depict installation into an I-Class printer, other model installations are similar.
1. Turn ‘Off’ the Power Switch and unplug the
power cord from the AC Receptacle.
2. Remove the two Screws and Cover Plate from
the rear of the printer.
Screws
Card Cage
Cover Plate
CAUTION
When handling the Network Card, observe proper electrostatic discharge precautions to prevent damage.
3. Slide
the Network Card into the center slot of the
printer. Be sure the Network Card is positioned
between the guides while inserting. Secure using
the two Screws provided in the kit.
4. Position
the
Rear Cover Plate (supplied in the
kit) as shown and secure using the two
previously removed Screws.
Note:
On some A-Class models, the Network
Card is installed upside-down.
Network Card
Screws
Rear Cover Plate
Notch