Atec Mitutoyo-SJ-201P User Manual
Page 5

Ra
,
Rq
,
Ry
,
Rz
,
S
,
Sm
,
Pc
,
R
3
z
,
mr
,
Rt
,
Rp
,
Rk
,
Rpk
,
Rvk
,
Mr1
,
Mr2
,
A1
,
A2
,
Vo
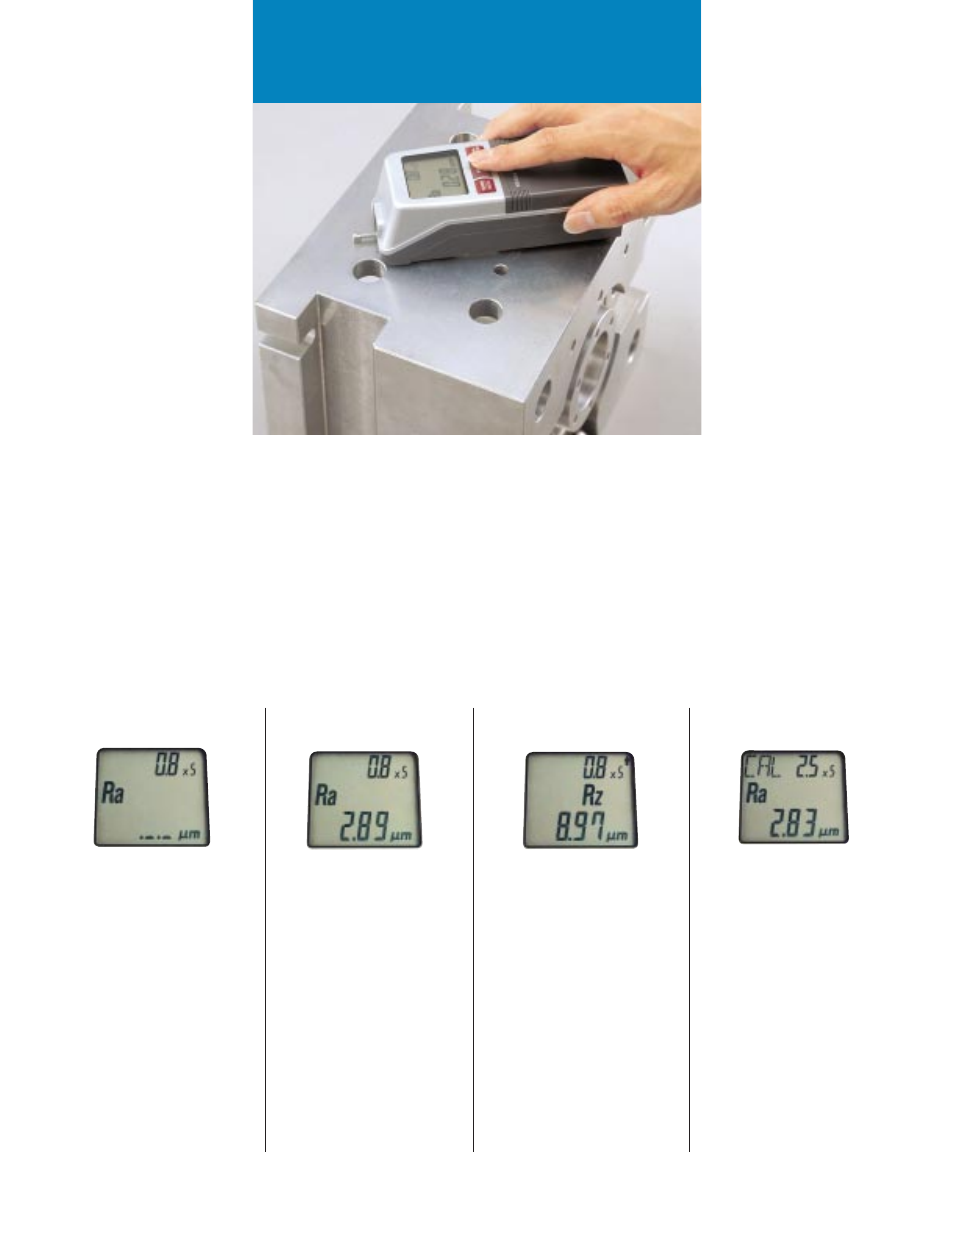
Calibration
Mode:
Pressing the [CAL/STD/RANGE]
key in the measurement mode,
the calibration mode is entered
allowing the detector to be
calibrated to the precision
roughness specimen with
simple key operation.
Parameter Ra value
being displayed
Measurement:
Pressing the [START/STOP]
key in the measurement mode
starts the detector measurement
traversing.
Measurement traversing indicator
“- - - -” on the LCD turns out
into the parameter value display
if measurement is complete.
Measurement traversing length
can be set according to a
national/international standard
or to an arbitrary length.
Measuring
Parameter
Reduction:
Parameter calculations and
resultant display can be limited
only to those actually required.
Reducing the parameters
simplifies the key operation
and parameter calculations.
Ra, Rq, Ry, and Rz
Plus Eleven More
Parameters:
Seven more analysis/display
parameters can be set up in
addition to the factory default
parameters Ra, Rq, Ry, and Rz.
After measurement, press the
[PARAMETER] key repeatedly
until the desired one is
displayed on the LCD.
GO/NG judgment
19 Surface Roughness
Parameters...
Compatible with
ISO / DIN / ANSI / JIS
