Front panel features, Setup menu, Extron contact information – Extron Electronics TLI Pro 101 Setup Guide User Manual
Page 3: Ab e d c
3
68-1817-50
A
04 14
Extron Headquarters
+1.800.633.9876 (Inside USA/Canada Only)
Extron USA - West
Extron USA - East
+1.714.491.1500 +1.919.850.1000
+1.714.491.1517 FAX
+1.919.850.1001 FAX
Extron Europe
+800.3987.6673
(Inside Europe Only)
+31.33.453.4040
+31.33.453.4050 FAX
Extron Asia
+65.6383.4400
+65.6383.4664 FAX
Extron Japan
+81.3.3511.7655
+81.3.3511.7656 FAX
Extron China
+86.21.3760.1568
+86.21.3760.1566 FAX
Extron Middle East
+971.4.299.1800
+971.4.299.1880 FAX
Extron Korea
+82.2.3444.1571
+82.2.3444.1575 FAX
Extron India
1800.3070.3777
(Inside India Only)
+91.80.3055.3777
+91.80.3055.3737 FAX
© 2014 Extron Electronics All rights reserved. All trademarks mentioned are the property of their respective owners.
www.extron.com
Info
Model:
TLI Pro 101
Part Number: 60-1083-01
Firmware
Version:
1.00
PoE Status:
On
Network
IP Address:
DHCP:
Host Name:
Off
192.168.254.251
TLI-AB-CD-EF
Output
Resolution:
Project:
Sleep Timer:
800x600
N/A
5 Minutes
Audio
Master Volume:
Master Mute:
Off
99
Input
HDMI Port:
No Signal
Status
Output
Audio
Advanced
Exit
Network
Input
Advanced
Controller IP:
N/A
Project Size:
N/A
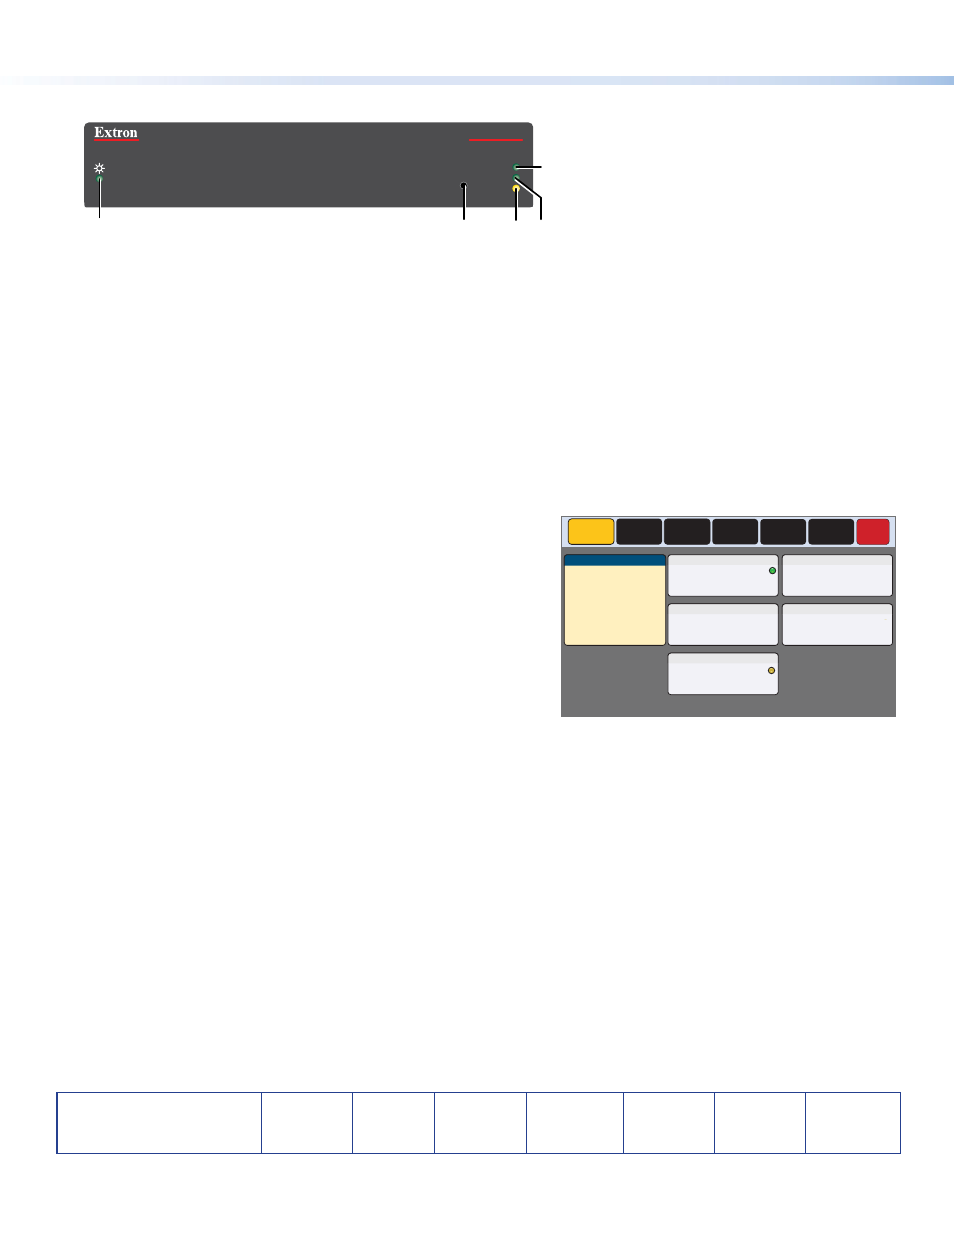
Front Panel Features
TLI PRO 101
TOUCHLINK INTERFACE
ACT
LINK
100
MENU
A
B
E D
C
Figure 2.
TLI Pro 101 Front Panel
A
Power LED — Lights green when the unit is powered on.
B
Menu button (recessed) — opens the
and
z
Press the button briefly (less than 2 seconds) to open the internal menu screens.
z
Press and hold the button (at least 2 seconds) to open the calibration screen. Follow the on-screen instructions to
calibrate the touchpanel.
z
Press the button briefly (less than 2 seconds) for a second time to close the current screen without saving any changes.
C
100 Mb network LED — Lights green when the unit is connected to a 100 Mb network.
D
Network link LED — Lights green when the unit is connected to any network.
E
Network activity LED — Blinks amber when there is activity on the network connection.
Setup Menu
The setup menu opens when the menu button is pressed (see
B
above). There are six different screens:
Status
,
(shown in figure 3)
Network
,
Output
,
Audio
,
Input
, and
Advanced
.
The screens can be selected by pressing the appropriate button in the
navigation bar at the top of the screen.
Press the menu button for at least 2 seconds to open the calibration
screen. Follow the on-screen instructions.
Figure 3.
Setup Menu