2 connecting to pc, 3 focusing – Xylem iRIS-CAM Wastewater Security Camera User Manual
Page 8
i
Quest (NZ) Ltd - PO Box 15169, Hamilton, New Zealand Tel: +64 7 957 8160 Fax: +64 7 957 8162 Email: [email protected]
6
4.2 Connecting to PC
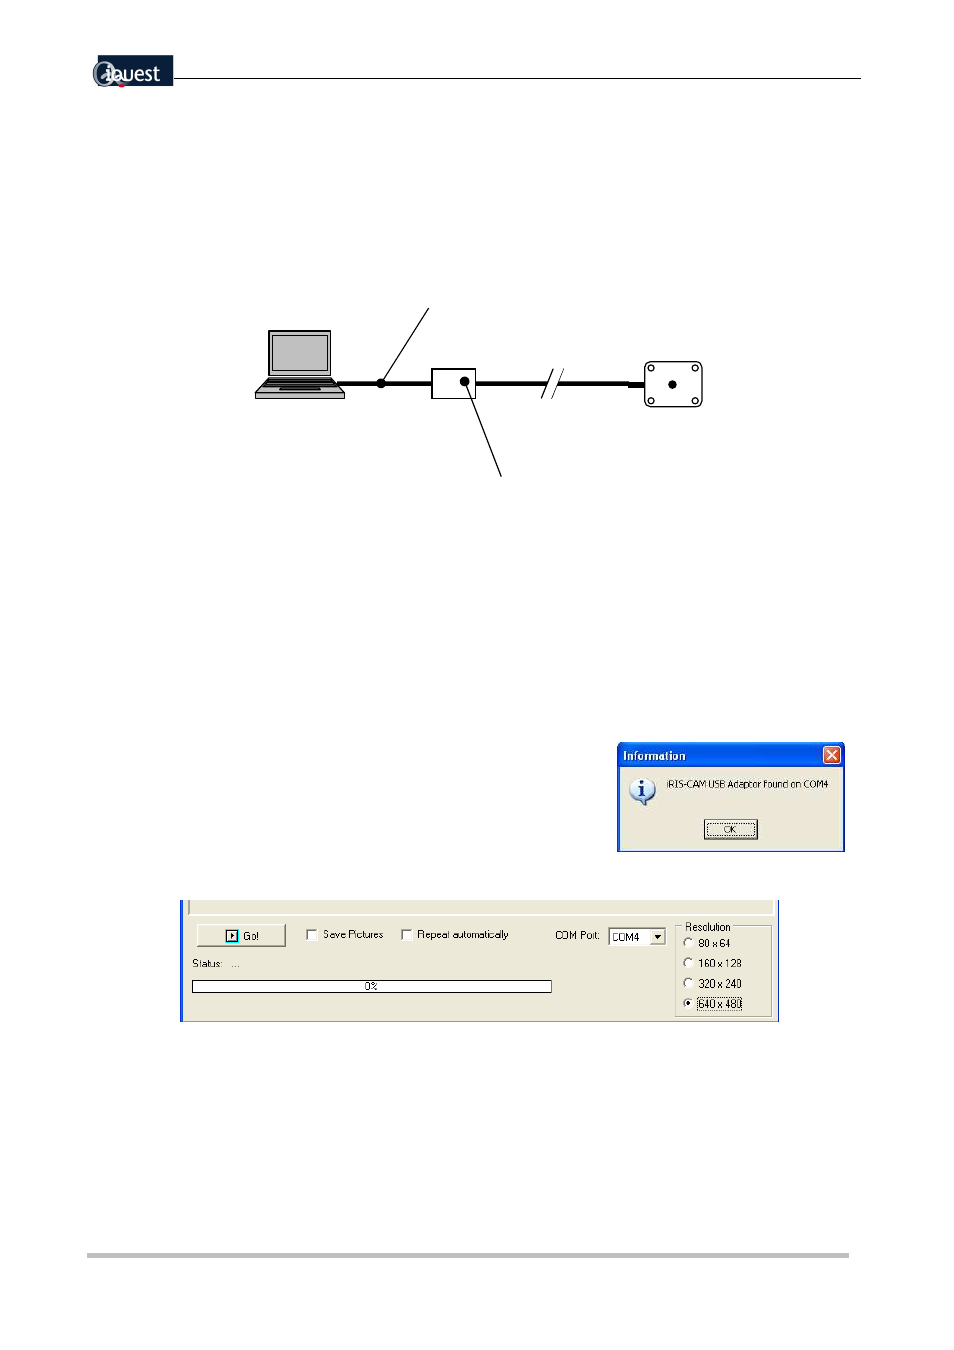
Follow the simple list of steps to connect the iRIS-CAM to a Laptop and download images.
1. Connect the iRIS-CAM’s 6 way connector to the USB adaptor (disconnect from iRIS320 if
required).
2. Connect the USB Cable to the USB adaptor and then connect the other end to a USB port on the
PC. Note: It is important to install the Windows® iRIS-CAM USB adapter drivers before
connecting the camera to the PC see section 4.1.1.
3. When the cables are connected for the first time a popup box will appear on the PC indicating an
iRIS Camera Adaptor has been found and a second box will appear named Found New
Hardware Wizard.
a. When prompted whether to search online for drivers choose No, not this time option and
press the Next button twice. Note: if prompted with the message saying the software has
not passed Windows Logo Verification, please ignore and click the Continue Anyway
button.
b. Click the Finish button.
c. Repeat steps 3&4 for the iRIS Camera Virtual Port.
4. Start the iRIS-CAM Commissioning Software (Start->All
Programs->iRIS-CAM->iRIS-CAM). This will bring up a box
should popup indicating the USB adaptor has been found.
Click Ok button to proceed.
5. Select the resolution and the repeat function as desired.
6. Click the Go button to start downloading images. Note: to stop automatic repeat feature, uncheck
the Repeat Automatically checkbox.
4.3 Focusing
Focusing of the camera can be achieved by screwing the lens clockwise or anticlockwise when viewing the
camera from the front. The camera is factory set to for midrange focus.
•
Anticlockwise rotation (or screw out) focuses on near objects
•
Clockwise rotation (or screw in) focuses on distant objects
USB adaptor
Standard USB cable
Figure 1 Show how to connect iRIS-CAM to a PC.