Setup & operation – Xylem H-3553 User Manual
Page 22
SETUP & OPERATION
20
Purge
The H-3553 has an option built in called purge, the purpose of the purge
is to clear out any debris or silt from the end of the orifice line that could cause false pressure readings.
When a purge is initiated the H-3553 makes a new measurement on the line and tank sensor and saves the
values away just in case data is requested during the purge. The compressor is then turned on and begins
compressing air into the tank until the tank pressure is equal to or greater than the purge pressure value.
The purge valve is then opened which then releases the tank pressure into the orifice line. The compressor
will continue to run until the purge sustain timer has elapsed. Then the H-3553 monitors the tank pressure
which is still open to the orifice and waits for it to stabilize. Finally, the purge valve closes and the H-3553
purge process is complete. Shortly following the purge sequence the H-3553 will need to recharge the tank
pressure to maintain the bubble rate and continue normal operation.
There are three ways to initiate a purge, push the “PURGE” button, the RS-232 menu, and the SDI-12 interface.
To initiate a purge with the button, open the H-3553 enclosure lid and locate the a white push button on the
circuit board labeled “PURGE”, press and hold for about 2 seconds.
To initiate a purge using the RS-232 main menu, press ‘B’ key to enter the “Bubbler Settings” menu and then
press the ‘M’ key for “Manual Purge”. To initiate a purge using the SDI-12 interface, send the “aXP!” command
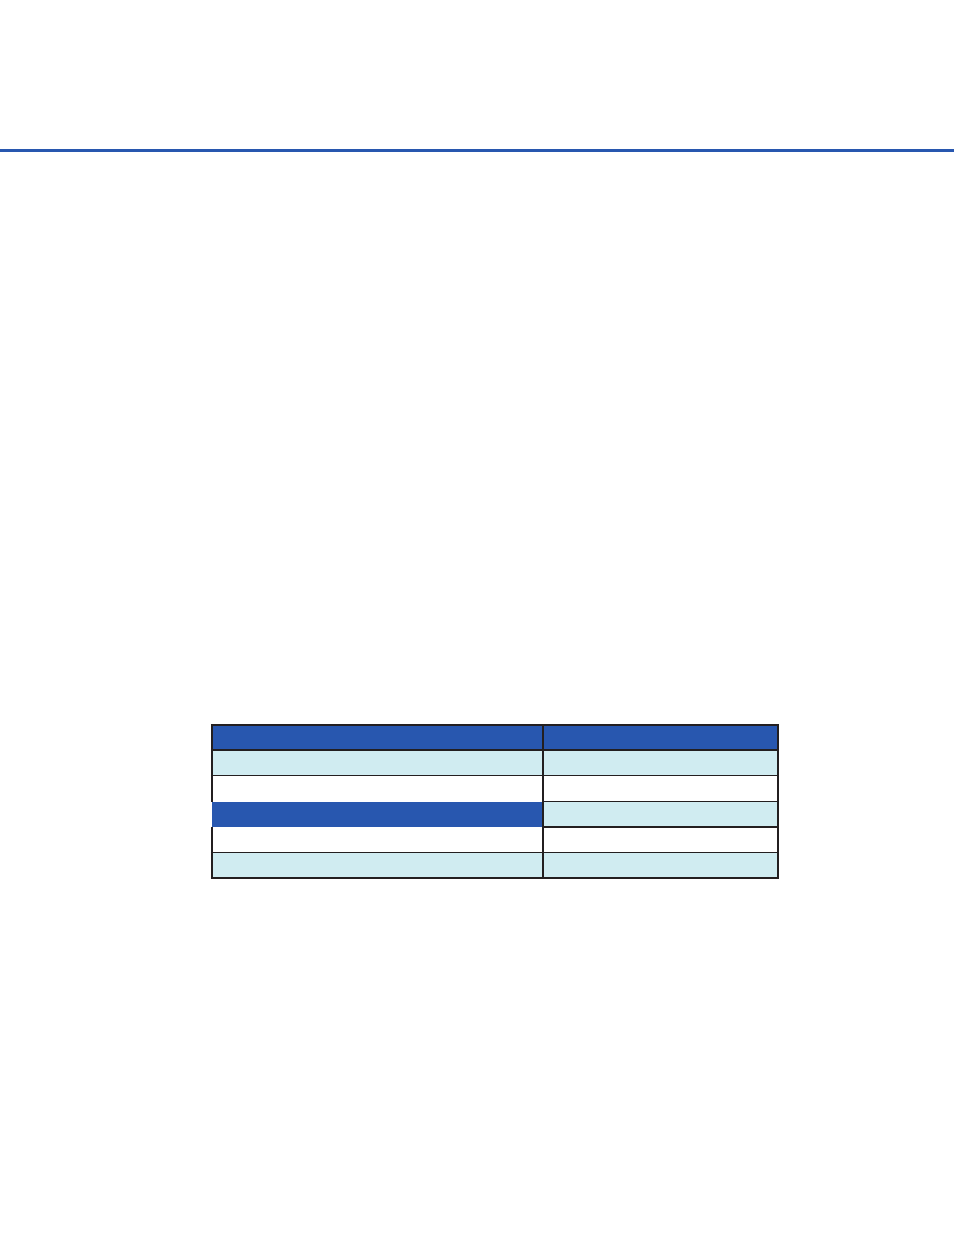
or the “aM2!” command. Note Table 4-14, the ‘a’ is the current SDI-12 address of the H-3553. The ‘ttt’ is the
time it will take to complete the purge, which is dependent on other factors like averaging time and purge
sustain. The ‘dd.d’ is the compressor battery voltage measured immediately following the completed purge
sequence.
H-3553 Combo Bubbler setup menu
sDI-12 Interface
B – Bubbler Settings
Command: aXP! / aM2!
:
Response: attt1
Bubbler settings menu
Command: a + dd.d
M – Manual Purge
Response: a + dd.d
Initiating Purge . . .
Table 4-14: Initiate H-3553 Purge
Purge Pressure
The purge pressure is the pressure that is used to purge the orifice line. This is normally done to clear the end
of the orifice line of debris and or sediment buildup. “False high stage” readings can be caused by debris or
sediment buildup at the end of the orifice line. This is because it will cause more restriction when trying to
push a bubble out which is like the stage is rising. This may cause a saw tooth profile in your data. As pressure
keeps building up until the bubble pushes out past the debris or sediment relieving the pressure in the line.
Then the pressure starts building up again causing saw tooth data.
The H-3553 purge pressure default is set to 40 PSI (15 PSI sensor) or 50 PSI (30 PSI sensor). The programmable
purge pressure range is 30 to 90 PSI. To change the “Purge Pressure” using the RS-232 main menu, press the