Chapter 5, Create a raid array – Asus P8Z77-V PREMIUM User Manual
Page 168
5-8
Chapter 5: RAID configurations
Chapter 5
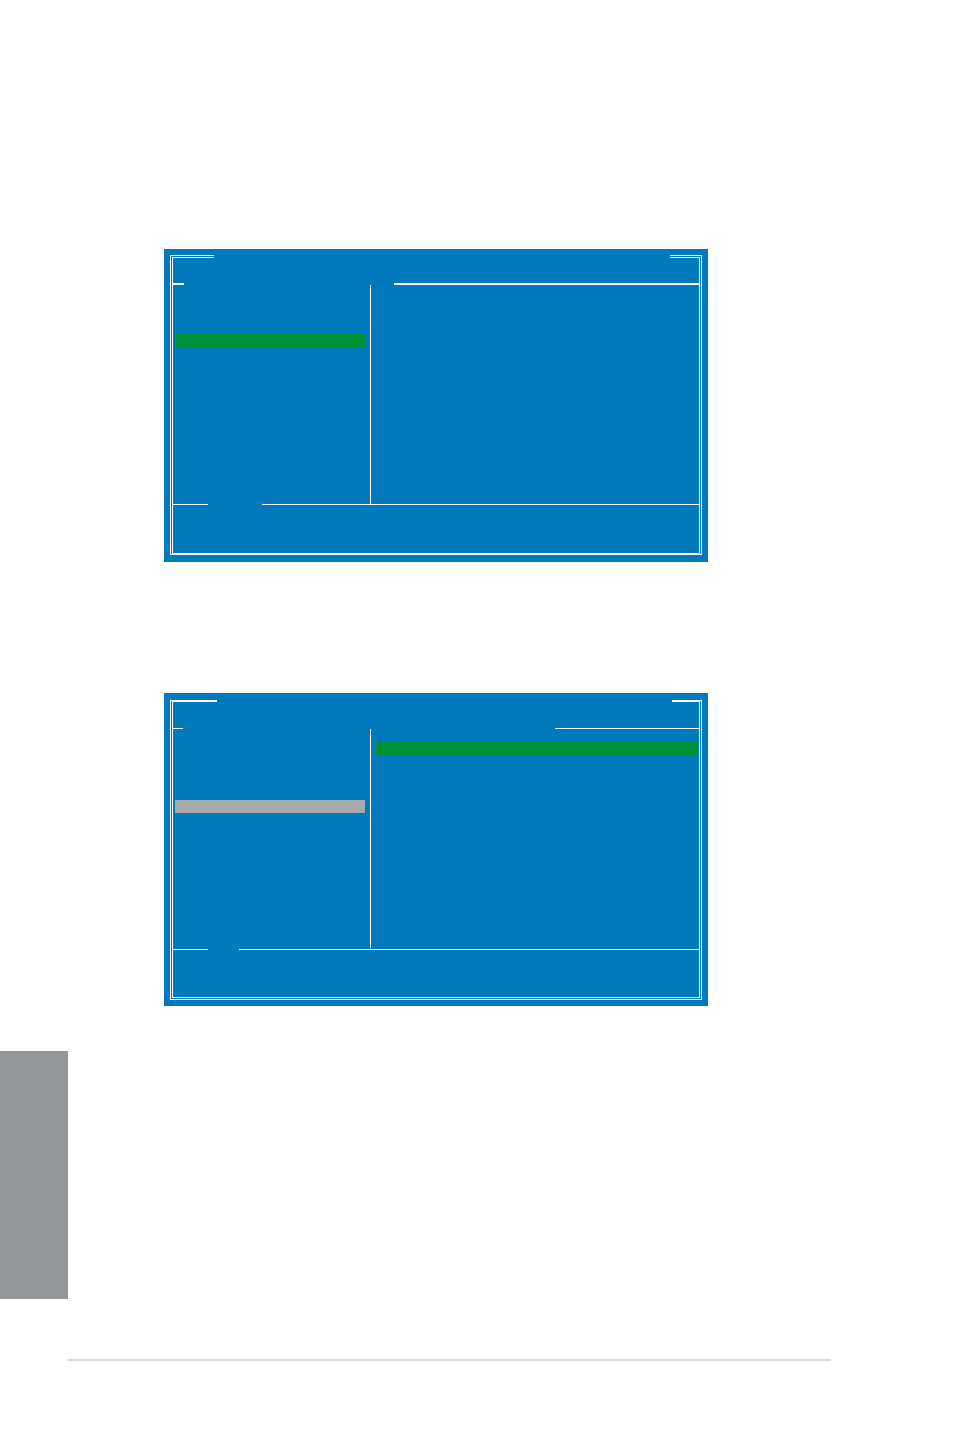
Create a RAID Array
1.
Move the selection bar to HBA 0: Marvell 0 and press
2.
Select Configuration Wizard and press
3.
Press
(*) appears in front of the selected hard drive. After selecting all the drives needed for
the RAID array, press
Marvell BIOS Setup (c) 2009 Marvell Technology Group Ltd.
Configure->Select free disks
Help
Use space bar to select the free disks to be used in the array.
ENTER:Operation SPACE:Select F10:Exit/Save ESC:Return
HBA 0: Marvell 0
├
Virtual Disks
└
Free Physical Disks
* ├ PD 0: ST3160812AS
└ PD 8: ST3160812AS
Port ID :
PD ID :
Type :
Status :
Size :
Feature Support :
Current Speed :
Model :
Serial :
FW Version :
▶
▶
0
0
SATA PD
Unconfigured
152626MB
MCQ 3G 48Bits
3G
ST3160812AS
9LS0F4HL
3.AAE
Configure->Select free disksCreate Virtual Disk
Help
Virtual disk configurations.
ENTER: Select F10: Exit/Save ESC: Return
HBA 0: Marvell 0
├
Virtual Disks
└
Free Physical Disks
* ├ PD 0: ST3160812AS
* └ PD 8: ST3160812AS
RAID Level : RAID 0
Max Size(MB) : 305253
Stripe Size : 64KB
Gigabyte Rounding : 1G
Quick Init : Yes
Name : Default
Threshold(%) : 90
Next
▶
▶
Marvell BIOS Setup (c) 2009 Marvell Technology Group Ltd.