Chapter 4, Deleting a raid set – Asus P8H77-M PRO User Manual
Page 134
4-30
Chapter 4: Software support
Chapter 4
5.
Use the up/down arrow key to select a drive, and then press
triangle marks the selected drive. Press
6.
Use the up/down arrow key to select the stripe size for the RAID array (for RAID 0, 10
and 5 only),and then press
to 128KB. The following are typical values:
RAID 0: 128KB
RAID 10: 64KB
RAID 5: 64KB
We recommend a lower stripe size for server systems, and a higher stripe size for
multimedia computer systems used mainly for audio and video editing.
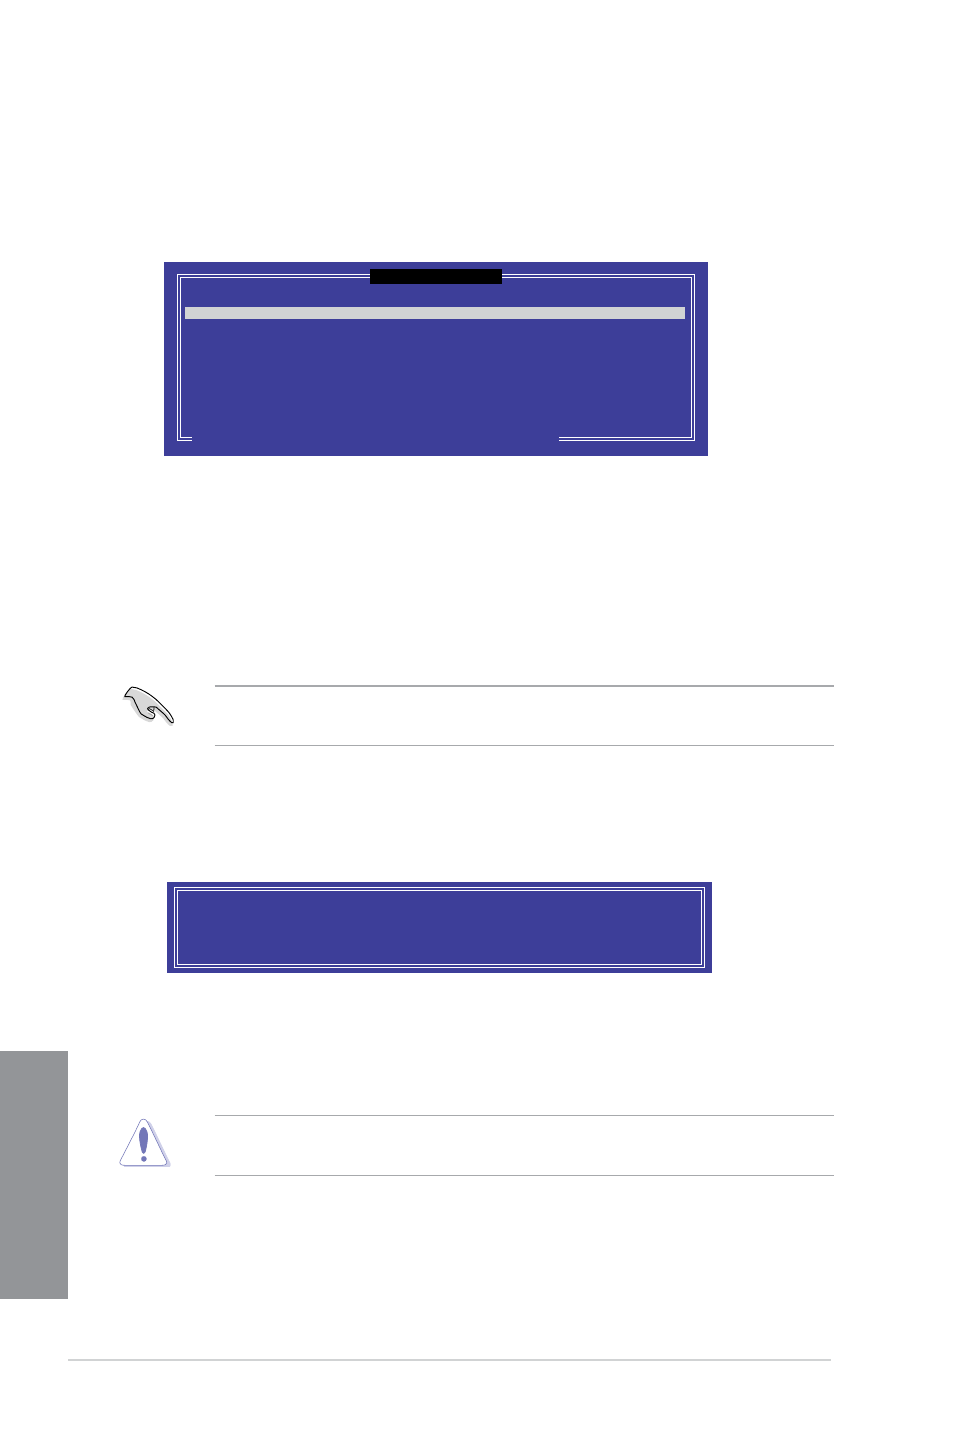
WARNING: ALL DATA ON SELECTED DISKS WILL BE LOST.
Are you sure you want to create this volume? (Y/N):
9.
Press
to the CREATE VOLUME menu.
7.
When the Capacity item is selected, enter the RAID volume capacity that you want
and press
8.
When the Create Volume item is selected, press
message appears:
Deleting a RAID set
Take caution when deleting a RAID set. You will lose all data on the hard disk drives when
you delete a RAID set.
To delete a RAID set:
1.
From the utility main menu, select 2. Delete RAID Volume and press
following screen appears:
2.
Enter a name for the RAID set and press
3.
When the RAID Level item is selected, press the up/down arrow key to select a RAID
level to create, and then press
4.
When the Disks item is selected, press
to include in the RAID set. The SELECT DISKS screen appears:
[ SELECT DISKS ]
Port Drive Model Serial # Size Status
0 ST3160812AS 9LS0HJA4 149.0GB Non-RAID Disk
1 ST3160812AS 9LS0F4HL 149.0GB Non-RAID Disk
2 ST3160812AS 3LS0JYL8 149.0GB Non-RAID Disk
3 ST3160812AS 9LS0BJ5H 149.0GB Non-RAID Disk
Select 2 to 6 disks to use in creating the volume.
[↑↓]-Prev/Next [SPACE]-SelectDisk [ENTER]-Done