Asus AP1600R-E2(BI2) User Manual
Page 109
A S U S A P 1 6 0 0 R - E 2 ( B A 2 / B I 2 )
A S U S A P 1 6 0 0 R - E 2 ( B A 2 / B I 2 )
A S U S A P 1 6 0 0 R - E 2 ( B A 2 / B I 2 )
A S U S A P 1 6 0 0 R - E 2 ( B A 2 / B I 2 )
A S U S A P 1 6 0 0 R - E 2 ( B A 2 / B I 2 )
6 - 1 1
6 - 1 1
6 - 1 1
6 - 1 1
6 - 1 1
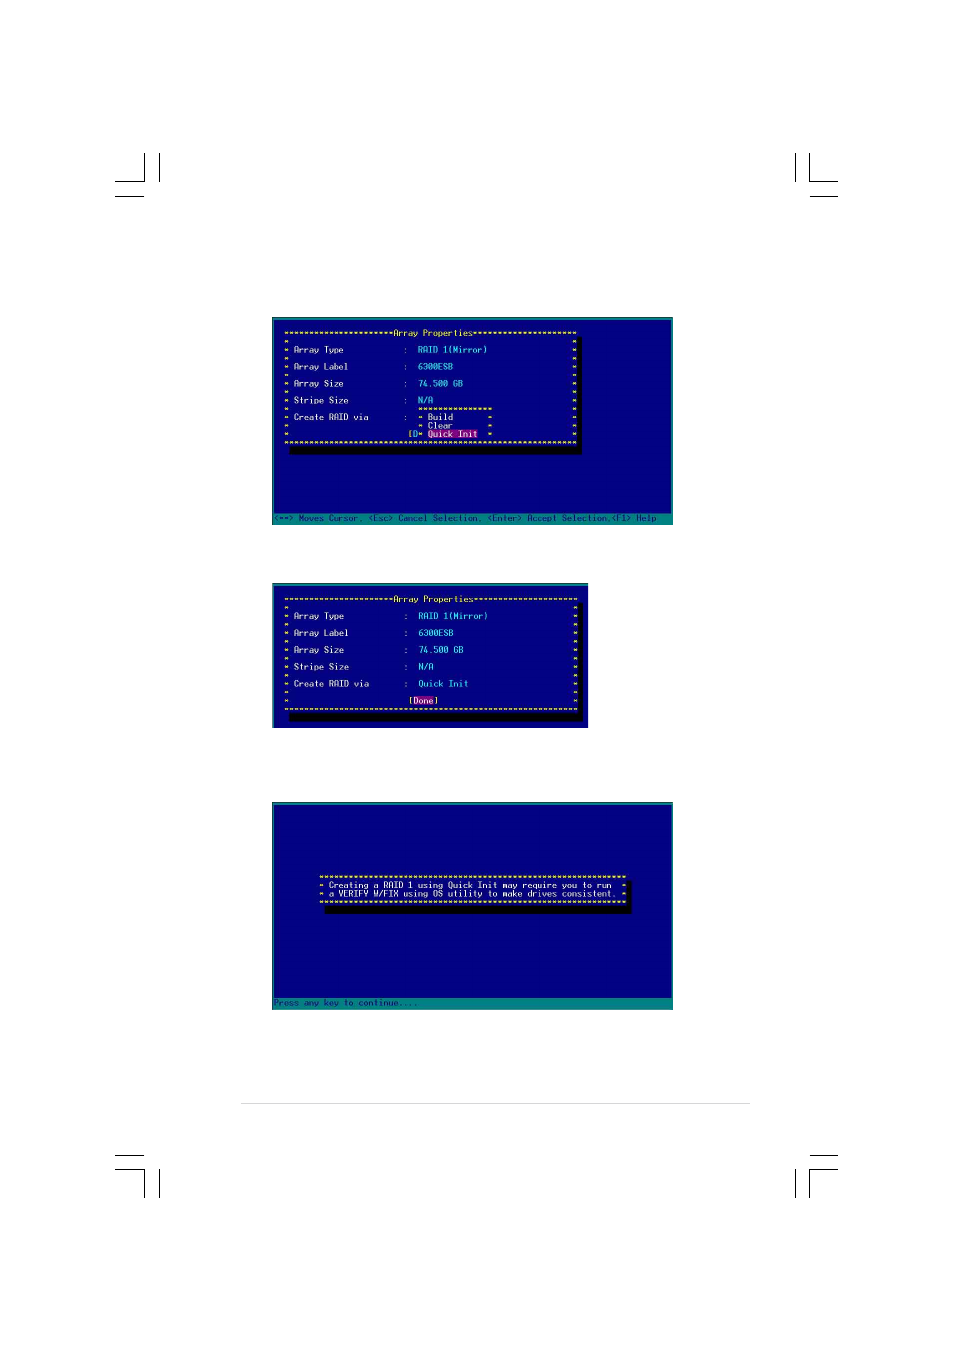
4.
Move the cursor to the C r e a t e R A I D v i a
C r e a t e R A I D v i a
C r e a t e R A I D v i a
C r e a t e R A I D v i a
C r e a t e R A I D v i a option, select Q u i c k I n i t
Q u i c k I n i t
Q u i c k I n i t
Q u i c k I n i t
Q u i c k I n i t
from the menu, then press
5.
When you have finished setting the array properties, move the cursor
to D o n e
D o n e
D o n e
D o n e
D o n e, then press
6.
A message appears on screen informing you that a RAID 1 array
created with Quick Init requires you to run a Verify W/FIX on the
drives for consistency. Press any key to continue.