Ocean Optics SIR Series User Manual
Page 5
07-December-2010
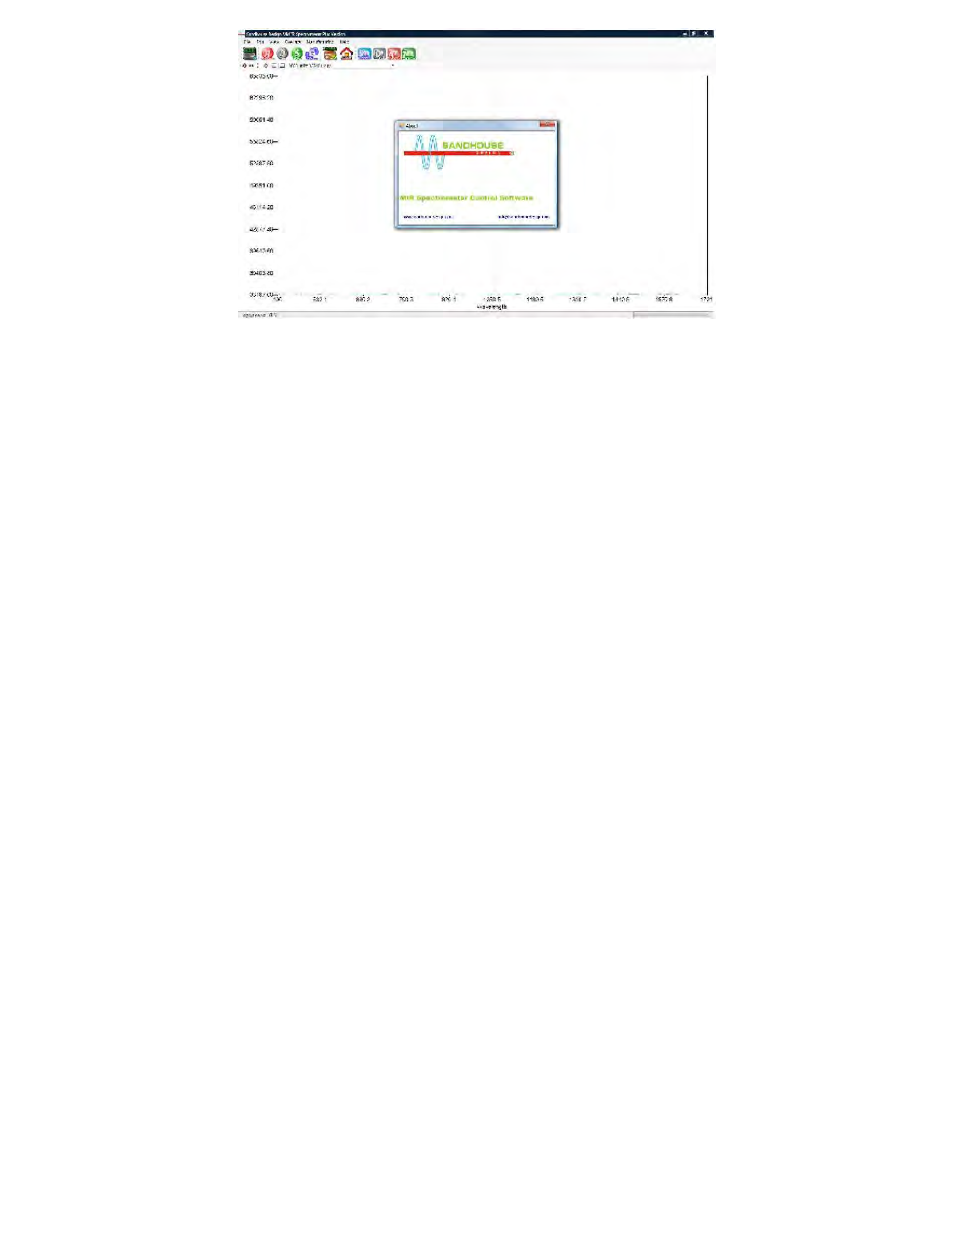
Figure 3:
Figure 3 shows the basic view of the Mid IR Spectrometer Software. The large
icons at top are: (listed from left to right).
1. MIR: This button accesses all of the settings and control registers for the
spectrometer
2. Reference: Use this button to imitate a scan and store a reference spectrum.
3. Dark: Use this button to scan and store a dark signal.
4. Spectrum: Use this button to take a Scan based on the programmed range.
5. Continuous: This will tell the spectrometer to continuously scan.
6. Range Scan: Use this button to configure the desired scan wavelength range
and step resolution of the scan. The practical resolution of this scan will depend
on the installed slit size.
7. Home: Use this button to force the turntable to return home and re-reference
its location.
8. View Sample: Changes the spectrum view window to the most recent scan.
9. Subtract Dark: This will subtract the dark scan from the current spectra. This
control is only active after a dark signal has been taken
10. View Absorbance: This button will calculate and display an absorbance
spectra based on the stored reference, dark and Sample spectra. This button
only becomes active after the respective samples have been taken
11. View Transmission: This only becomes active after a dark and reference
have been stored.
Prior to using the spectrometer it is necessary to do the following:
1. Turn on the Thermo-Electric (TE Cooler) if it is present and allow the desired
temperature to stabilize.
2. The Dark current setting should be verified and possibly adjusted
3. The desired wavelength range must be set.