Configuring the spectrometer, Open the spectrometer configuration screen, Wavelength calibration tab – Ocean Optics ADC2000-PCI User Manual
Page 7
Installing and Using the ADC2000-PCI
2. Select
S2000/PC2000/USB2000/HR2000 from the Spectrometer Type drop-down menu. Select
ADC2000-PCI from the A/D Converter Type drop-down menu. Select your PCI Card channel from the
PCI Card Identifier drop-down menu. Select 0 if this is the only ADC2000-PCI in your system. Then, click
the OK button. The User Name and Serial Number screen appears.
3. Enter a user name and software serial number, and then click the Next button. The Select Default
Spectrometer Message appears:
4. Click
the
OK button. The Default Spectrometer Configuration screen appears.
5. Go to the OOIBase32 installation directory and select the file named XXX.spec, where XXX represents
the serial number of your ADC2000-PCI. Then, click the OK button.
Note: You will typically only set the parameters in this screen once -- when OOIBase32 is first installed
and the software first opens. However, you can access this configuration screen at any time by
selecting Configure > Hardware from the menu bar.
The system should now be configured to acquire data and respond to light. If you encounter problems, exit and
restart the OOIBase32 program.
Configuring the Spectrometer
The following section provides information on configuring your spectrometer and setting system parameters:
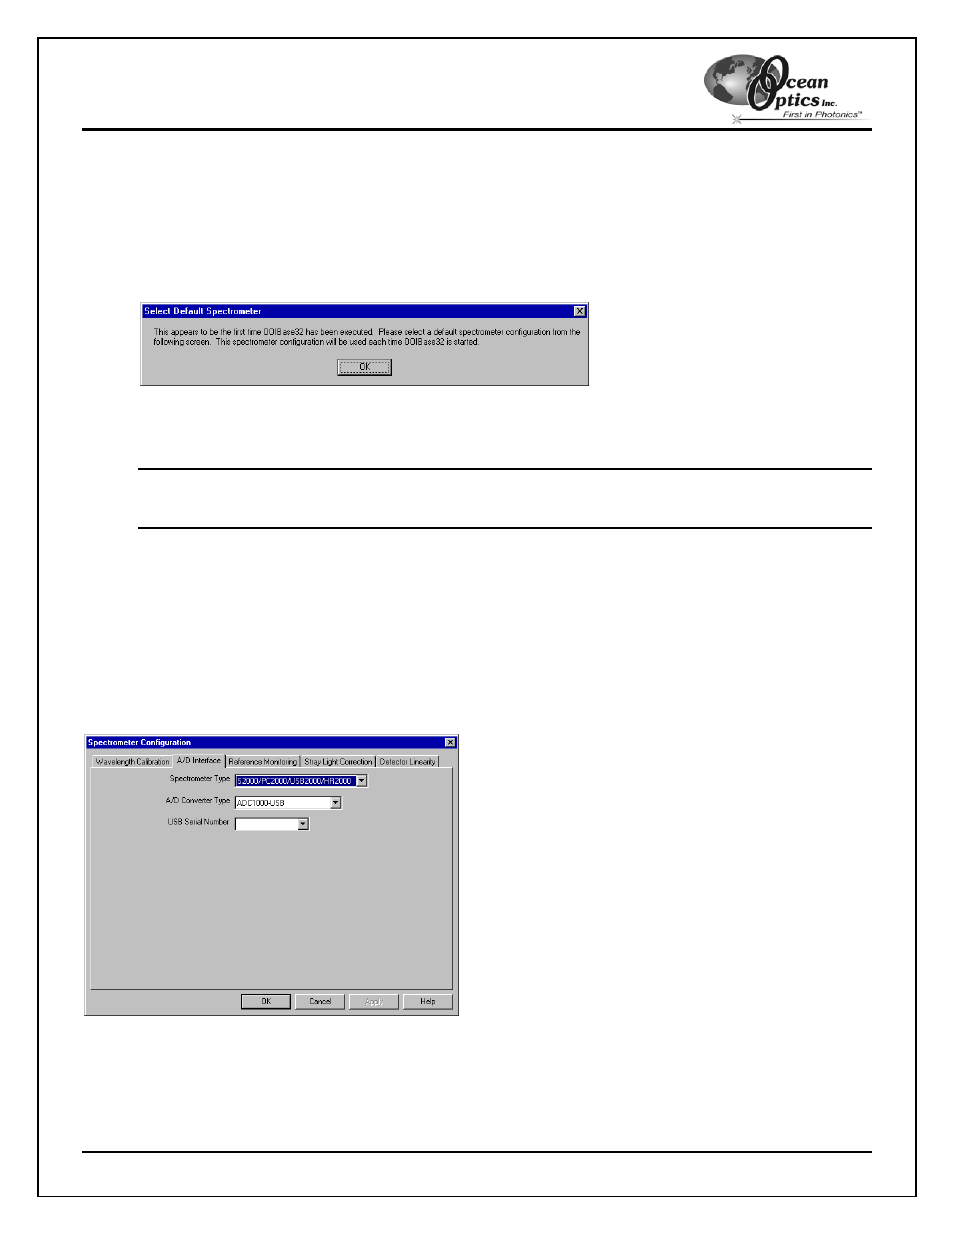
Open the Spectrometer Configuration Screen
Select Spectrometer > Configure from the menu bar. The Spectrometer Configuration screen appears:
Wavelength Calibration Tab
ADC2000-PCI Operating Instructions
4
The numbers in the Wavelength Calibration tab must match the coefficients from the Wavelength Calibration Data
Sheet that came with your spectrometer. Copy the coefficients that are on the floppy diskette that you received
with your spectrometer to your hard drive, or manually enter the values from the Wavelength Calibration Data
Sheet, and then click the Apply button.