American Car Craft Dodge Charger _ Chrysler 300 5.7L Plenum Cover Perforated 2011-2013 User Manual
Page 4
4
cover. Simply unbolt the actuator from its perch, attach the new extension bracket to it using the nut and bolt
provided with the bracket and then reattach the actuator to the factory perch. The extension will effectively set
the actuator further back towards the firewall.
6. Now that you have successfully relocated the factory vacuum actuator you would have noticed the wire harness
routed along this very same area. These harnesses will need to be tightened up to create clearance. Simply zip
tie the harness to the actuator bracket effectively pulling them away from the engine creating the needed
clearance.
7. The last thing you will need to do will be to reposition the factory wire harness that supplies the coil packs.
Simply remove the two wire harnesses from both side of the engine from there perches and set them in
between the factory valve cover and plenum. This procedure will allow the new covers to set atop the factory
fuel rails without clamping themselves over these harnesses thusly eliminating any possibility of chafing the
harnesses. You will most likely need to detach each harness from the coil pack connectors in order to roll them
over to their new placements and then reattach.
8. Now that you have successfully prepared the engine for the new accessories the rest is pretty strait forward.
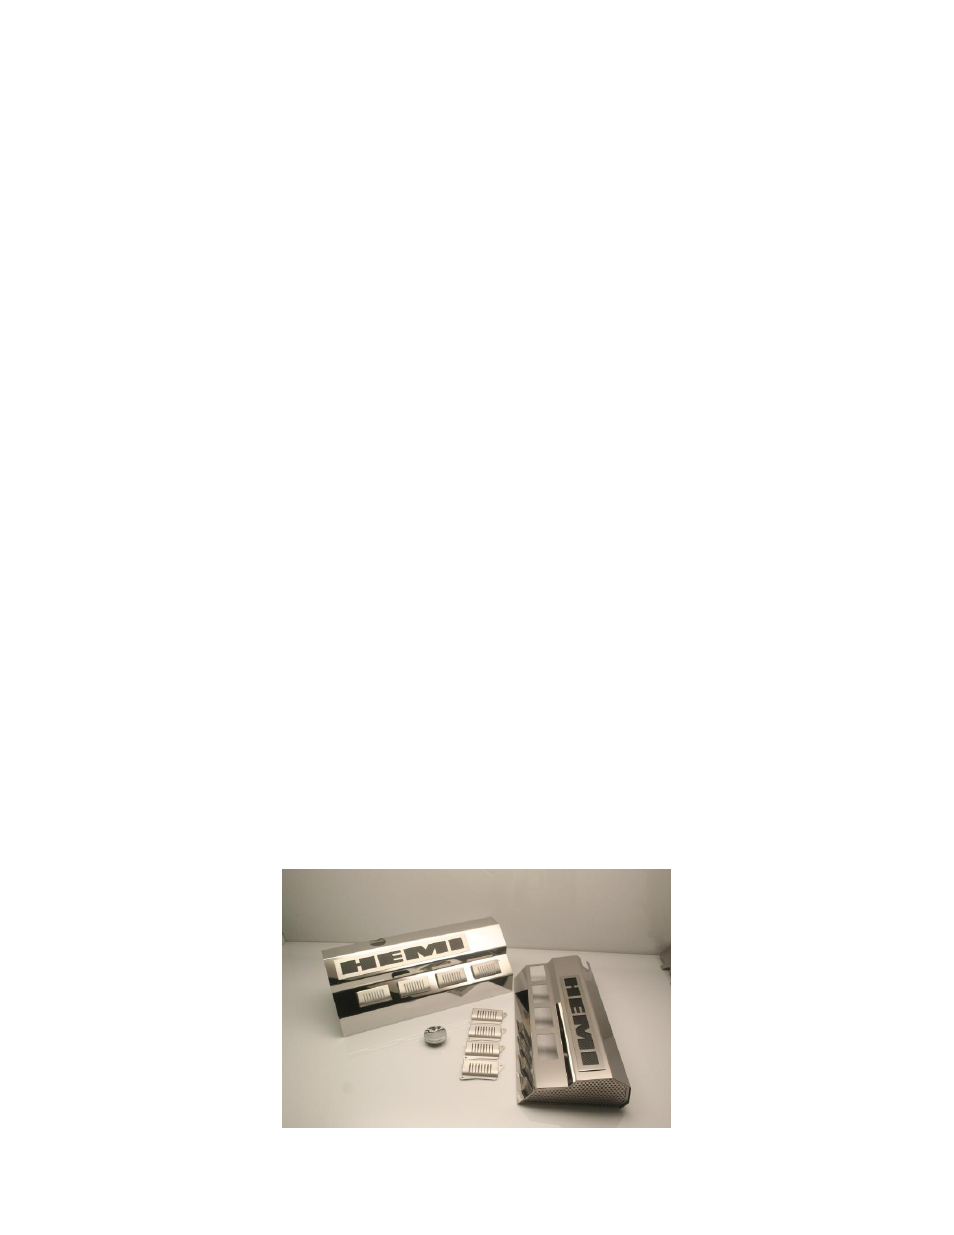
Remove all (16) factory coil pack attachment bolts and replace them with the threaded bolts provided with your
kit. Then remove the protective liners and simply attach all (8) custom coil pack covers using the attachment
screws provided. Leave the two far screws of the two rear covers out at this time.
9. Set the new fuel rail covers over the factory fuel rails. You will most certainly need to tweak the overall shape of
the new covers in order to allow them to set nice and contoured to the engine. Simply take a look at what might
need to be done by initially setting them into position and then remove them to adjust the covers by hand so
that they set in place perfectly. Once you have been able to get the covers to set nicely, align the small hole in
the new covers with the last hole in each of the two back coil pack covers. This may require a small flash light to
see the whole alignment and perhaps a small #3 screw driver or scratch awl to align the holes and then place the
remaining two stainless screws with a stubby screwdriver to set the two covers. At this point in the installation
take a look at the hoses and all wire harnesses to make sure there is adequate clearance for everything and
plenty of clearances.
10. Now you are ready to remove the protective liner from the Fuel Rail Covers.