Tc near control panel – mixer page, Line 3-4 module s/pdif module adat/tos module, Lock indication – TC Electronic Impact Twin User Manual
Page 10: Reverb module presets - (channel strip)
TC NEAR CONTROL PANEL – MIXER PAGE
17
TC NEAR CONTROL PANEL – MIXER PAGE
16
you need to press the INST switch on the front panel of
Impact Twin.
Example 3
With an XLR plug inserted into MIC input 1 or 2, the
display will show “MIC”. In addition, the input can show:
PAD:
You have pressed the PAD switch.
PH:
You have pressed the phantom power switch.
Precise indication of meter values:
If you place the mouse over any meter, you will
see a precise value indication in the Control
Panel’s info line. The info line is at the bottom of
the TC Control Panel.
Pan Knob
Left/right Pan control for channel sections 1&2 and ADAT
channels.
Bal(ance) Knob
Left/Right balance control for the Line, S/PDIF and TOS
stereo channels.
Indication of ideal average input level
The small arrow on the meter indicates the ideal
average input level. Use the output level control
of your source and Impact Twins GAIN TRIM
controls, to find a level where the average input
signal is just around this arrow. This ensures full
benefit of Impact Twins compression module and
also prevent any overloads.
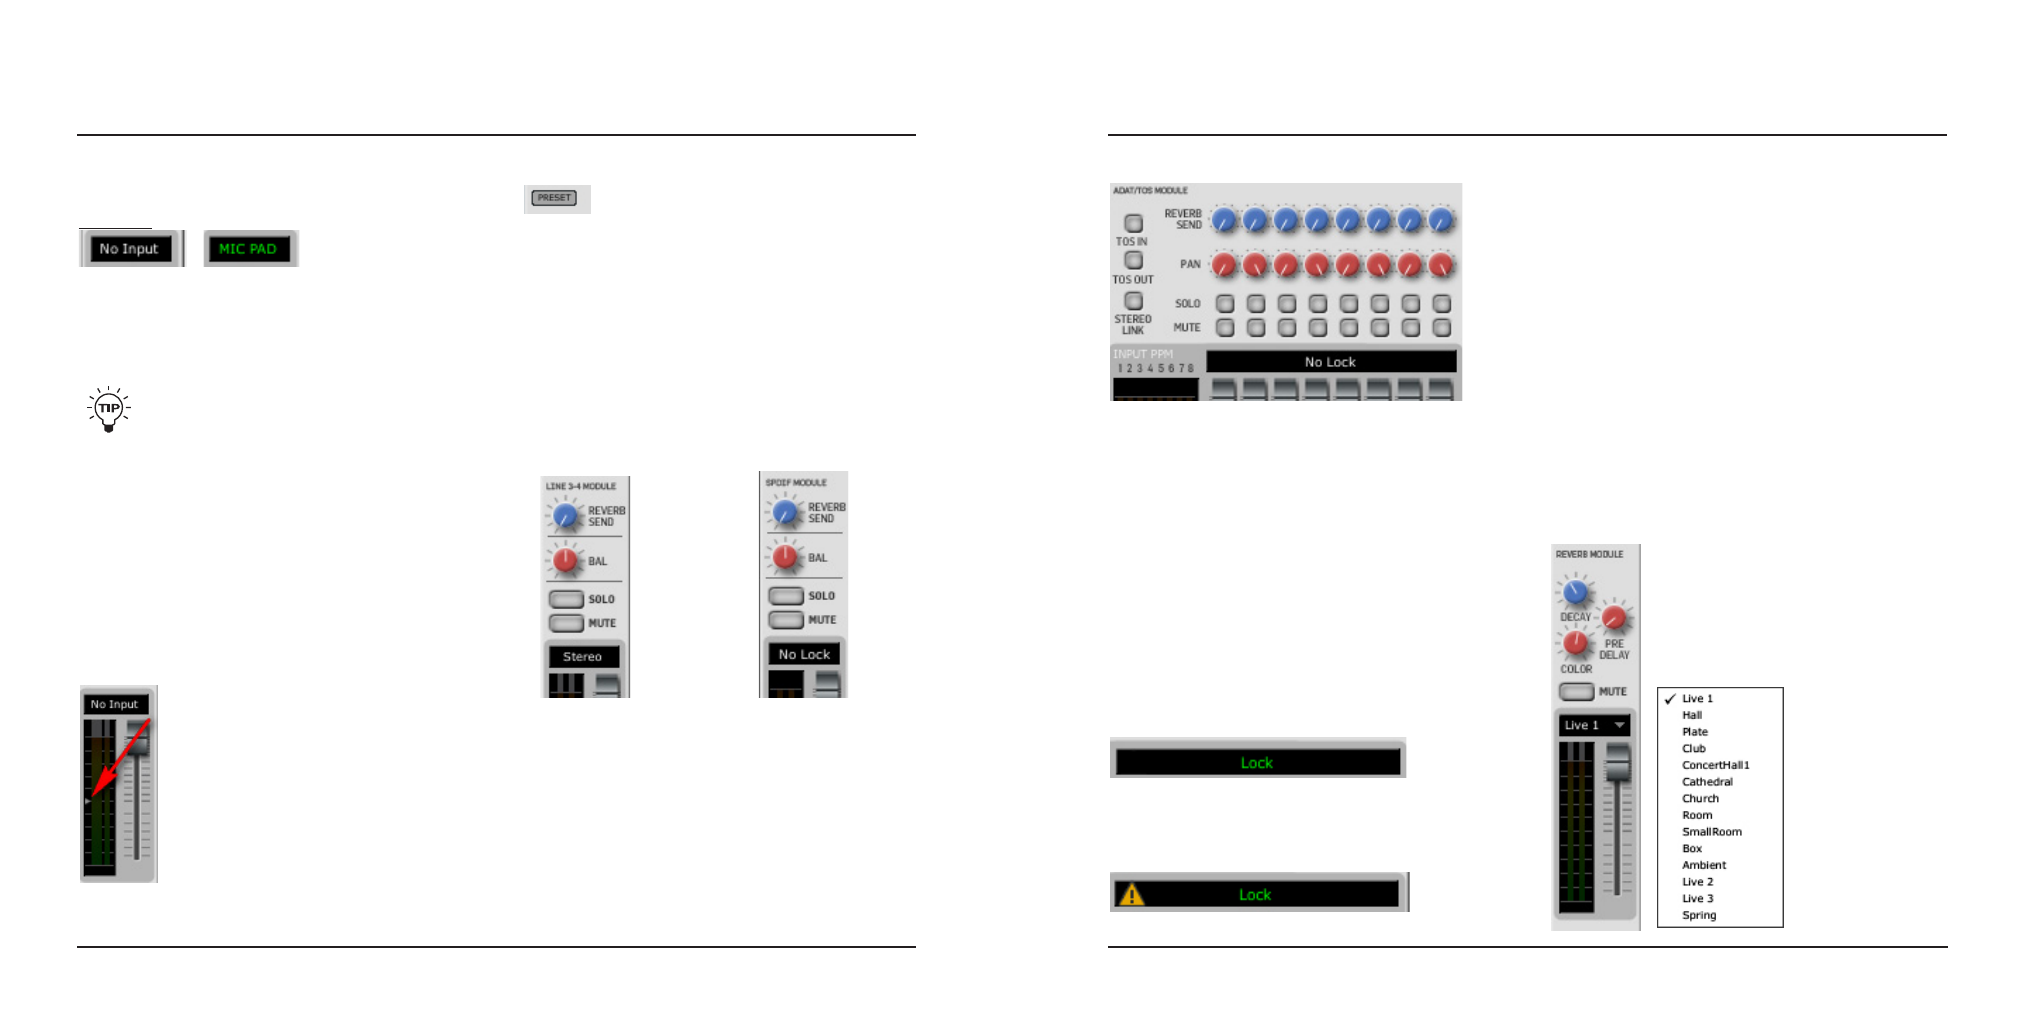
Line 3-4 Module
S/PDIF Module
ADAT/TOS Module
TOS IN Button
Alternates between TOS and ADAT format on the optical
inputs.
TOS OUT Button
Alternates between TOS and ADAT format on the optical
outputs.
STEREO LINK Button
If you only use stereo sources on the ADAT channels,
you can link the ADAT channels in four pairs: 1-2, 3-4,
5-6 and 7-8. If the channel pairs are unlinked, they will
appear as 8 individual channels in the mixer.
S/PDIF module
The S/PDIF module controls any signal present on the
S/PDIF rear panel input and features Reverb Send, Bal,
Solo and Mute controls.
Line 3/4 module
The Line 3-4 module controls any signal present on the
Line 3-4 rear panel inputs and features Reverb Send,
Bal, Solo and Mute controls.
Note that both S/PDIF and Line inputs are always stereo.
Lock Indication
(S/PDIF and ADAT/TOS Modules)
Indicates that the incoming ADAT/TOS signal is perfectly
locked to Impact Twin’s internal clock, or that the Impact
Twin is perfectly locked to the external source selected
on the “System Settings” page*.
An exclamation mark indicates a sample rate conflict.
Such a conflict occurs if Impact Twin runs at internal
clock and a digital signal on the ADAT/TOS input
provides a clock rate that differs from this internal clock.
The exclamation mark also occurs if you have attached
two external devices on each of the digital ports and
those two devices run at different sample rates.
Please note that there can only be one unit in a system
acting as master clock! All other devices must be set to
follow that master clock. Therefore it makes sense to
connect a digital output on the Impact Twin’s rear panel
to a digital input on an external device. This way, the
external device can lock to the Impact Twin if Impact
Twin is set as clock master. This applies even if no audio
is sent from Impact Twin to the external device. The
clock must be provided by the master.
This is the section that receives
signal sent via the “Reverb Send”
controls on channel strips 1/2, Line
3/4, ADAT/TOS and SPDIF.
From this module’s drop down menu,
you can select the desired Reverb
type:
Reverb Module
Presets - (channel strip)
Via the channel strip preset menu you can
save and load channel strip presets. These
presets hold all settings from the channel strip.
A number of factory presets are provided as excellent
starting points for different types of recording material but
you can create and save as many of your own as you
please.
TC near automatically generates a default preset folder
but you can navigate and save/load presets from any
folder you prefer.