Tools needed, Front suspension – Daystar KC09113BK User Manual
Page 2
3
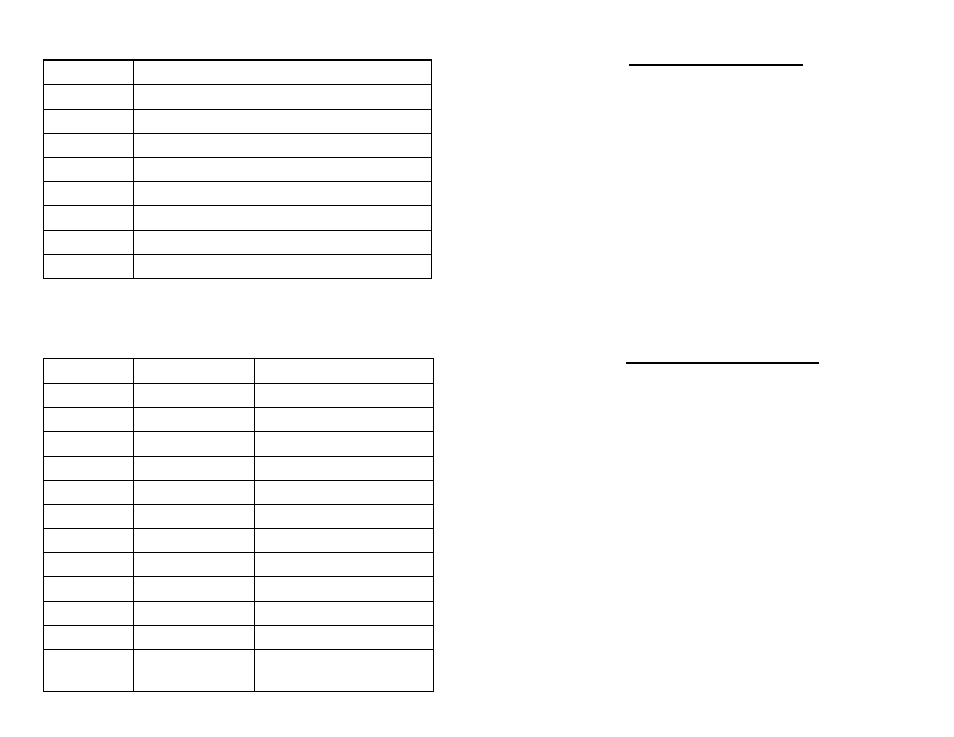
Tools Needed
Quantity
Description
1
Floor jack
2
Jack stands
2
Wheel chocks
1
Lug wrench
1
1/2” Rachet
Set
1/2” Drive metric socket set
Set
Metric wrench set
1
Torque wrench
Bill of Materials / Part list
FRONT KIT KC09113BK
REAR KIT KC09116 BK
Quantity
Part Number
Description
KC09113
FRONT KIT
2
M03703
Front Coil Spring spacer
6
S11082
Stud Extenders
6
S10292
10mm 1.5 Lock nut elastic
1
P20165 / P10474 Instructions / Warning decal
KC09116
REAR KIT
2
M20119
Rear Coil Spring Spacer
1
P20165 / P10474 Instructions / Warning decal
KC09114
FRONT AND REAR KIT
All Parts Numbers All parts listed for Front &
Rear kits
4
Installation Instructions
!Warning: Always work with appropriate personal safety
gear including safety glasses, gloves and hearing protection if
using air powered tools.
Begin by inspecting the components & hardware for dam-
age. Then compare components & hardware to the bill of materi-
als for completeness. If anything is missing/damaged, do not pro-
ceed with the installation. Please, call Daystar Products (800-595-
7659) and we will send you the missing of damaged components
free of charge.
!Caution: Vehicle front end must be raised to install leveling
kit. Using a hydraulic chassis lift will greatly ease installation.
If another jack is used, assure vehicle is level on a firm sur-
face, in park (1st gear), rear wheels blocked and jack stands
in place to
support ve-
hicle in case
jack or vehi-
cle shifts.
1.
Put the transmission in park or 1st gear for ( manual transmis-
sion ) and chock the rear tires.
2. Raise the front of the truck in accordance to manufacturer rec-
ommendations and support with jack stands, chock rear
wheels. Raise vehicle so that the front tire are off the ground.
3. Remove front tires.
4. Remove the sway bar link from sway bar at the frame.
5. Remove the upper ball joint nut and separate the knuckle from
the upper A-arm using the appropriate Puller tool..
6. Remove the lower strut nuts on strut tower (3) per side.
NOTICE: leave one of the nuts on the strut to prevent the strut
from dropping out in the next step.
FRONT SUSPENSION