Tools needed – Daystar KJ71043BK User Manual
Page 2
3
Quantity
Description
1
Gloves
1
Razor Blade or Ezacto Blade
1
T-20 Torx Bit Driver
1
File
Tools Needed
Quantity
Part Number
Description
1
KJ71043BK or
KJ71044BK w/
switches
Windshield pillar
Switch panel
(Part List)
Bill of Materials
Installation Instructions
!Warning: Always work with appropriate personal safety
gear including safety glasses, gloves and hearing protection if
using air powered tools.
Begin by inspecting the components & hardware for dam-
age. Then compare components & hardware to the bill of materi-
als for completeness. If anything is missing/damaged, do not pro-
ceed with the installation. Please, call Daystar Products (800-595-
7659) and we will send you the missing of damaged components
4
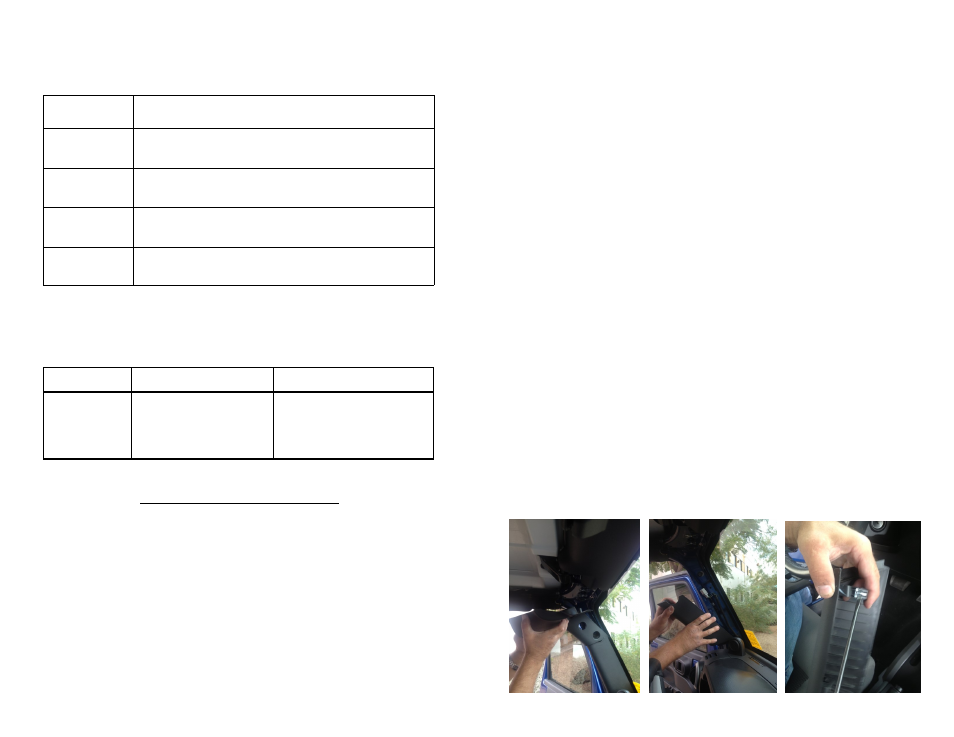
1. Remove the driver side sun visor using a t-20 Torx bit.
2. Unclip and remove the upper interior windshield roof trim
Molding.
3. Unclip and pull out gently to remove driver side interior
Windshield pillar trim panel.
4. Remove clips on back of factory part, using pliers.
NOTE check positioning of clips for reinstall, be gentle
Not to damage clips.
5. Transfer the clips on to back of the Daystar Switch Pillar
Trim panel. Support panel and gently push clips on to studs.
6. Your new Switch panel can accommodate up to 4 switches.
7. Working from the back of trim panel you can cut holes for
switches using a razor blade knife or ezacto knife. Cut small
and file hole for a snug fit.
8. Wire per instructions on items switches will power.
9. Install new Switch trim panel align clips with holes and push
in till panel clips in place.