2 setup steps – VEGA VEGAMET 624 User Manual
Page 17
17
6 Setup with the integrated display and adjustment unit
VEGAMET 624 • 4 … 20 mA/HART
28969-EN-130701
– Jump to next higher menu
Note:
Approx. 10 minutes after the last pressing of a key, an automatic reset
to measured value indication is triggered. Any values not confirmed
with [OK] will not be saved.
6.2 Setup steps
Through parameter adjustment, the instrument is adapted to the indi-
vidual application conditions. A measurement loop calibration is the
most important step and should always be carried out. A scaling of
the measured value to the desired physical variable and unit, possibly
including a linearization curve, is often useful. The adaptation of the
relay switching points or the setting of an integration time to smooth
the measured value are further standard adjustment options.
Instruments with Ethernet interface can be provided with a Host name
suitable for the measurement loop. As an alternative to the addressing
via DHCP, it is also possible to adjust an IP address and subnet mask
suitable for your network. If necessary, the e-mail/Web server can be
also configured with PACTware.
Information:
When using PACTware and the corresponding VEGA DTM, additional
settings can be carried out which are not possible or only partly pos-
sible with the integrated display and adjustment unit. When using an
adjustment software, you either need one of the integrated interfaces
(RS232/Ethernet) or the interface converter VEGACONNECT.
Further instructions for setting up the web server and e-mail functions
are stated in the online help of PACTware or the VEGAMET 624 DTMs
as well as the supplementary instructions manual "RS232/Ethernet
connection".
After being switched on, VEGAMET 624 first of all carries out a short
self-check. The following steps are carried out:
•
Internal check of the electronics
•
indication of the instrument type, firmware version as well as the
instrument TAG (instrument name)
•
The output signals jump briefly to the set fault value
Then the current measured values will be displayed and outputted.
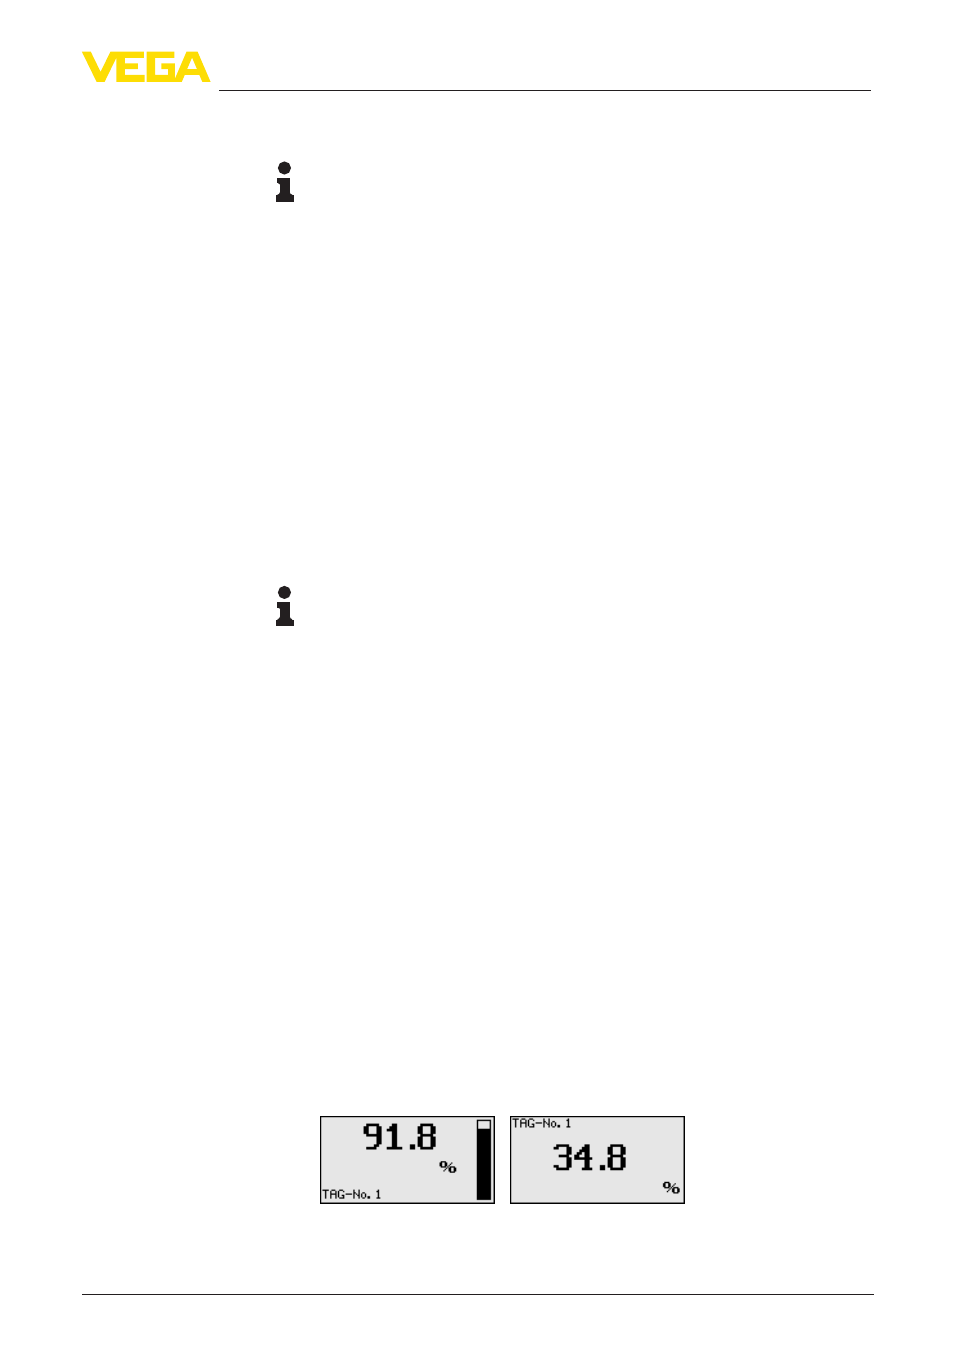
The measured value indication displays the digital indication value,
the measurement loop name (measurement loop TAG) and the unit.
An analogue bar graph can also be displayed. By pushing the [>] key,
you move between the individual display options.
→
By pushing [OK] you move from the measured value indication to
the main menu.
Parameter adjustment
Switch-on phase
Measured value indica-
tion