Recording takes, Introduction, Possible actions – EVS IPDirector Version 6.0 - November 2012 Part 10 User's Manual User Manual
Page 26
3.3.
Recording Takes
Introduction
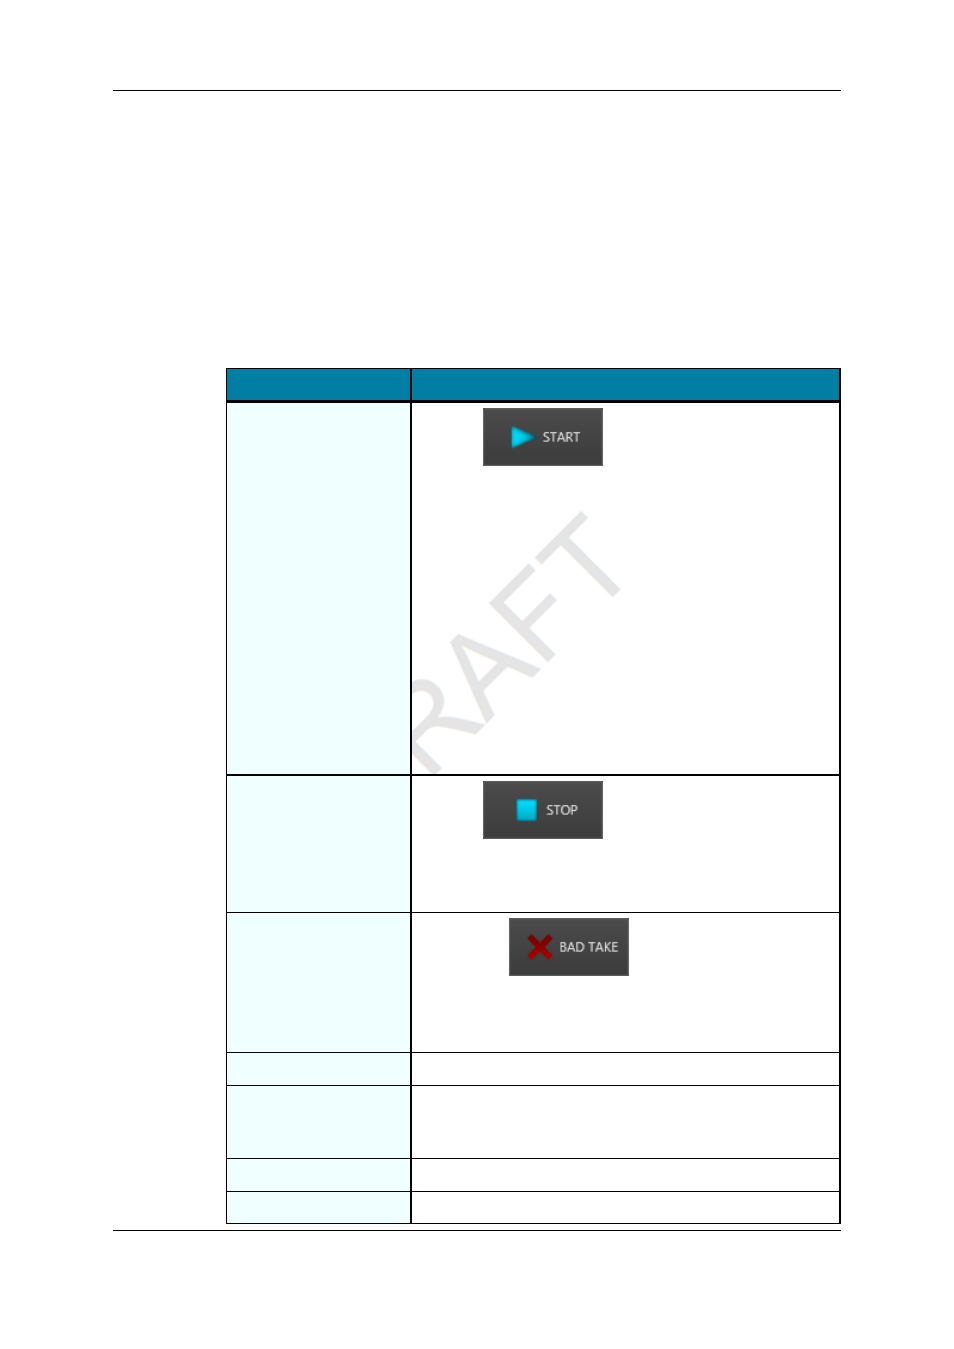
The Takes Grid area features controls to start and stop recording takes.
Possible Actions
In order to ...
Proceed as follows:
Start the recording of
a take
Click the
button from the toolbar. The take
starts being recorded in the current scene.
When a take has been started, the switcher gateway starts
recording the incoming switcher notifications. The system
creates a growing clip, and streams all selected inputs in the
A/V configuration to the destination target(s):
•
AVID Interplay : the files are automatically checked in
Interplay and dropped to the destination folder.
•
FCP and Nearline : files are dropped in the destination
folder.
The new assets are inserted in the bin of the production. The
current take is added in the list of takes, below the current
scene. During the recording process, the system updates
the current take information (duration and running streams)
and the TC track accordingly.
Stop the recording of
a take
Click the
button from the toolbar.
When a take has been stopped, the system stops the
streams and closes the files. By default, the new take is
flagged as a good take.
Flag a take as bad
•
Click the
button from the toolbar. The
take is set to bad, and the recording is stopped.
OR
•
Right-click the item in the grid, and select 'Set as BAD'.
Flag a take as good
Right-click the item in the grid, and select 'Set as GOOD'.
Review a take
Double-click the item in the grid. The take is played on the
defined review channel. See section "Status Bar" on page
23.
Retry a take transfer
Right-click the item in the grid, and select 'Retry'.
Delete a take
Right-click the item in the grid, and select 'Delete'.
20
3. Working with Takes
EVS Broadcast Equipment S.A. - November 2012
Issue 6.00.B