Rmc 7152, Pc 8153 – Acnodes PC 8153 User Manual
Page 13
661 Brea Canyon Rd., Suite 3
Walnut, CA 91789
tel: 909.598.7388, fax: 909.598.0218, www.acnodes.com
© Copyright 2009 Acnodes, Inc.
All rights reserved. Product description and product specifications
are subject to change without notice. For latest product information,
please visit Acnodes’ web site at
RMC 7152
14” short depth server
RMC 7152
14” short depth server
13
PC 8153
15-inch touch panel PC
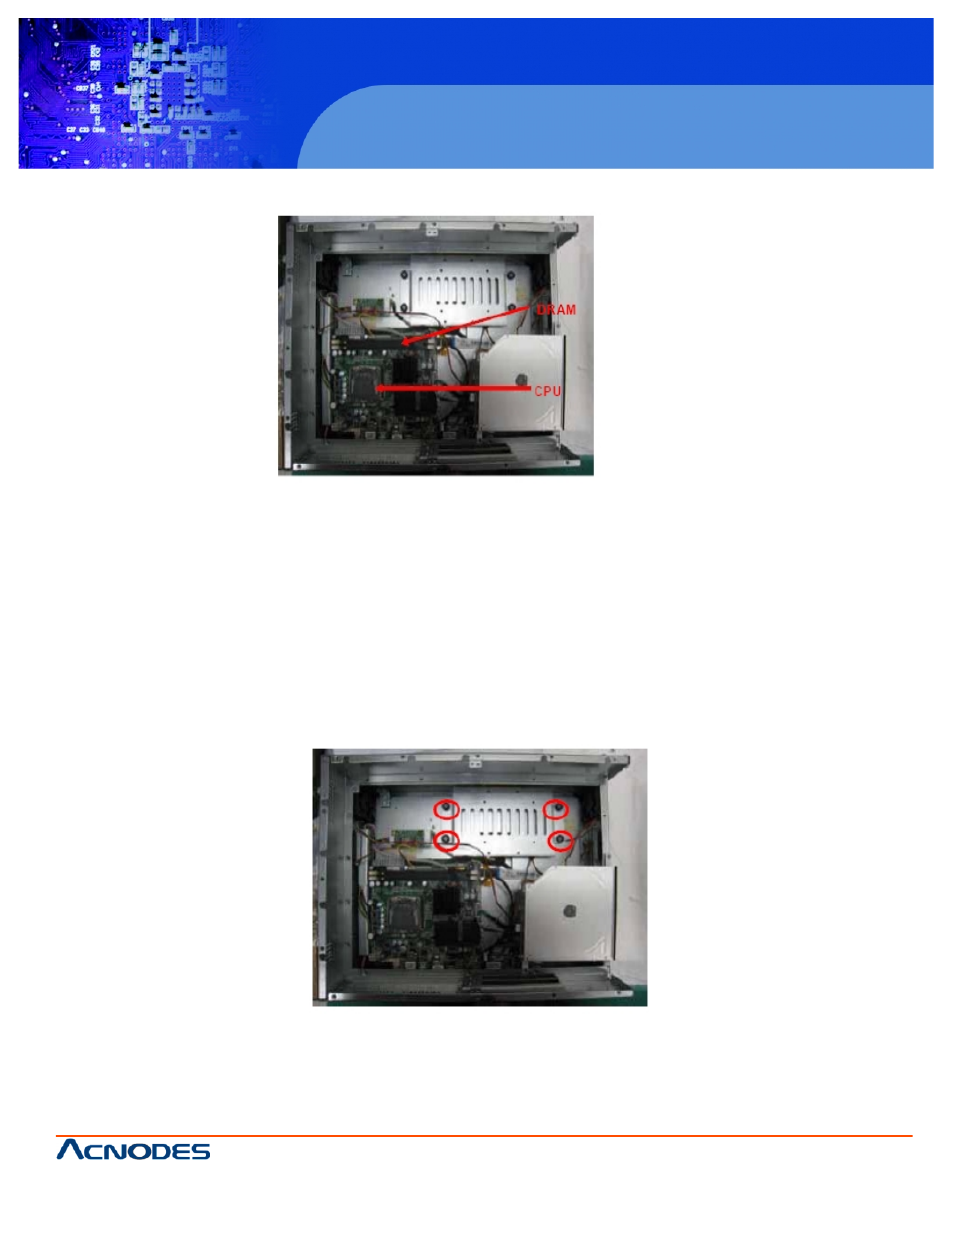
Step 3 Install the CPU and DDR DRAM in the PC 8153
2.2 Installing the the Hard Disk Drive
The PC 8153 offers a convenient drive bay module for users to install HDD. The system offers users two 3.5" Hard Disk Drives
for installation. If you want to install one or two 2.5" HDD, the PC 8153 also provides the 3.5" to 2.5" drive holder to meet your
requirement. Please follow the steps:
Note The hardware limitation is the 2.5" HDD and 3.5" HDD CAN NOT exist simultaneously.
Step 1 Unscrew screws to remove the rear chassis.
Step 2 Remove the riser card fix kit.
Step 3 Unscrew 4 screws from the HDD drive bracket, and take out HDD bracket kit to install 3.5" HDD.