Pc 5150, Pc 8153 – Acnodes PC 8153 User Manual
Page 12
© Copyright 2009 Acnodes, Inc.
All rights reserved. Product description and product specifications
are subject to change without notice. For latest product information,
please visit Acnodes’ web site at
PC 5150
15-inch touch panel PC
12
PC 8153
15-inch touch panel PC
661 Brea Canyon Rd., Suite 3
Walnut, CA 91789
tel: 909.598.7388, fax: 909.598.0218,
C h a p t e r 2 Hardware Installation
The PC 8153 is convenient for your various hardware configurations in flexible ways, such as CPU (Central Processing Unit),
HDD (Hard Disk Drive), Memory Module (DRAM), CD-ROM, Add-On card, and more. The chapter 2 will show you how to
install the hardware. It includes:
CPU DRAM Hard Disk CD-ROM
Add-On Card Serial Port VGA
Ethernet
Mounting Ways
2.1
Installing the CPU and DRAM
The standard PC 8153 system is designed for Intel CoreTM 2 Duo processors. The built-in CPU board provides two 240-pin
DDR2 DIMM sockets that support system memory up to 4GB.
Please refer to the instructions below, illustrated with concise images, to upgrade the CPU, DRAM, PCI step by step:
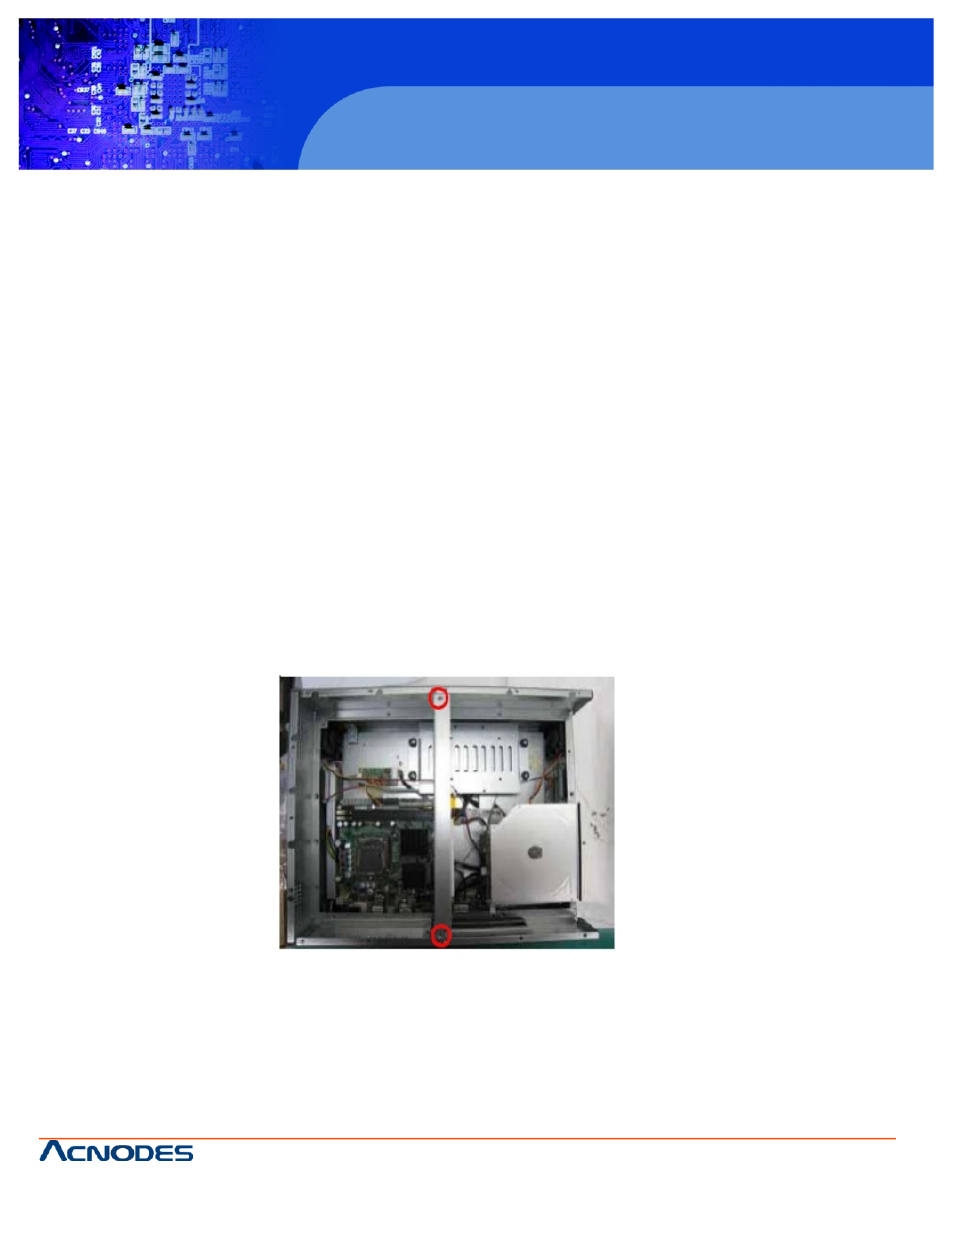
Step 1 Unscrew screws to remove the rear chassis.
Step 2 Remove the riser card fix kit.