Transferring images to a computer – RIDGID micro EXPLORER User Manual
Page 15
13
Figure 16 – Thumbnails Icon
Figure 17 – Thumbnails View
Pressing the trash can button while on an
image will bring up a text box asking you if
you are sure you want to delete the image. If
you want to delete the image, highlight the
check mark , and press select. If you do
not want to delete the image, highlight the
, and press select.
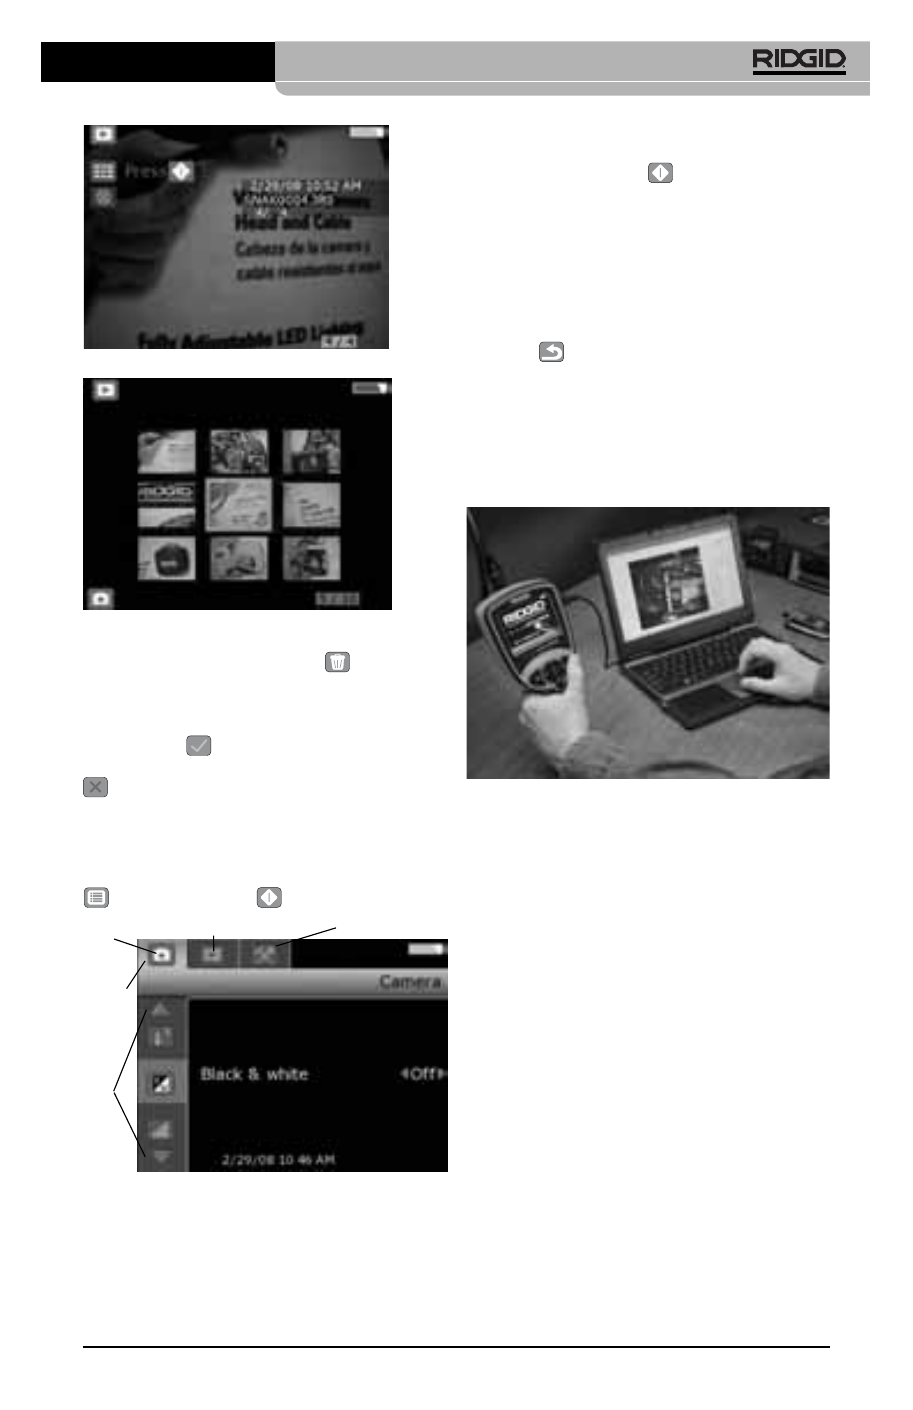
Entering the Secondary Settings Screen
While in the Primary Settings Screen, use
the arrow keys to highlight the menu icon
and press select .
Figure 18 – Secondary Settings Screen
There are three setting categories to choose
from
(Figure 18) while in the secondary set-
tings screen; camera, playback and tools.
Use the right and left arrow keys to switch
from one category to the next. The selected
category will be highlighted with a bright silver
background. Once the desired category is
reached, press select .
You will notice the up and down arrows on the
screen switch from gray to red. The red ar-
rows indicate you can now scroll through the
different settings. Use the up and down arrows
to switch between settings. Once on a setting,
use the right and left arrows to turn a setting
on or off or adjust to the required level. Press-
ing back at any point will bring you back to
the primary settings screen and pressing it
again will return you to the live screen.
Transferring Images To
A Computer
Figure 19 – Image Transfer
Using the Camera and Scanner Wizard
to Transfer Images to a Computer
1. Use the USB cable to connect the
microEXPLORER inspection camera to
the computer as shown in
Figure 19.
2. Place the small side of the USB cable
into the mini USB port in the micro-
EXPLORER inspection camera
(Figure
7), and the larger end into an open USB
port in your computer.
3. Turn the microEXPLORER inspection
camera’s power ON.
4. A splash screen saying “USB Connected”
will appear on the microEXPLORER in-
spection camera’s screen.
5. The following screen will be displayed
on your computer. Select “Copy pictures
to a folder on my computer” and click
OK.
microEXPLORER
™
Digital Inspection Camera
Ridge Tool Company
Tools
Playback
Camera
Setting
Categories
Setting