Chapter 2 hardware installation – 3Com IWILL DK8X User Manual
Page 27
Chapter 2 Hardware Installation
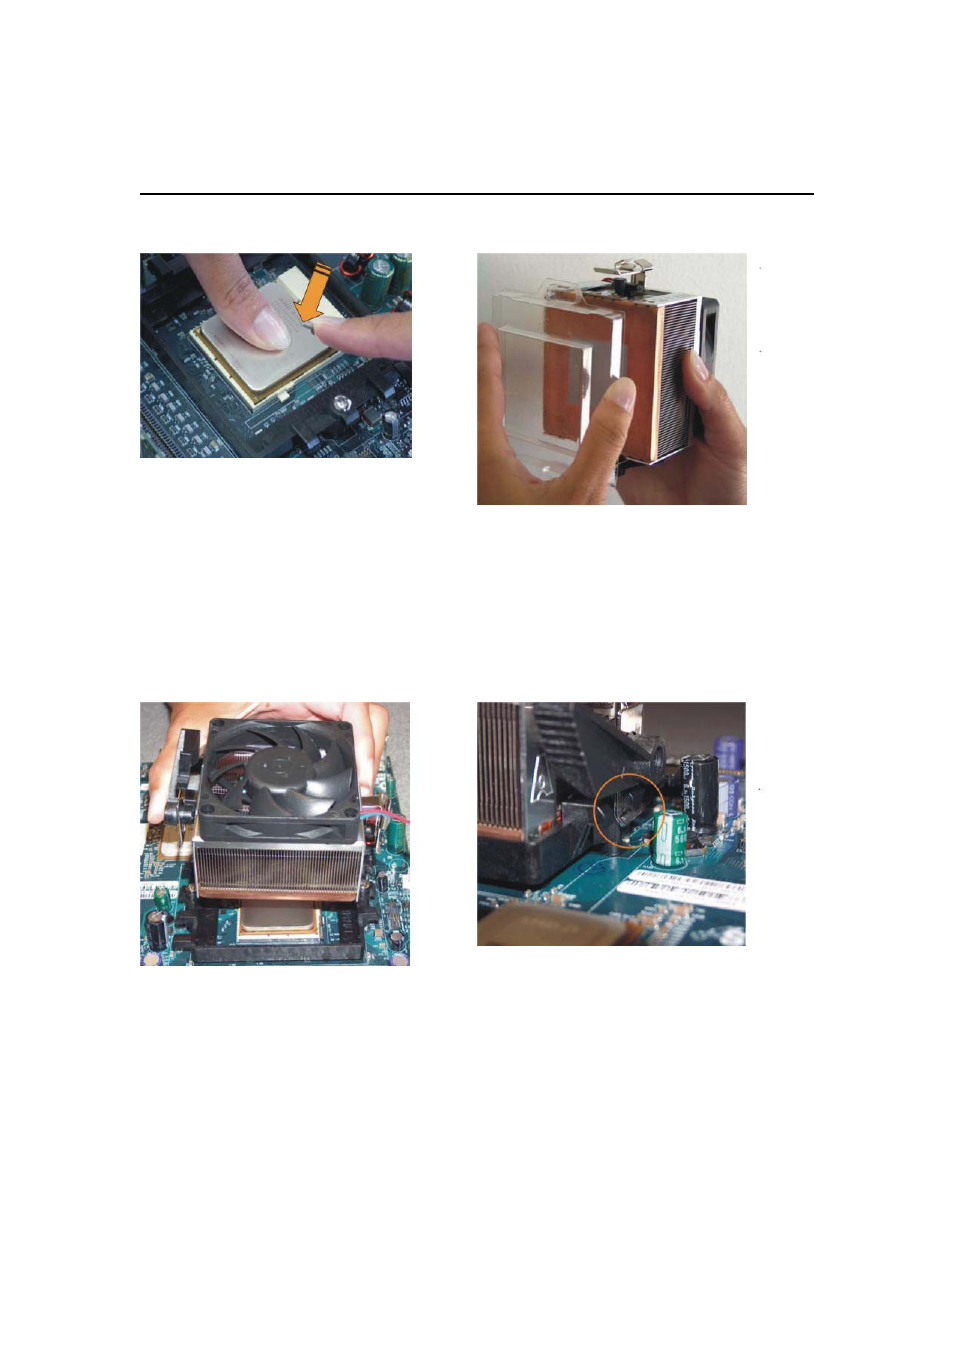
Step 8
Step 10
________________________________________________________________________
Hardware Installation 2-13
1. Gently push down on the processor while
lowering the locking lever and latching it into the
fully locked position.
2. Do not apply any power (voltage) to the system
until the heatsink is fully installed.
Step 9
1. The heatsink has a thermal interface material
pre-applied on the bottom. This material is protected
by a plastic cover.
2. Inspect the thermal interface material for scratches
or gaps. Do not use if thermal material has
scratches or gaps. If replacement thermal interface
material is needed,
3. Remove plastic cover and discard. Be careful not to
touch or scratch the thermal interface material.
1. Place the heatsink on the processor with it
centered in the retention frame matching the
heatsink clip with the socket mounting lug.
2. The heatsink should have full contact with the
processor.
Step 11
Hook the spring clip under the cam lever to the mounting
lug on the retention frame first. Some force may need to
be applied.