Chapter 2 hardware installation, Heatsink installation – 3Com IWILL DK8X User Manual
Page 25
Chapter 2 Hardware Installation
Heatsink Installation
CAUTION: As with all computer equipment, the processor and motherboard components may be damaged by electrostatic
discharge (ESD). Please take proper ESD precautions when handling any board.
Warning: Do not apply voltage until the heatsink is fully installed. If voltage is applied before the heatsink is fully installed,
the processor will overheat and failure will result. Read through the entire installation instructions completely to
make sure you understand them before you begin.
Step 1.
Step 3
1.
Gently lift the motherboard by the edges over the backplate.
2.
Align the backplate’s two threaded standoffs with the two mounting holes near the socket.
3.
Gently lower the motherboard until the standoffs fit through the holes in the motherboard and the backplate makes
complete contact with the motherboard.
________________________________________________________________________
Hardware Installation 2-11
1. Take proper electrostatic discharge precautions before
handling motherboard or processor.
2. The heatsink/fan assembly shown in this poster may not
exactly match the one provided in this PIB.
3. The AMD OpteronTM processor heatsink requires the
retention frame and the backplate to be attached to the
motherboard. If the retention frame and backplate are
already attached to the motherboard, proceed to step 7.
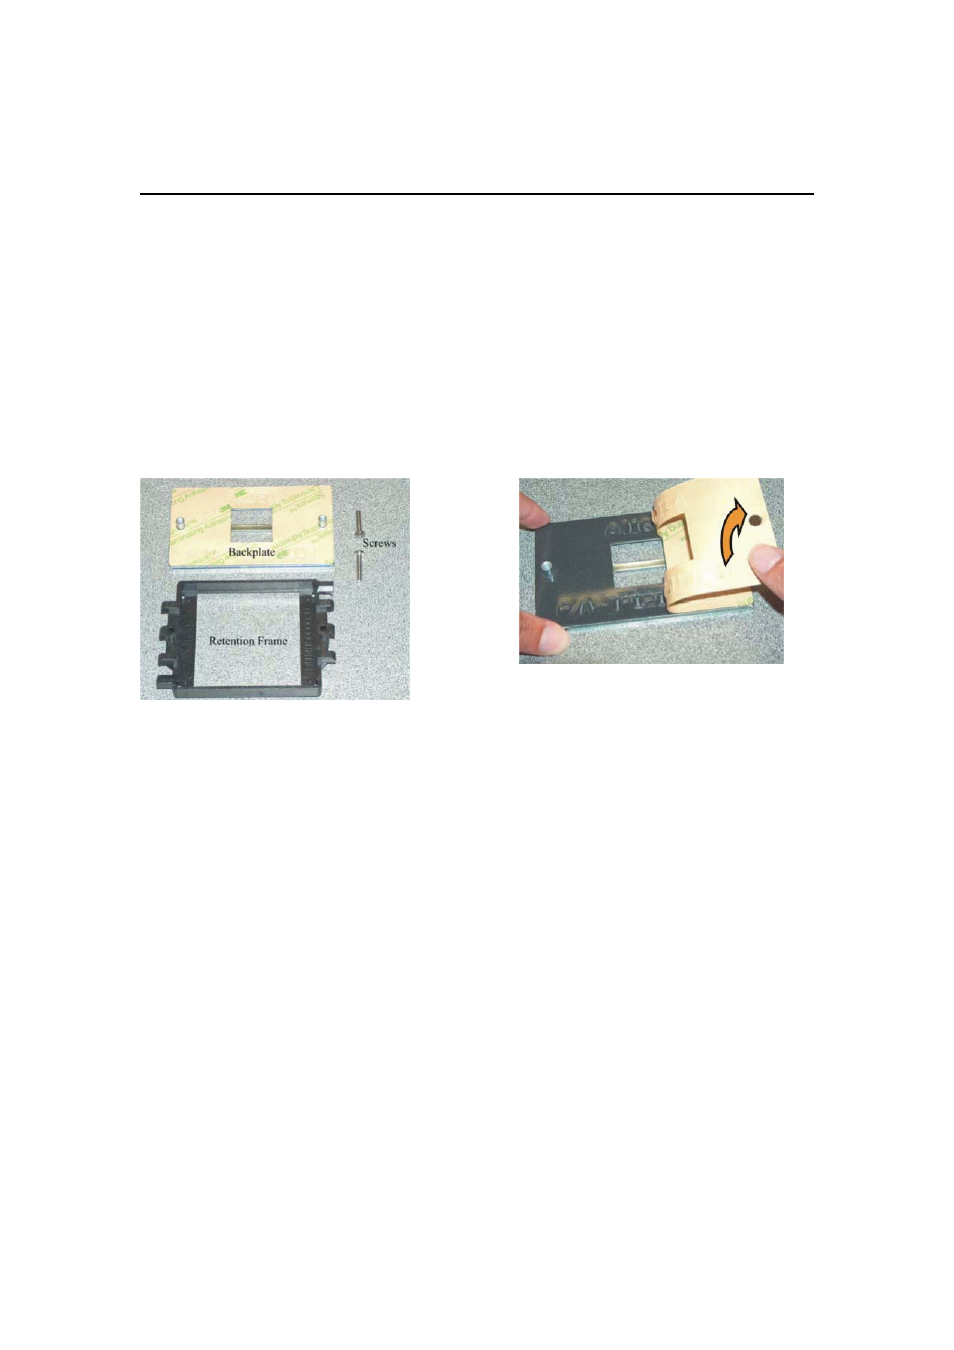
1. Place the backplate on a flat surface.
2. Peel the release liner off the backplate
Step 2.