Printing custom size paper, Printing custom size paper -45, Printing custom size paper from – Xerox 7760 User Manual
Page 80: Tray 1 (mpt)
Printing on Specialty Media
Phaser® 7760 Color Laser Printer
3-45
Printing Custom Size Paper
In addition to the wide variety of standard paper sizes that you can use for printing, you can
also print on custom size paper within the following dimensions.
Printing Custom Size Paper from Tray 1 (MPT)
1.
Open Tray 1 (MPT).
2.
Insert custom size paper in Tray 1 (MPT) and adjust the guides to fit the paper.
3.
When the control panel prompts you to confirm the type and size of paper in the tray:
a.
Select
Change setup
, and then press the OK button.
b.
Select the appropriate paper type, and then press the OK button.
c.
Select
New Custom Size
, and then press the OK button.
d.
If the measurement shown for the short edge of the paper is correct, press the
OK button. Otherwise, select
Change
, press the OK button, use the Up Arrow or
Down Arrow button to scroll to the correct measurement, and then press the
OK button.
e.
If the measurement shown for the long edge of the paper is correct, press the
OK button. Otherwise, select
Change
, press the OK button, use the Up Arrow or
Down Arrow button to scroll to the correct measurement, and then press the
OK button.
f.
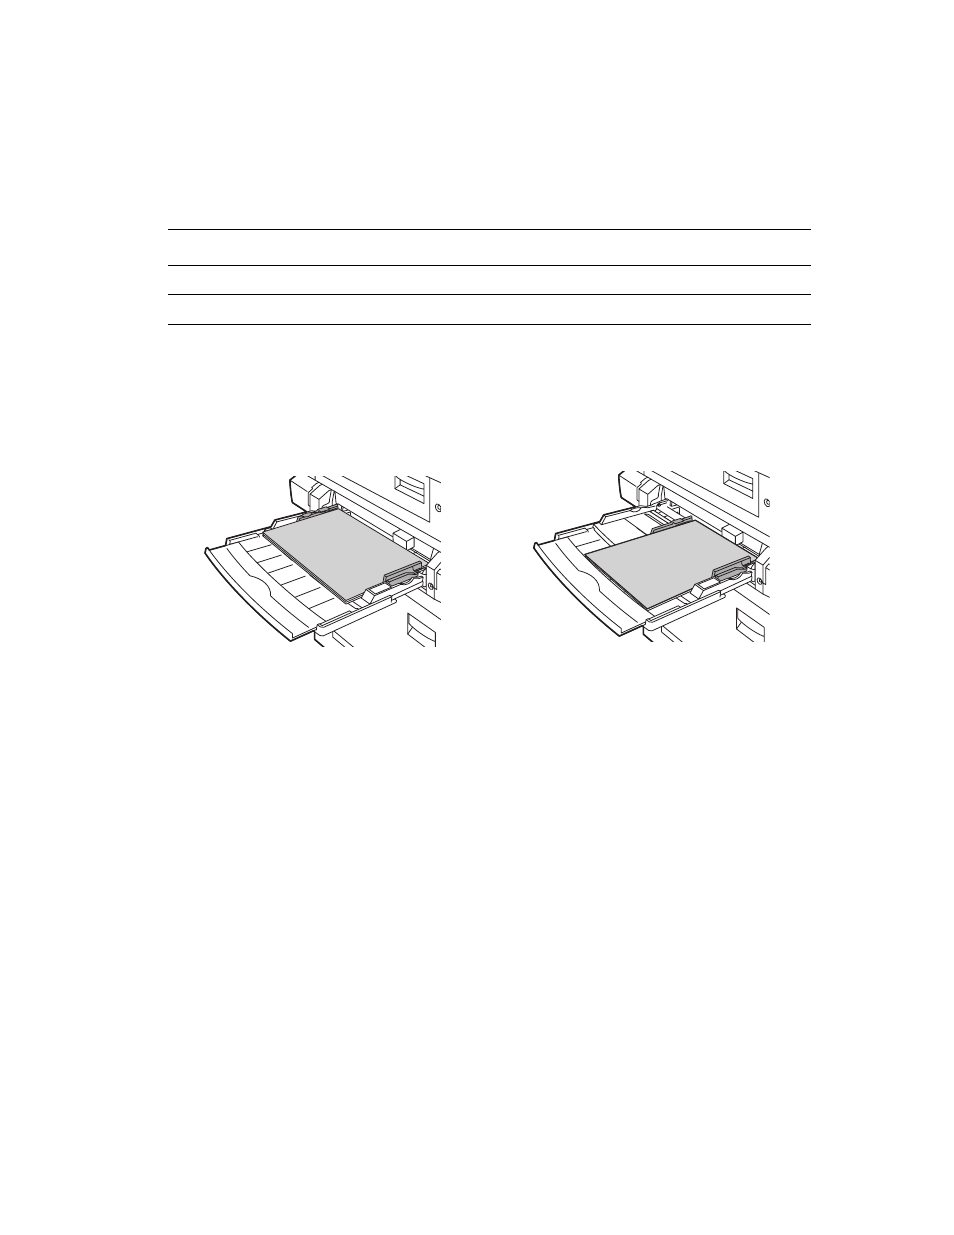
If the control panel prompts you for the paper orientation, select
Long-Edge Feed
if
you loaded the long edge of the paper to enter the printer first or select
Short-Edge Feed
if you loaded the short edge to enter the printer first.
4.
In the printer driver, select Tray 1 (MPT) as the paper source.
Tray 1 (MPT)
Tray 2
Short Edge
100–305 mm (3.95–12.00 in.)
140–297 mm (5.5–11.70 in.)
Long Edge
140–1200 mm (5.5–47.25 in.)
182–432 mm (7.15–17.00 in.)
Long-Edge Feed
Short-Edge Feed
7760-166
7760-167