Installation — assembly – Weil-McLain GOLD CGs User Manual
Page 16
GOLD CGs Gas-F
GOLD CGs Gas-F
GOLD CGs Gas-F
GOLD CGs Gas-F
GOLD CGs Gas-Fired W
ired W
ired W
ired W
ired Water Boiler
ater Boiler
ater Boiler
ater Boiler
ater Boiler
Part Number 550-141-873/0502
16
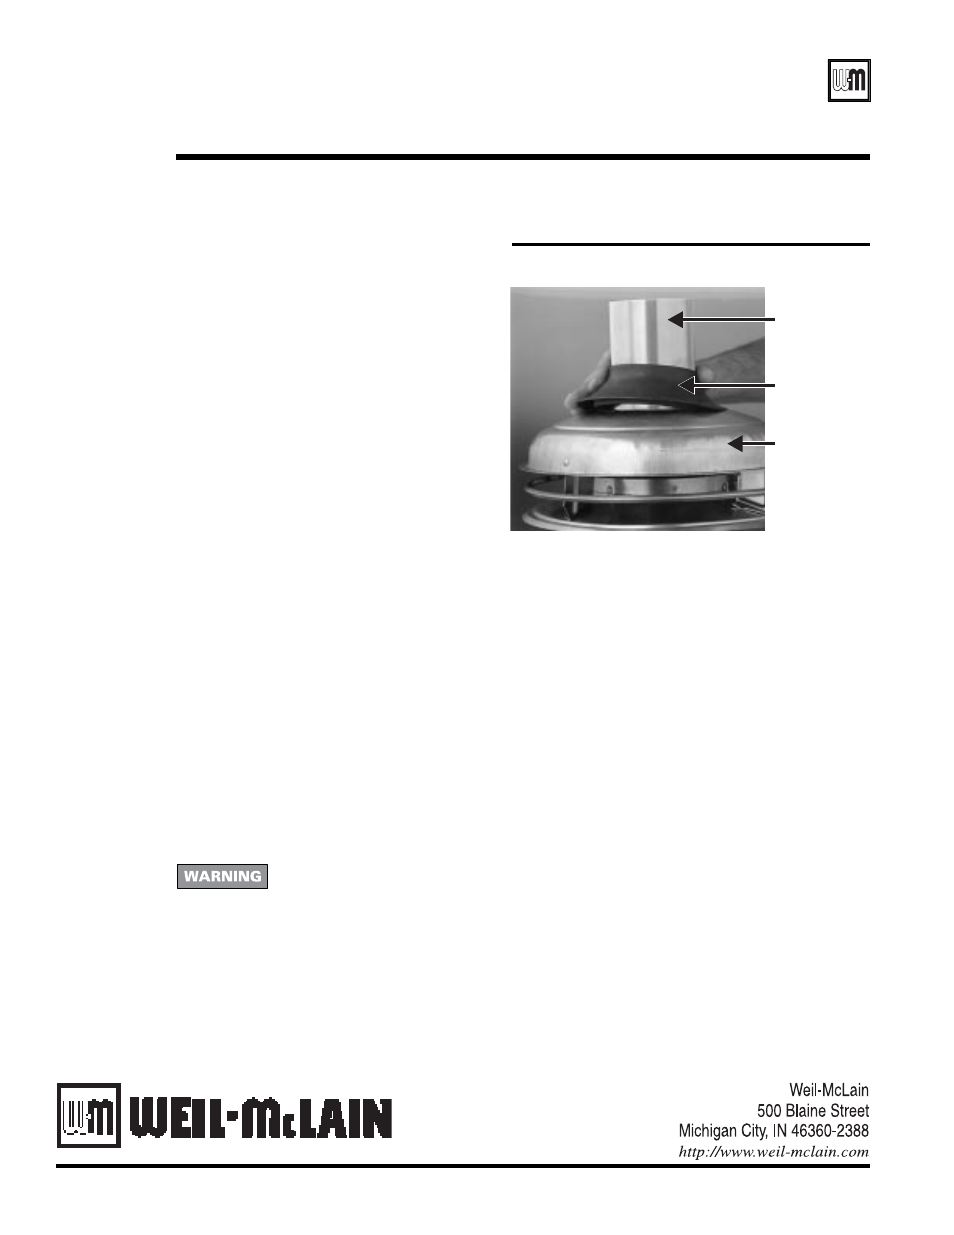
Step 5
Install rain cap
1. On roof, cut 4
¹⁄₂" hole in top of rain cap and
install cap over protruding vent pipe. Slide
elastomer flashing down around vent pipe
and tuck lip into cap’s top opening.
2. Connect termination coupling to vent pipe
using vent pipe manufacturer’s specified
sealant.
9. Installation — assembly
continued
Finish installation
1. Complete vent piping to boiler, making sure to follow vent pipe manufacturer’s instructions and Weil-McLain
vent manufacturers special gas vent system vent and combustion air venting supplements.
2. Use any of the following to install combustion air connector piping from tee to boiler, making sure to seal all
joints and seams:
a. 3" Flexible dryer vent — A piece of 3" galvanized is required at each end to adapt. Seal all pipe joints and
seams between pipe and dryer vent with approved sealant.
b. Galvanized or aluminum single wall pipe — Seal all joints and seams using approved sealant.
c. 3" PVC — Seal all joints using PVC cement.
3.
Condensate drain line
— A condensate drain fitting is always required for through-roof vents. Follow vent
manufacturer’s instructions to install condensate drain line.
Use only silicone tubing rated for at least 400°F for the first 18" of condensate drain line, then
other non-metallic tubing may be used. Using any other material could cause flue gas leakage,
potentially resulting in severe personal injury, death or substantial property damage.
4.
Multiple boilers may be vented with vent terminations at the same height. Space terminations to provide a
minimum of 1 fott between pipes for U.S. installations. For Canadian installations, provide clearances required
by B149.1 or B149.2 Installation Code.
Step 6
Vent pipe
Elastomer
flashing
Rain cap
87310
Figure 17
Install rain cap