Lens and main unit cleaning, P.34, Maintenance – Toshiba TDP-MT400 User Manual
Page 18: Lamp replacement (continued)
35
Maintenance
English
Français
Español
Deutsch
Italiano
Português
Svenska
34
Used Lamps
This projector’s lamps contain trace amounts of environmentally harmful inorganic
mercury. Be careful not to break used lamps, and dispose of them in accordance with
local regulations.
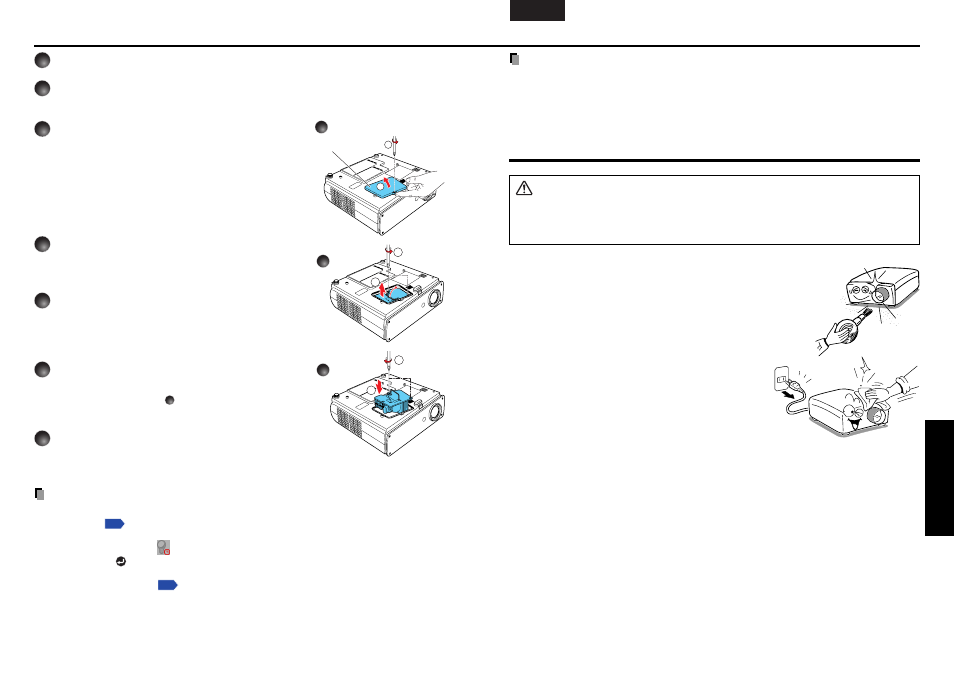
Lens and main unit cleaning
WARNING
• Request cleaning and maintenance of a ceiling-mounted unit from your projector dealership.
Attempting to clean/replace the lamp at a high site by yourself may cause you to fall
down, thus resulting in injury.
■
Lens cleaning
• Clean the lens with a commercially available blower and/or
lens cleaner.
• The lens is easily scratched, so do not rub it with hard objects,
or strike it.
■
Main unit cleaning
• Clean the main unit after unplugging the power cord.
• Wipe dirt off the main unit gently with a soft cloth.
• Do not wipe the main unit with a damp cloth. Doing
so may allow water to get inside, resulting in an
electric shock or failure.
• Do not use benzene, thinner and the like as they may
deform or discolor the unit or damage the paint
surface.
• When using a chemically treated cloth, follow the
precautions included with the cloth.
Lamp replacement (Continued)
1
Unplug power cord.
2
Wait until lamp is sufficiently cooled.
Wait for at least 1 hour.
3
Remove the lamp cover.
Loosen the 1 screw, then pull up to the direc-
tion of the arrow with your fingers as shown to
remove the lamp cover. Use care to avoid any
damage to nails and/or tip of your finger(s). If
you have any difficulty in removal, you can use
a screwdriver or any other smaller tool for your
convenience.
4
Pull out the lamp.
Loosen the 2 screws holding the lamp in place,
and pull up the handle to remove the lamp.
5
Mount the new lamp.
Align the orientation, press down until the bottom is
reached, and lock in place using the two lamp
locking screws.
6
Replace the lamp cover.
Align the cover, and press it in, then tighten the
screws loosened in step
3
until the lamp cover is
no longer loose.
7
Reset the lamp timer.
See the lamp’s manual for instructions on resetting
the lamp timer.
Notes and Precautions
• The Lamp time item in the Status display menu indicates the time of lamp se (as a
rough guide).
• It is recommended that the lamp be replaced after 2,000 hours of use. When Lamp time
reaches 2,000 hours, the
icon and a message will appear. This display disappears
when you press
button.
• Attach the lamp cover correctly so that it is not loose. If it is not attached correctly, the
lamp may fail to come on
, and the lamp’s lifetime may be shortened.
• Always replace the lamp with a new one.
• The lamp is made out of glass. Do not touch the glass surface with your bare hands,
bang it, or scratch it. (Dirt, jolts, scratches and the like could break the lamp.)
2
1
2
1
1
2
3
4
5
Lamp cover