Changing nozzle and stator – Toro 640 User Manual
Page 2
4. With the valve depressed, grasp snap ring "ears" with TORO snap ring pliers
(Model No. 995-07), release snap ring from groove and remove from body.
5. Remove valve mechanism with TORO Valve Removal Tool (Model No. 995-08) or
carefully grasp one valve rib with snap ring pliers, pulling valve up and out of body.
6. Reassemble valve mechanism in reverse order.
Note: Due to limited work space in 640 sprinklers, use of Toro Valve Insertion Tool
(Model No. 995-35) is recommended to simplify valve and snap ring installation.
7. See Reinstalling Nozzle/Drive Assembly.
Changing Nozzle and Stator
Note: Nozzle changes may be accomplished by
changing the entire nozzle assembly or by removing
the nozzle container end changing only the upper
nozzle. In either case, the appropriate matching
stator must be installed (i.e., No. 42 Nozzle and No.
42 Stator, etc.) to ensure proper sprinkler operation.
Changing Complete Nozzle Assembly
1. Remove cap set screw with 1/3 in. hex wrench and
unscrew cap.
2. Remove nozzle container seal, nozzle retainer and
nozzle/drive assembly from body.
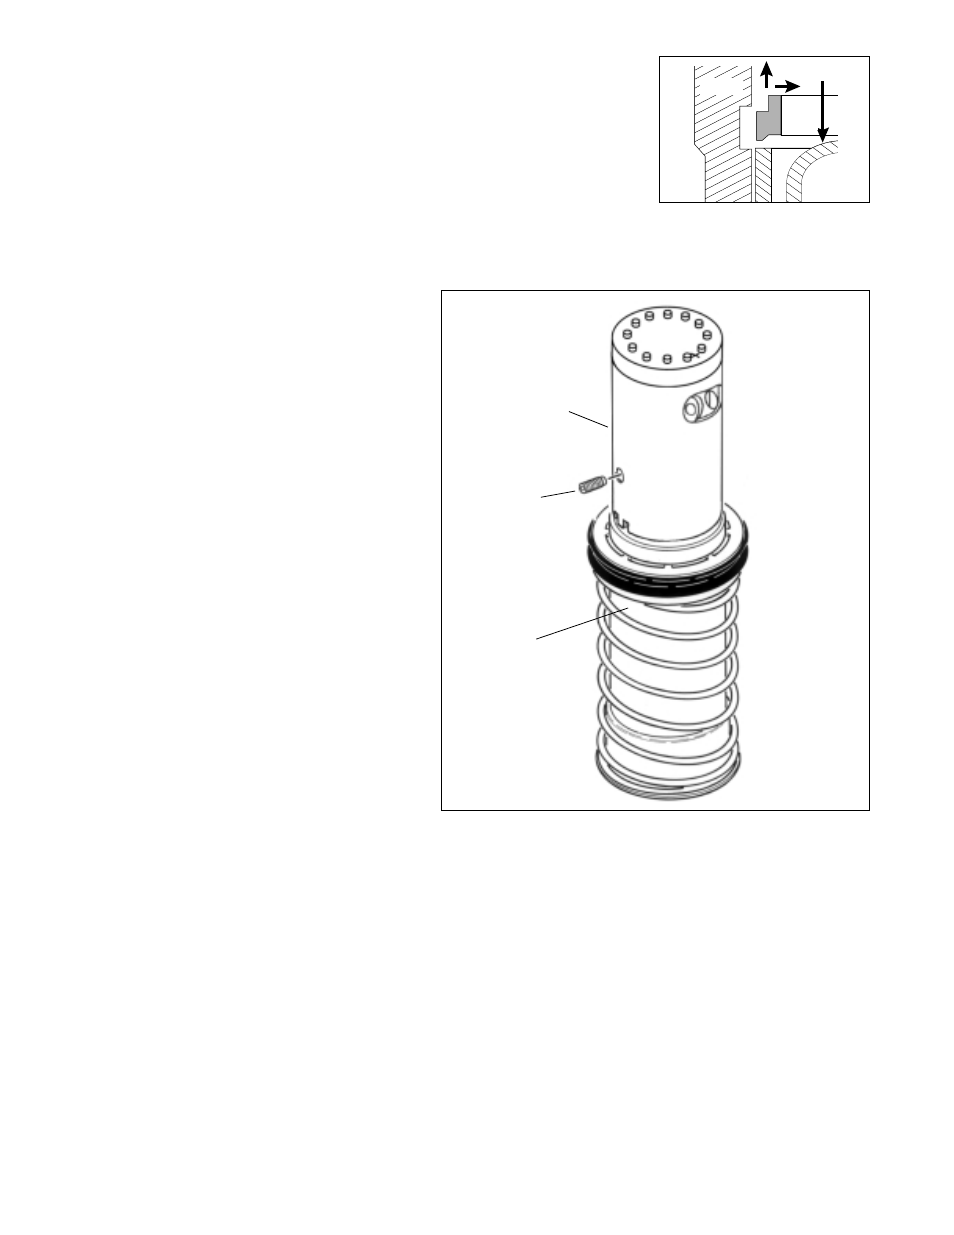
3. Remove 1/16 in. allen set screw in side of nozzle
canister.
4. Unscrew nozzle assembly from drive assembly.
5. Assure nozzle seal is located at bottom of nozzle
base threads.
6. Install new nozzle assembly — HAND-TIGHTEN
ONLY, DO NOT OVER-TORQUE.
7. Turn set screw clockwise until contact with riser
threads is made (see CAUTION below).
CAUTION
Do not over-torque set screw. Over-tightening
will cause thread damage and possible water
leak between lower nozzle base and drive
assembly.
8. Remove boss on nozzle rubber cover to identify drive
assembly arc.
2
FIGURE 2
Body
Valve
Set Screw
Drive
Assembly
Nozzle
Assembly
Snap
Ring