Panorama shooting – Olympus E-P2 User Manual
Page 60
60
EN
2
Focusing
and sho
o
ting
fu
nct
ions
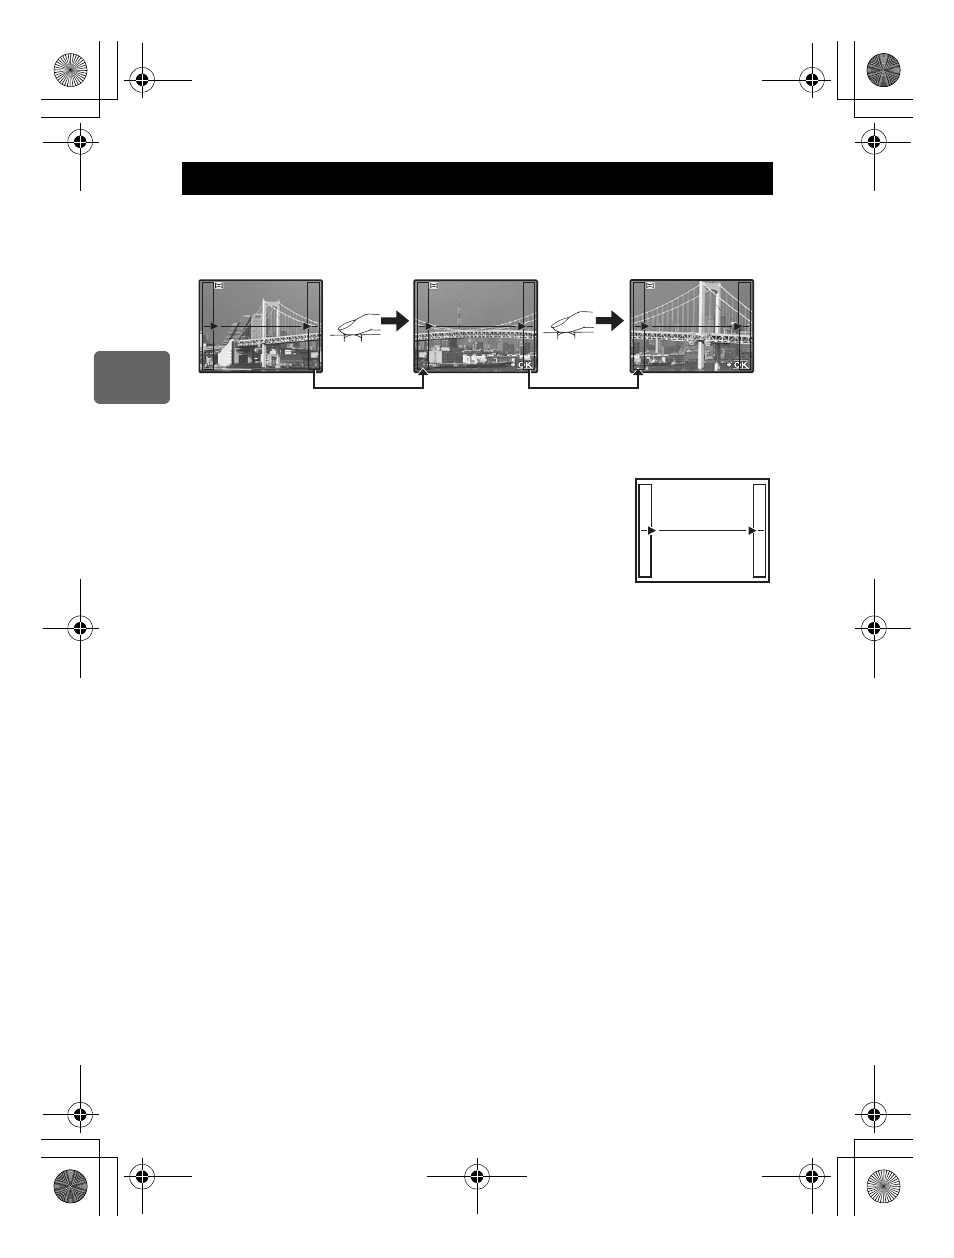
You can enjoy panorama shooting easily. Using OLYMPUS Master (provided CD-ROM) to
join images where the subject’s edges overlap, you can create a single panorama composite
image.
Panorama shooting is possible up to a maximum of 10 images.
• Try your best to include common parts of the overlapping images when shooting the
subject.
1
Set the mode.
g“Setting the art filter/scene” (P. 11)
2
Use
k to specify the direction for joining, then shoot the
subject with the edges overlapping.
i : Joins the next image to the right.
h : Joins the next image to the left.
f : Joins the next image to the top.
g : Joins the next image to the bottom.
• Shoot while changing the composition such that the subject
overlaps.
• The focus, exposure, etc. will be determined at the first shot.
• The
g (warning) mark will be displayed after you have finished taking 10 shots.
• Pressing the
i button before shooting the first frame returns to the scene mode selection
menu.
• Pressing the
i button in the midst of shooting ends the sequence of panorama shooting,
and allows you to continue with the next one.
x
Notes
• During panorama shooting, the image previously taken for position alignment will not be
retained. With the frames or other markers for display in the images as a guide, set the
composition such that the edges of the overlapping images overlap within the frames.
Panorama shooting
250
250
250 F5.6
F5.6
38
38
[ 3 ]
[ 3 ]
[ 2 ]
[ 2 ]
EXIT
EXIT
EXIT
EXIT
EXIT
EXIT
s0026_e_00_0_unified.book Page 60 Tuesday, September 29, 2009 10:30 AM