Ricoh GR Digital II User Manual
Page 112
110
V
a
rio
u
s
S
hoo
ting
Fu
nc
tion
s
1
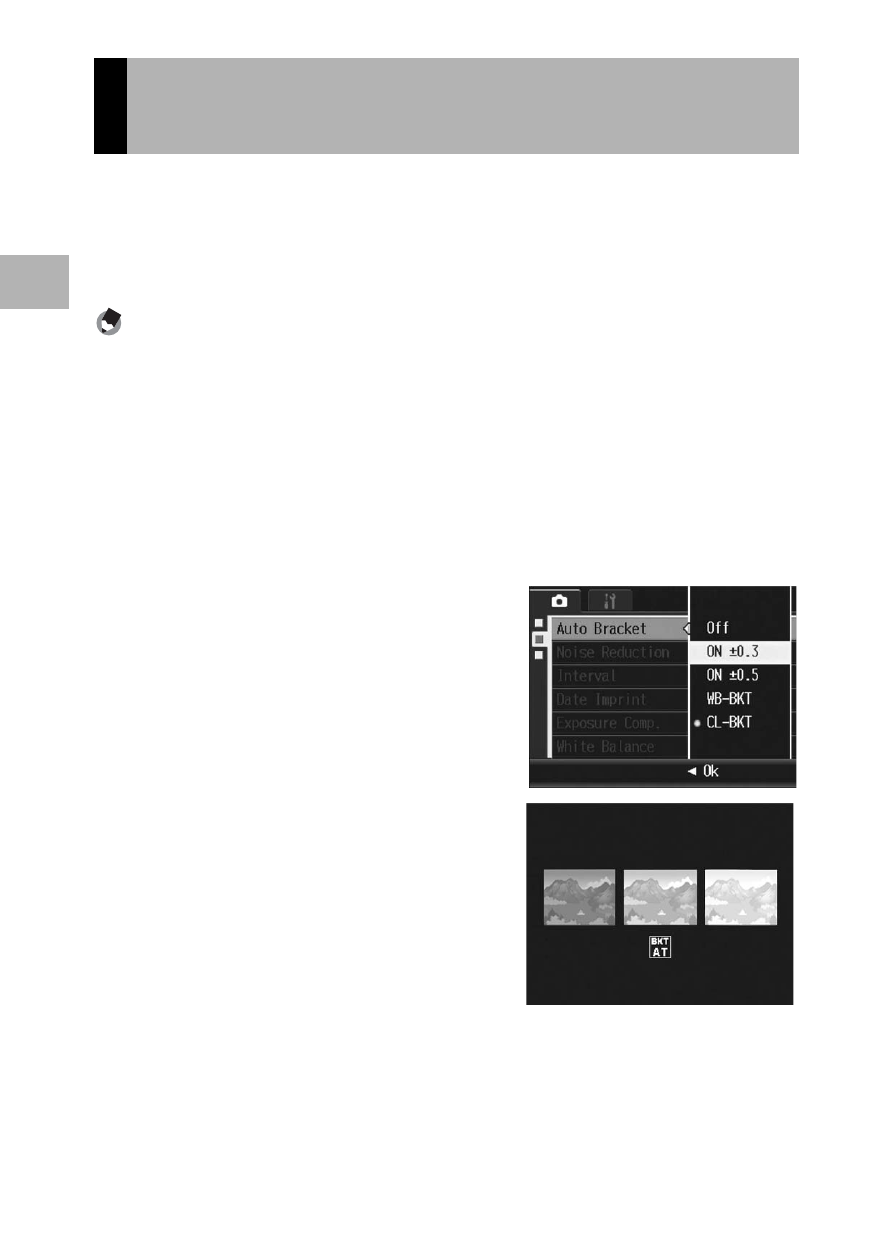
The auto bracketing function automatically shoots three
consecutive shots at three exposure levels based on the set
exposure level. Select from -0.3EV, ±0, +0.3EV or -0.5EV, ±0,
+0.5EV for the difference in exposure level.
Note ----------------------------------------------------------------------------------------------
This function is not available when [Pic Quality/Size] is set to RAW mode.
1
Turn the mode dial to 5/P/A/M.
2
Press the MENU/OK button.
• The shooting menu is displayed.
3
Press the " button to select [Auto Bracket] and press
the $ button.
4
Press the !" buttons to select
[ON ±0.3] or [ON ±0.5].
5
Press the MENU/OK button, or
press the # button and then
the MENU/OK button.
• The symbol appears on the screen.
6
Press the shutter release
button to shoot the picture.
• The screenshot to the right shows the
images shot with the [ON ±0.3]
setting.
Three consecutive shots are taken at
-0.3EV, ±0, and +0.3EV based on the
set exposure compensation setting.
They are, from left to right, at -0.3EV
(darker), standard exposure compensation setting, and +0.3EV
(brighter).
Shooting Consecutively with
Different Exposures (Auto Bracket)
Recording
–0.3
+0.3