Premier Mounts PP-FCMA-QL User Manual
Page 4
Page 4
Installation Instructions
Ceiling Tile Removal
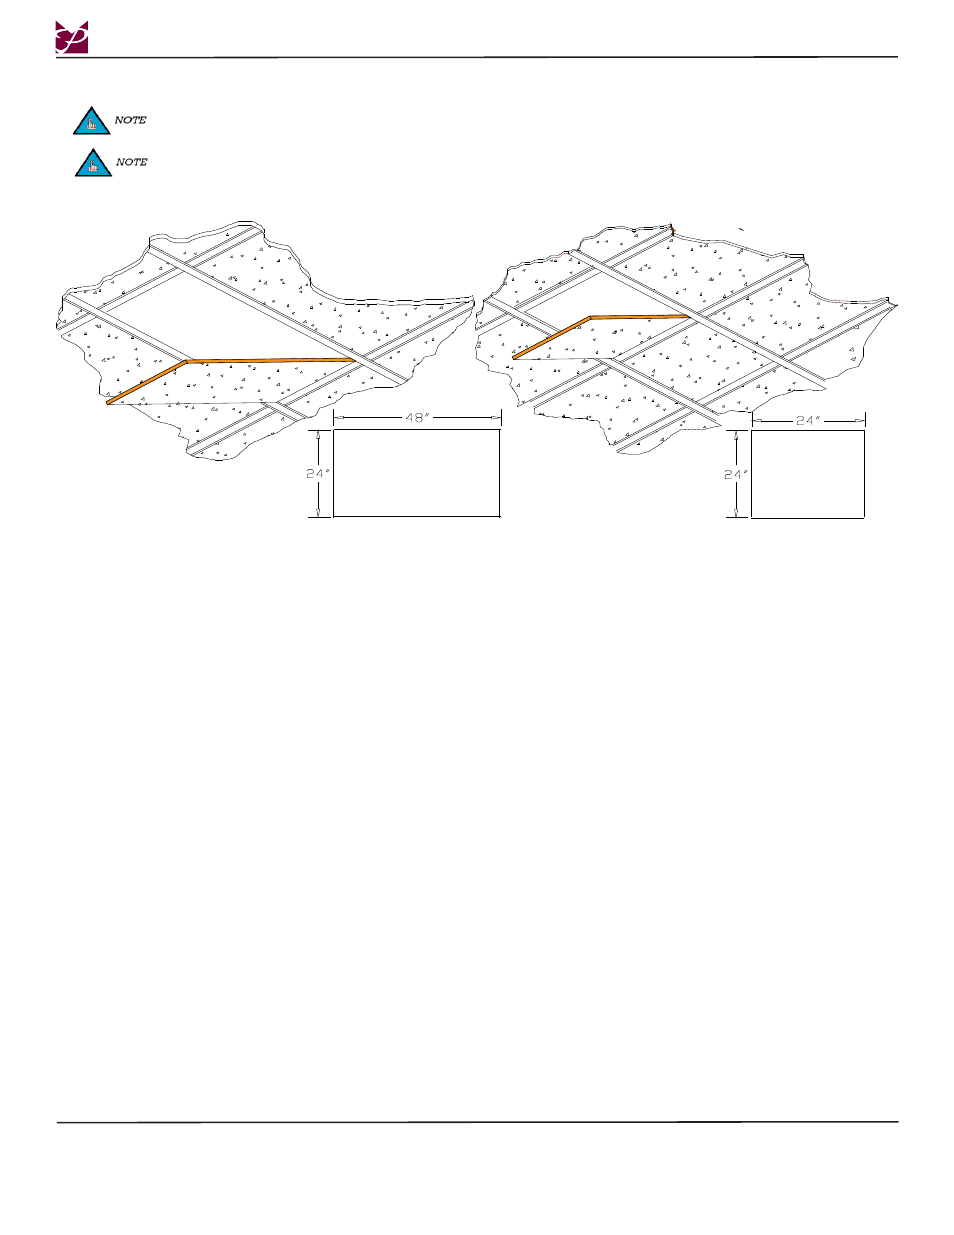
Read all cautions and warnings before continuing.
Step 1. Carefully remove the 24” x 24” or, depending on your ceiling configuration, the 24” x 48” suspended ceiling tiles.
Observe the room and the ceiling; find the proper location for the PP-FCMA-QL placement and lightly mark
the bottom of the tile.
PP-FCMA-QL
See also other documents in the category Premier Mounts Furniture:
- PSD-SPA (2 pages)
- PSD-BWL (2 pages)
- Elliptical Floor Cart PSD-EB60C (2 pages)
- PBC-FCTA (2 pages)
- Hidden T-bar Frame Adapter PP-FCTA (2 pages)
- PCM-MS3 (14 pages)
- PP-CVR (2 pages)
- INW-AM200 (2 pages)
- PSD-CAM (1 page)
- GearBox Equipment Enclosure GB-PLEN1 (10 pages)
- Prestige Ultra Flat Mount PRF (3 pages)
- Polaris Universal Projector Mount MAG-EXT (8 pages)
- PSD-D (1 page)
- UPD-1060 (2 pages)
- Low-Profile Universal Projector Mount PDS-PLUS (17 pages)
- PP-FCMA (2 pages)
- USA (8 pages)
- Victory Series XUT-1330L (2 pages)
- PSD-VPS (2 pages)
- Victory Series XUT-2637 (2 pages)
- PP-5 (2 pages)
- PRC (2 pages)
- Polaris Universal Projector Mount MAG-PRO (8 pages)
- APP-2446 (6 pages)
- Universal Short-Throw Projector Arm UNI-STA (2 pages)
- PSM-442T (12 pages)
- PP-FCTA-QL (11 pages)
- Low-Profile Dedicated Projector Mount PDS-016 (2 pages)
- Low-Profile Dedicated Projector Mount PDS-022 (2 pages)
- Polaris Universal Projector Mount MAG (8 pages)