Removing/replacing a card, Removing/replacing the nam, Removing/replacing the i/o card – Paradyne Single T1 Network Access Module (NAM) 9161-A2-GN10-40 User Manual
Page 8: Power-up
8
Removing/Replacing a Card
Card removal procedures differ, depending on whether you are removing the card from
the front or rear of the housing.
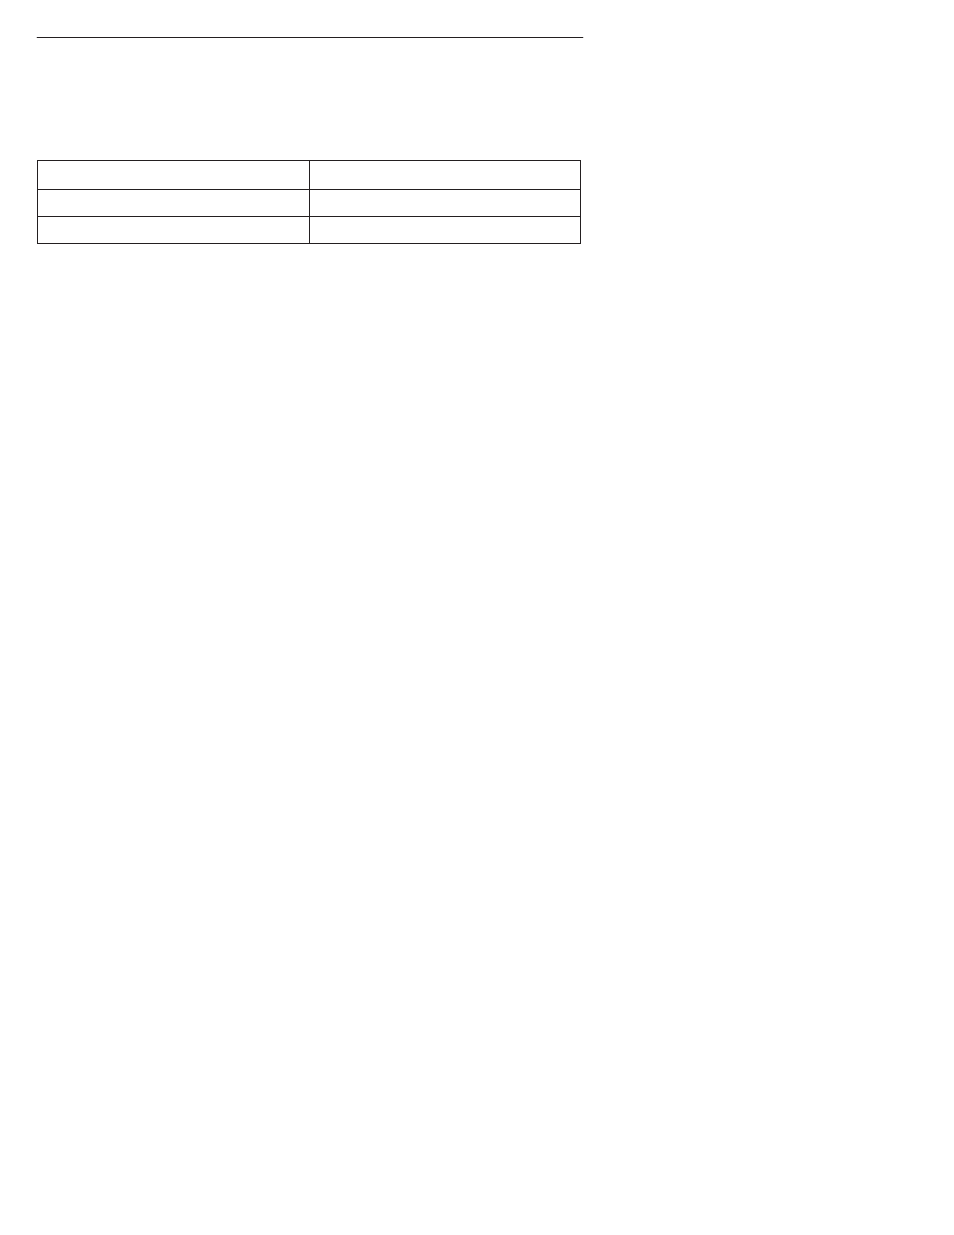
If you are removing the . . .
Then go to . . .
NAM
Removing/Replacing the NAM.
I/O card
Removing/Replacing the I/O Card.
Removing/Replacing the NAM
1. Remove the housing’s bezel, if applicable. See the housing installation instructions
for information.
2. Remove the captive screws from the ejector latches on front of the housing.
3. Press open the ejector latches to disengage the card.
4. Supporting the card by its edges, pull straight out until the card clears the housing.
5. Align the replacement card with the upper and lower tracks of the slot. Slide
forward until the NAM seats. Be careful not to force or bend any pins.
6. Close both the upper and lower ejector latches on the housing to lock in place,
then tighten the captive screws.
7. Replace the housing’s bezel, if applicable.
Removing/Replacing the I/O Card
1. Remove the NAM from the housing (see
Removing/Replacing the NAM ).
2. Remove the network, DSX-1, DTE, and COM port cables from the I/O card (if
applicable).
3. Using a screwdriver, loosen the upper and lower screws fastening the card to the
housing’s frame.
4. Gently pull the I/O card away from the midplane until it clears the housing.
5. Align the replacement I/O card with the upper and lower tracks of the slot. Push
gently towards the midplane until it stops and you cannot push the card any further.
6. Alternately tighten each captive screw until the screws are all the way in.
7. Reattach the cables as appropriate.
8. Reinstall the NAM.
Power-Up
Go to your housing instructions to perform power-up, if needed. The housing
instructions also contain troubleshooting information.