Setting the set top box control and clock, E, r to change the setting, Repeat steps 10-11 to change other items – Panasonic DIGA DMR-EA18 User Manual
Page 12: The clock starts, Reinitializes the settings
12
RQT9048
Setting the Set Top Box Control and Clock
10
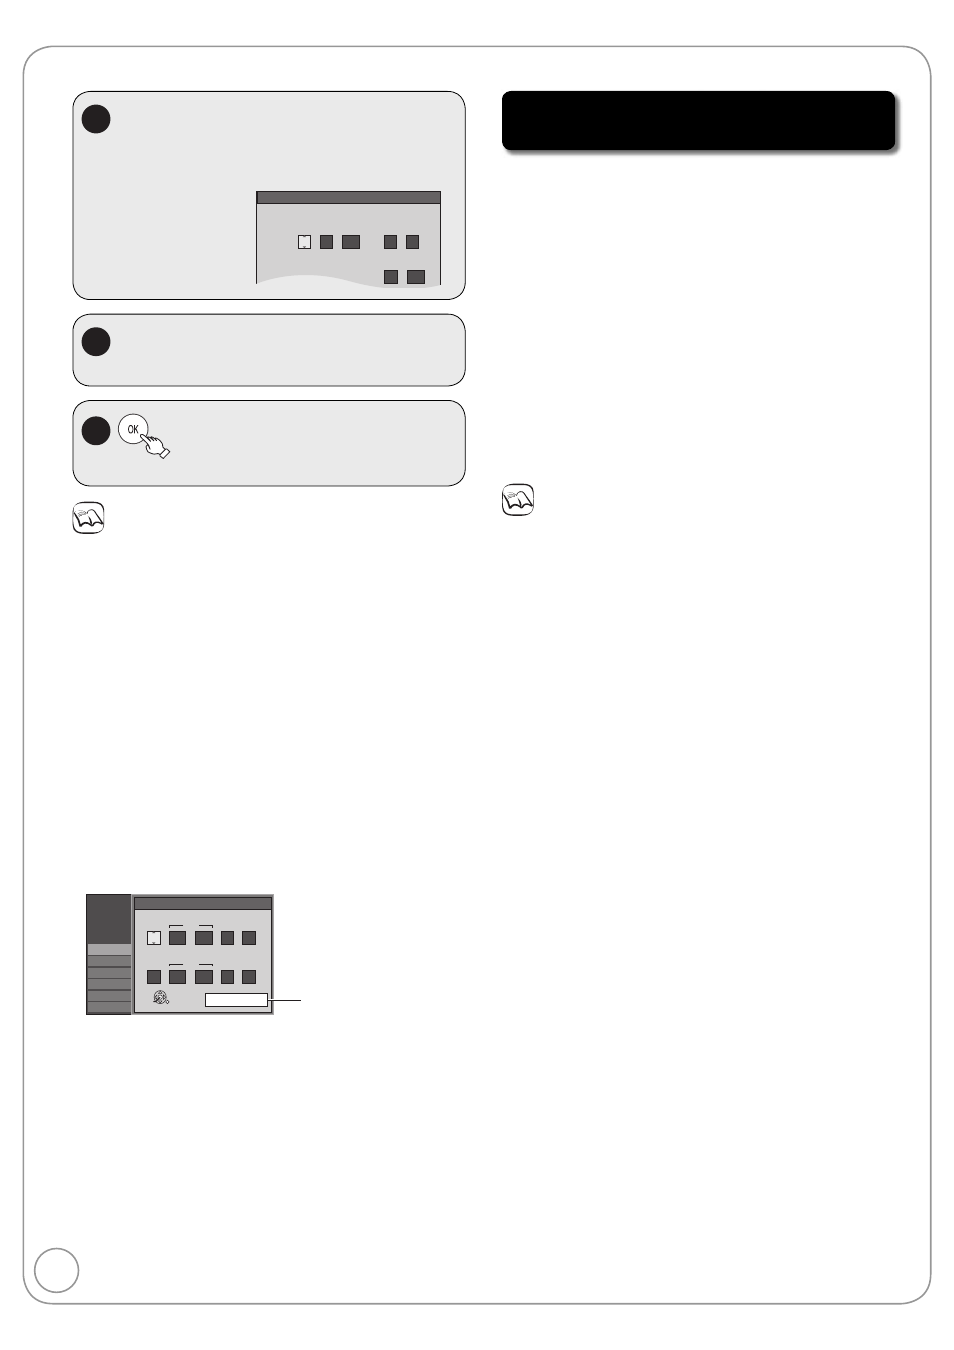
Set Clock Manually:
w
, q to select the item you want
to change.
Set Clock Manually
/
:
/
SAT
AM
DST
EST
1
1
2000
12
Off
Time Zone
EST
00
Month
Day
Year
Hour
Minute
11
e, r to change the setting.
Repeat steps 10-11 to change other items.
–
12
to confirm new date and time.
The clock starts.
–
Notes
Time Zone
EST (Eastern Standard Time)
= GMT –5
CST (Central Standard Time)
= GMT –6
MST (Mountain Standard Time) = GMT –7
PST (Pacific Standard Time)
= GMT –8
AST (Alaska Standard Time)
= GMT –9
HST (Hawaii Standard Time)
= GMT –10
For other areas: xx hr
DST (Daylight Saving Time)
If you select “On”, the clock is advanced one hour beginning at 2
a.m. on the second Sunday in March and ending at 2 a.m. on the
first Sunday in November.
Set the DST period manually when it varies according to regions
(
➔ below).
To set the DST period manually
1. Press
[SETUP].
2. Press
[e, r] to select “Setup” then press [q].
3. Press
[e, r] to select “Clock Settings” then press [OK].
4. Press
[e, r] to select “Set the time change dates for DST” then
press
[OK].
5.
Press [e, r, w, q] to set the “Month”, “Day”, “Hour”, and “Minute”
then press [OK].
Reinitializes the
settings.
Setup
Setup
Disc
Video
Audio
Display
TV Screen
Set the time change dates for DST
OK
:
AM
3
SUN
2nd
2
00
Month
Beginning
Day
Hour
Minute
:
AM
11
SUN
1st
2
00
Restore Default
Month
End
Day
Hour
Minute
•
•
Acquiring the setting information from
the TV (VIERA)
If this unit is connected to a Panasonic TV (VIERA)
supporting HDAVI Control 3 via an HDMI cable, then
the setting information on the TV is acquired by this
unit when the unit is turned on for the first time.
Acquires the following information from the TV (VIERA).
Language
TV Aspect
Closed caption
The language setting screen may be displayed
depending on the usage environment. Press [e, r]
to select language, then press [OK].
When the settings are complete, the Set Top Box
Control Setting screen is displayed (
➔ 10, step 5).
Notes
Acquisition of the setting information is not supported by all
Panasonic TVs (VIERA).
The acquisition may take some time depending on the VIERA
setting information.
•
–
–
–
•
•