Setting the channels and clock, Confi rm the time, then, Tips – Panasonic DIGA DMR-EZ48V User Manual
Page 14
14
RQT9056
Acquiring the setting information from the TV (VIERA)
If this unit is connected to a Panasonic TV (VIERA) supporting HDAVI
Control 3 via an HDMI cable, then the setting information on the TV is
acquired by this unit when the unit is turned on for the fi rst time. Please
proceed to the following steps.
The following screen is displayed in the language set on the VIERA television
– The language setting screen may be displayed depending on the usage
environment. Press [
, ] to select language, then press [OK].
The unit can be turned on faster, in about
1 second. Please note that Quick Start
mode slightly increases power
consumption when the unit is off.
(See Operation Instructions for details)
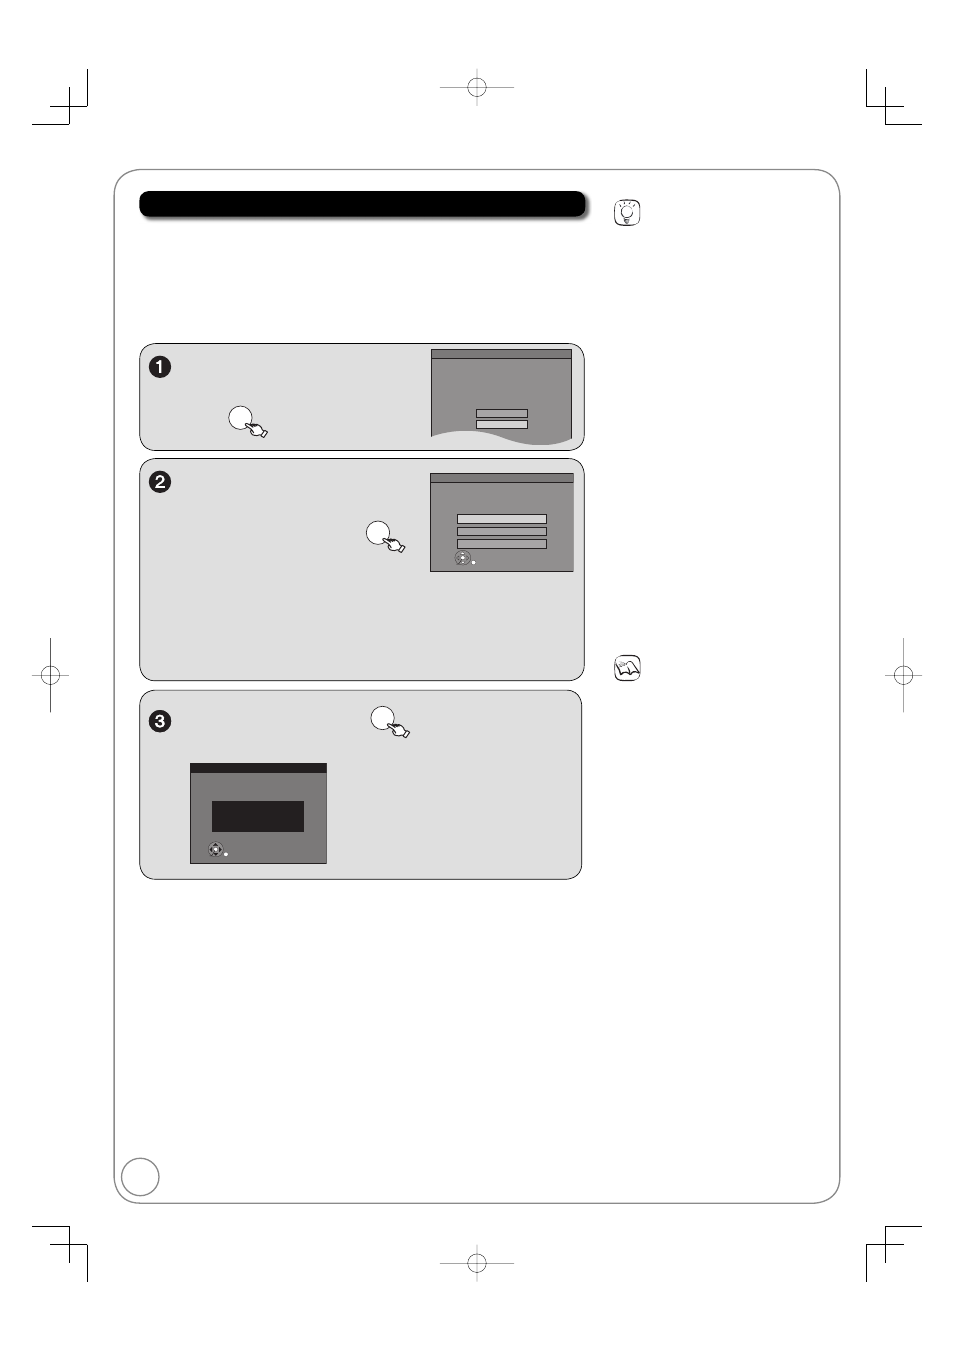
Turn Quick Start on ?
On
Off
Quick Start Setting
Quick Start Function:
, to select “On” or “Off”,
then
OK
Automatic Clock and Channel Settings
Set No Channels with this unit
Set Channels without VIERA Link
Set Channels via VIERA Link
OK
Please select how to set channels. It is possible to
download the channel information from your TV via
VIERA Link. In case you do not need channels, please
select “Set No Channels with this unit”.
Channel information acquisition:
, to select “Set Channels
via VIERA Link”, then
OK
Acquires the following information from
the TV (VIERA).
–The types of transmission
–Channel Map
–Closed caption
When the settings are complete, the time confi rmation screen is
displayed.
Tips
If you do not want to acquire the
setting information from the VIERA
television
Press [
, ] to select “Set Channels
without VIERA Link” or “Set No
Channels with this unit”, then press
[OK] in step 2.
–
When connecting the cable from the
wall (cable TV or antenna) to the unit’s
RF IN:
Select “Set Channels without VIERA
Link”.
The unit then displays the source
selection screen (
13, left column,
step 7).
–
When not connecting the cable from
the wall (cable TV or antenna) to the
unit’s RF IN:
Select “Set No Channels with this
unit”.
The unit then displays “Set Clock
Manually” screen (
13, Manual
Clock Setting).
If “Automatic Clock and Channel
Settings” screen on page 12 is
displayed, the channel information could
not be acquired from the TV (VIERA).
Please go to step 6 on page 12.
To return to the previous screen
Press [RETURN].
Notes
Acquisition of the setting information
is not supported by all Panasonic TVs
(VIERA).
The acquisition may take some time
depending on the VIERA setting
information.
Confi rm the time, then
OK
–For details of the time information (
13, Tips, Notes)
Set Clock Automatically
Clock Setting completed successfully.
4/4/2008 11:15 AM
DST----------- On
Time Zone---- EST
OK
Setting the Channels and Clock