Removing printed output, Mlp 3040 and mlp 3040 lp models, Mlp 3040 and mlp 3040lp models – Psion Teklogix MLP 3040 Series User Manual
Page 16
Printer Configuration
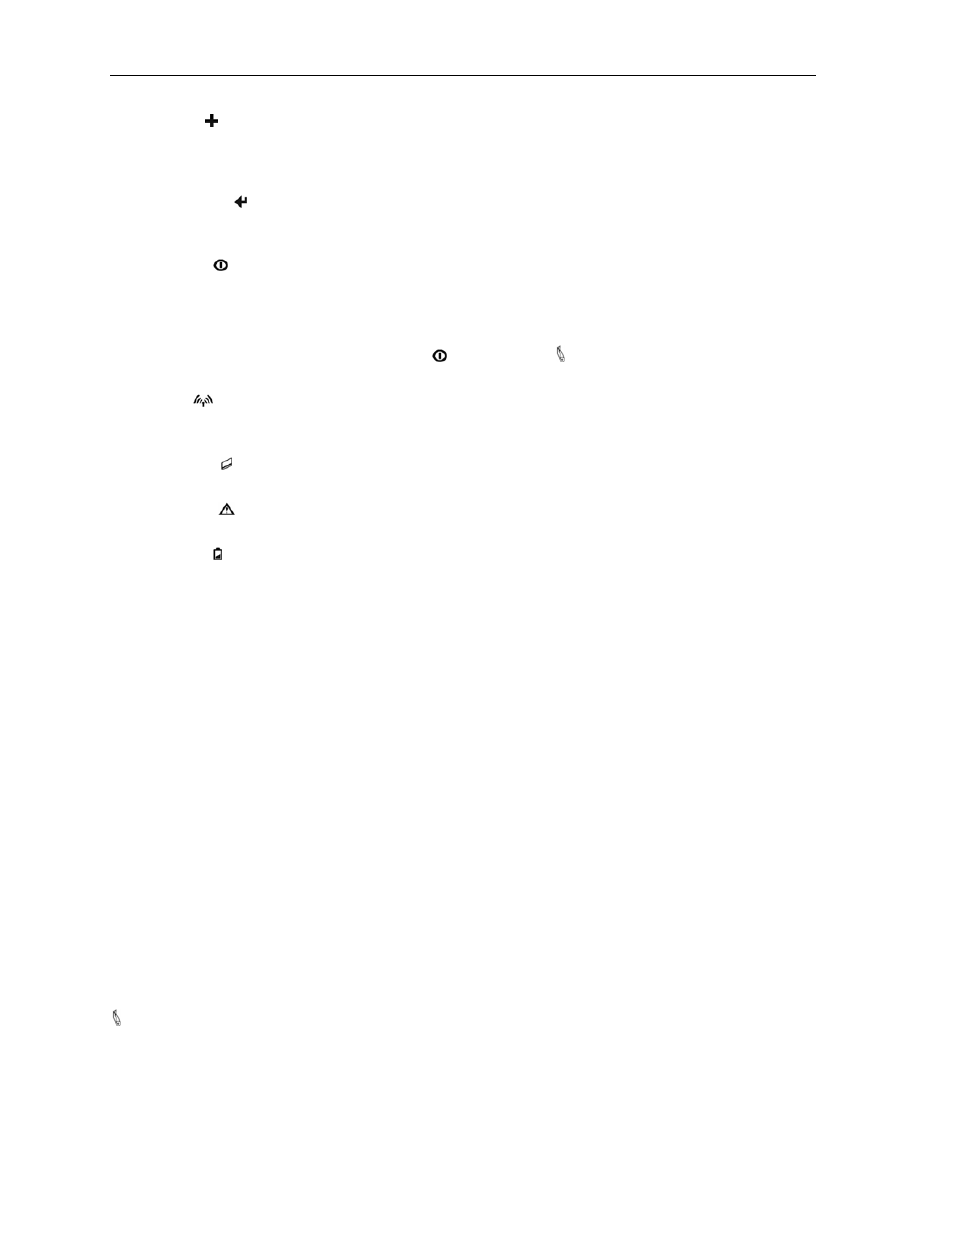
Increment Button – Used in printer configuration menus to change the value of
the currently selected feature. (May also be used to access
a stored command file – see the MLP Series & PrintAbout
Programmer’s Manual for more information.)
Enter Button – Used in printer configuration menus to advance to the next
setup feature. May also be used to print the settings and
connection information for the currently selected interface.
Power Indicator – ON indicates that the power is on and that the printer is in
normal power mode. SLOW FLASH indicates that the
printer is in Setup mode and not accepting data. SHORT
FLASH indicates that the printer has entered the power
saving standby mode and will wake upon receipt of data or
when the Power Button or Paper Feed Button is
pressed.
Wireless Indicator – Indicates that an optional Bluetooth or Wi-Fi interface is
installed enabled and is currently connected or receiving
data.
MCR Indicator – Indicates that the optional Magnetic Card Reader has been
enabled and is ready for the user to swipe a card.
Error Indicator – Indicates that an error has occurred as described on the
LCD Display.
Battery Indicator – ON indicates that the battery is currently being charged.
FLASHING indicates that the battery capacity is low and
the battery needs to be recharged.
Removing Printed Output
Removing printouts from the printer can be as simple as taking hold of the paper and pulling it from the printer.
This process varies slightly depending on whether your printer uses paper supplied on rolls for the MLP 3040 or
MLP 3040 LP models, or in cassettes for the MLP 3040 SL models.
MLP 3040 and MLP 3040 LP Models
These models make use of a serrated tear bar where the paper exits the printer. In most cases, the host
application program will issue a Form Feed that will eject the paper so that all the printed information is fed out
of the printer and the receipt or label is ready to be torn off. If all the printing is not yet out of the printer and
the host has finished sending data to the printer, the paper may be positioned for tearing by simply pressing the
Paper Feed Button.
To tear the paper, pull the paper against the tear bar at a slight angle as shown in Figure 7, and then continue to
pull the paper in the direction shown to tear it off.
10