Package contents, Heat dissipation, Ac input wiring – Panduit PN380 User Manual
Page 8: Table 2 : package contents, Table 3: heat dissipation
PANDUIT DPoE Power System User’s Guide
Issue 1.0
Part Number: PN380
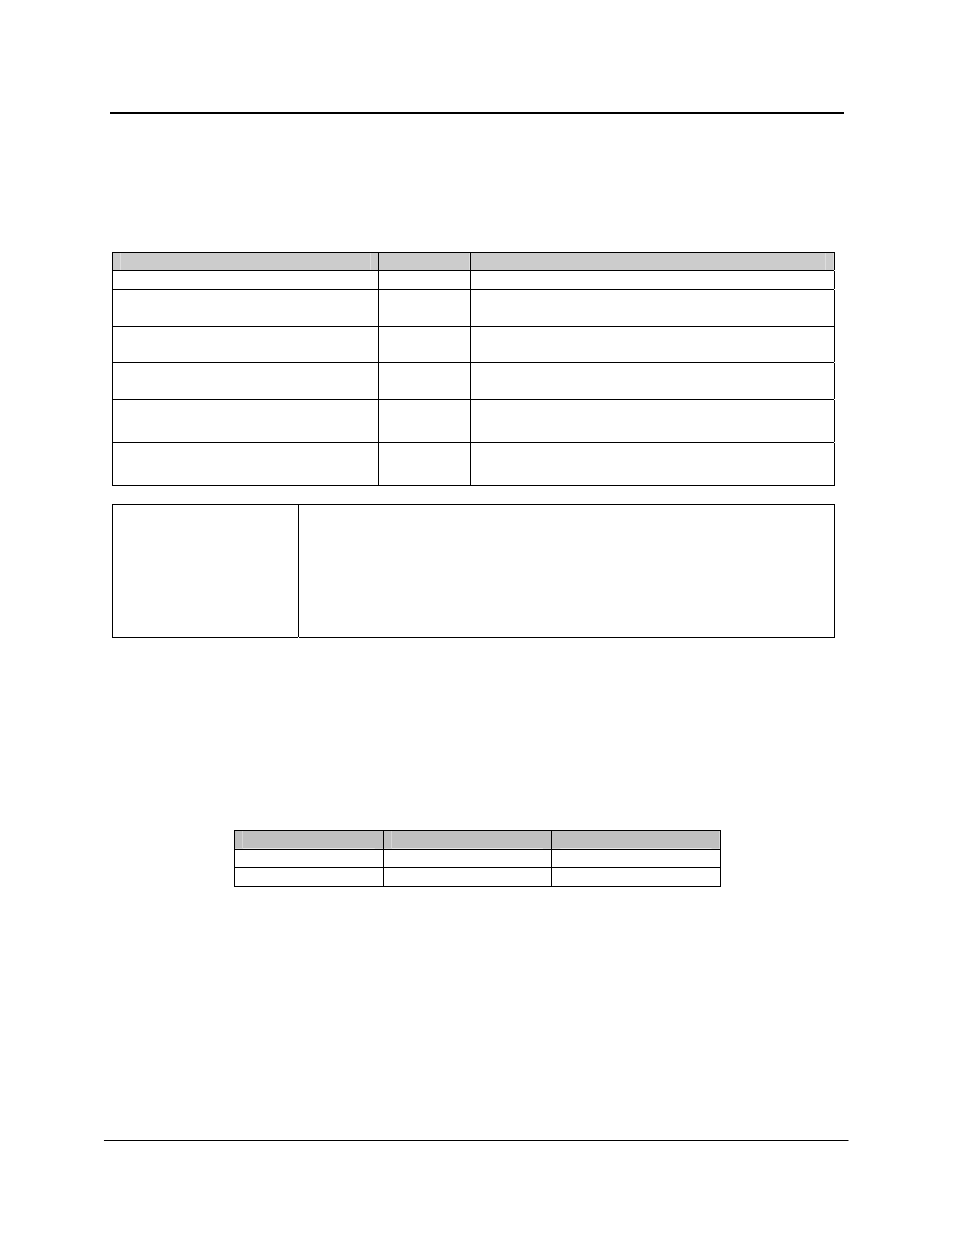
Package Contents
The DPoE Power system chasses (PANDUIT part number DPoEPWRCM or DPoEPWRCU) are shipped
with the following included items.
Table 2: Package Contents
Item
Quantity
Notes
DPoE Power System User’s Guide
1
This document. PANDUIT part number PN380
Cord Brackets
3
For securing the individual power cords to the rear
of the DPoE Power System Chassis
Screws with integrated washers
4
For securing the DPoE Power System chassis to
a 19” rack
Nuts
2
For securing the lugs to the bulk DC connection
on the rear of the DPoE Power System chassis
Screws with integrated washers
6
#4-40 screws for securing the cord brackets to the
back of the DPoE Power system chassis
CD-ROM
1
Element Management Software for the DPoE
Power System (included with DPoEPWRCM only)
NOTE:
GMT fuses, which are installed as part of installing the DPoE Power
System, are NOT included with the shipment. Fuses can be ordered in
packages of 10 from PANDUIT (part number DPoEPWRF10). Fuses are
also available from Littelfuse
®
and Bussman
®
. Their part numbers are as
follows:
Littelfuse
®
481 series 10 Amp fuse; part number 0481010
Bussman
®
Fast-Acting Indicating fuse; part number GMT-10A
Heat Dissipation
The following table displays the maximum and typical British Thermal Units per hour (BTU/hr) of heat
dissipated from each rectifier. The maximum is calculated at 90 VAC, and typical is calculated at 230
VAC.
Table 3: Heat Dissipation
Part Number
Typical BTU/hr
Max BTU/hr
DPoEPWRR500 249
410
DPoEPWRR1250 451
833
AC Input Wiring
The DPoE Power System chassis uses an individual AC feed architecture (See Figure 1: Individual AC
Feed Wiring Architecture), which requires one AC feed per rectifier. The, up to three, AC connections are
made using the IEC320 receptacles on the rear of the chassis (See Figure 6: Chassis (Rear View) - AC
Connections).
Connect each feed, using the appropriate power cord as listed in Table 1: DPoE Power Components
Available into the appropriate receptacle on the back of the system. Cord securing brackets are included
to secure the AC plugs to the chassis (See Figure 7: Securing Cord Bracket to Chassis).
3