28 timer recording – Philips DVP3200V/37B User Manual
Page 28
English
28 Timer Recording
TV/VIDEO
VCR
DVD
VCR Plus+
SUBTITLE
AUDIO
ANGLE
ZOOM
DVD
SETUP
MENU
DISC/VCR
DISPLAY
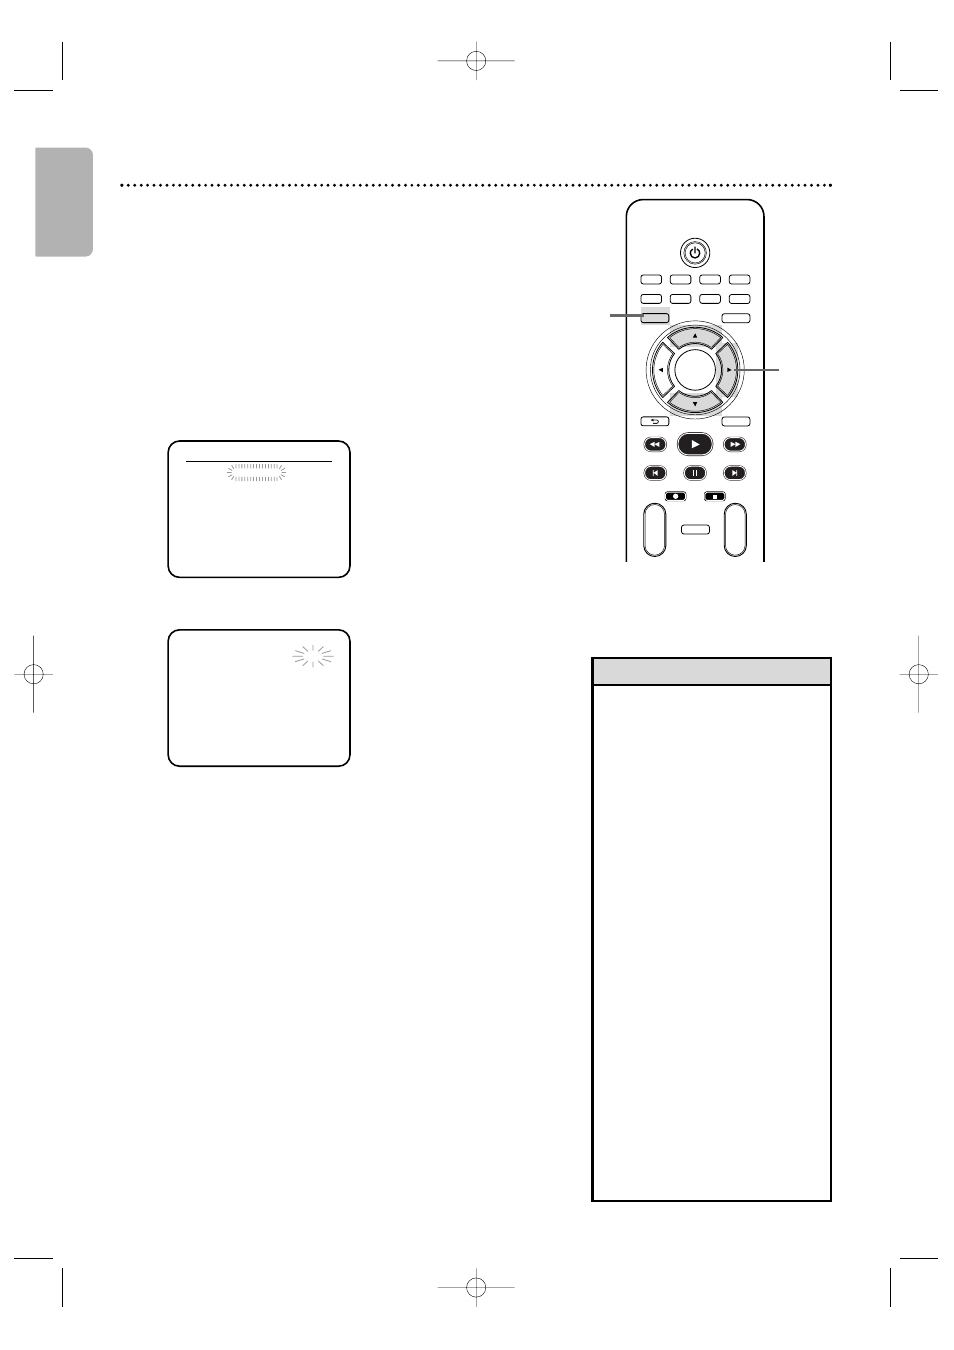
TIMER SET
BACK
PLAY
REW
FFW
PREV
NEXT
PAUSE
REC
STOP
OK
REPEAT
REPEAT
A-B
CH
+
-
Follow the steps below to program the VCR of the DVD/VCR to
record TV programs while you’re away from home. Before you begin:
●
Set up the TV channels at the DVD/VCR. Details are on page 21.
●
Set the clock. Details are on page 22.
●
Put a tape in the cassette compartment of the DVD/VCR. Make
sure the tape’s record tab is intact and the tape is long enough
to record the program(s).
●
Press VCR so VCR light appears on the front of the DVD/VCR.
1
Press DISC/VCR MENU so MENU
1 appears.
2
Press K or L to select TIMER PROGRAMMING.
Then, press B. Program numbers that do not have a timer
recording stored will flash.
3
Press K or L to select an empty program.
Then, press B.
4
Press K or L to select ONCE, DAILY or WEEKLY.
Then, press B.
●
ONCE - The VCR will record a TV program on any day you
choose, up to
12 months away.
●
DAILY - The VCR will record a TV program at the same time
on the same channel every day, Monday through Friday.
●
WEEKLY - The VCR will record a TV program at the same time
on the same channel every week, for example, every Monday.
5
To enter the recording date, press K or L until the
month appears. Then, press B.
Next, press K or L until the day appears. Then,
press B. The day of the week will appear. You cannot
record more than one year in advance.
6
To enter the recording’s start time, press K or L until the
hour appears. Press B. Press K or L until the minute
appears. Press B. Finally, press K or L to point to AM
or PM. AM or PM will flash beside the start time. Press B.
7
Repeat the procedure in step 6 to set the
recording’s end time.
8
Press K or L until the channel number appears.
Then, press B.
●
If you are using a standard antenna/Cable TV hookup (as
shown on page 9), select the channel of the TV program
you want to record.
• You cannot access the TIMER
PROGRAMMING menu at step
2 if the clock is not set.The
CLOCK SET menu will appear.
Follow the steps on page 22 to
set the clock.
• Only programs that will air
Monday-Friday can be recorded
on a DAILY basis. If you select
DAILY at step 4, then enter a
Saturday or Sunday DATE at step
5, the correct program will not
be recorded. The VCR will alter
the recording date and record a
different program than the one
you intended.
• If you are recording from other
equipment, set CHANNEL to L
1
or L2 at step 8. If you connected
the other equipment to the
AUDIO and VIDEO In jacks on
the front of the DVD/VCR,
choose L2. If you connected the
equipment to the AUDIO IN and
VIDEO IN jacks on the back of
the DVD/VCR, choose L
1.
• Enter the information while the
space is flashing.
Helpful Hints
PROG. 12345678
DATE
START TIME
END TIME
CHANNEL
REC SPEED
TIMER PROGRAMMING
PROGRAM NUMBER 1
DATE
– – / – –
START TIME
– – : – – – –
END TIME
– – : – – – –
CHANNEL
– –
REC SPEED
– –
1
2-8
E8A21UD_EN1 5/29/06 3:13 PM Page 28