Start your installation – Planar LC1502R User Manual
Page 12
12
LC1502R User’s Guide
(020-0315-02B)
Start Your Installation
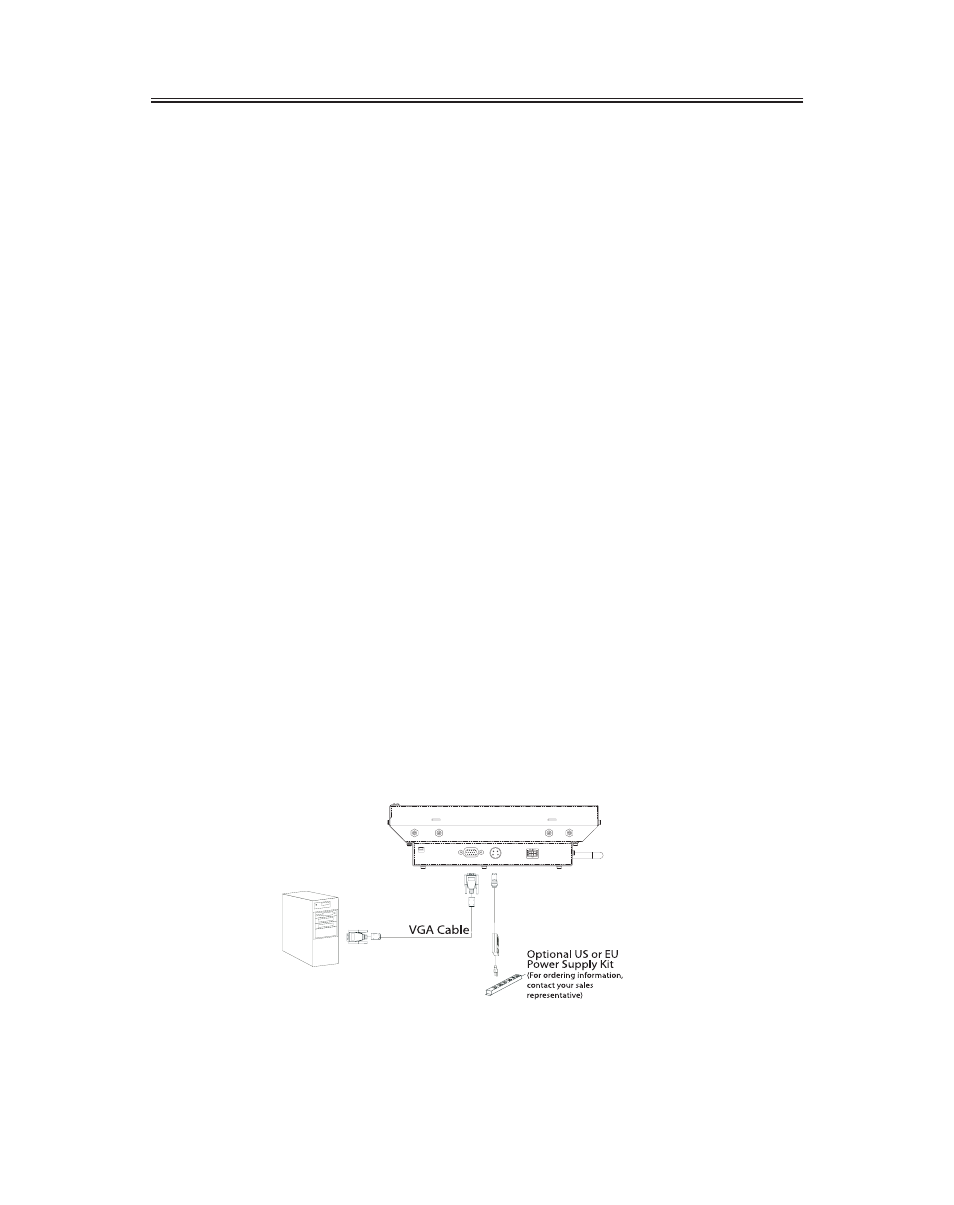
Connecting the Display (Figure 1.0)
To configure the monitor, please refer to the following figure and procedures.
1. Be sure the computer or video source is turned off.
2. Connect the 12V DC power(1.0). During initial turn on with no video applied, the display will
automatically power on with a self test pattern displayed. The self test pattern consists of
alternating screens of black, white, red, green, and blue.
3. Connect the VGA signal cable from display VGA input connector to the 15-pin connector of your
host computer and tighten the screws(1.0).
4. If needed, connect to the external dimming connector(1.0). See details in the Brightness Control
section of this document.
5. Turn on your computer or video source.
Note: Once video is applied, self test mode is automatically cancelled and will no longer function
when video is removed.
Notice: To ensure the LCD display will work well with your system, please configure the display mode
of your graphic card for a 1024 x 768 resolution and a 75 Hz refresh rate.
Figure 1.0