Taking still images with sound, Restoring the default settings, Using the set-up menu – Konica Minolta Konica Digital Revio KD-400Z User Manual
Page 97: Cont’d)
97
Taking Still Images with Sound
Using the Set-up Menu
(Cont’d)
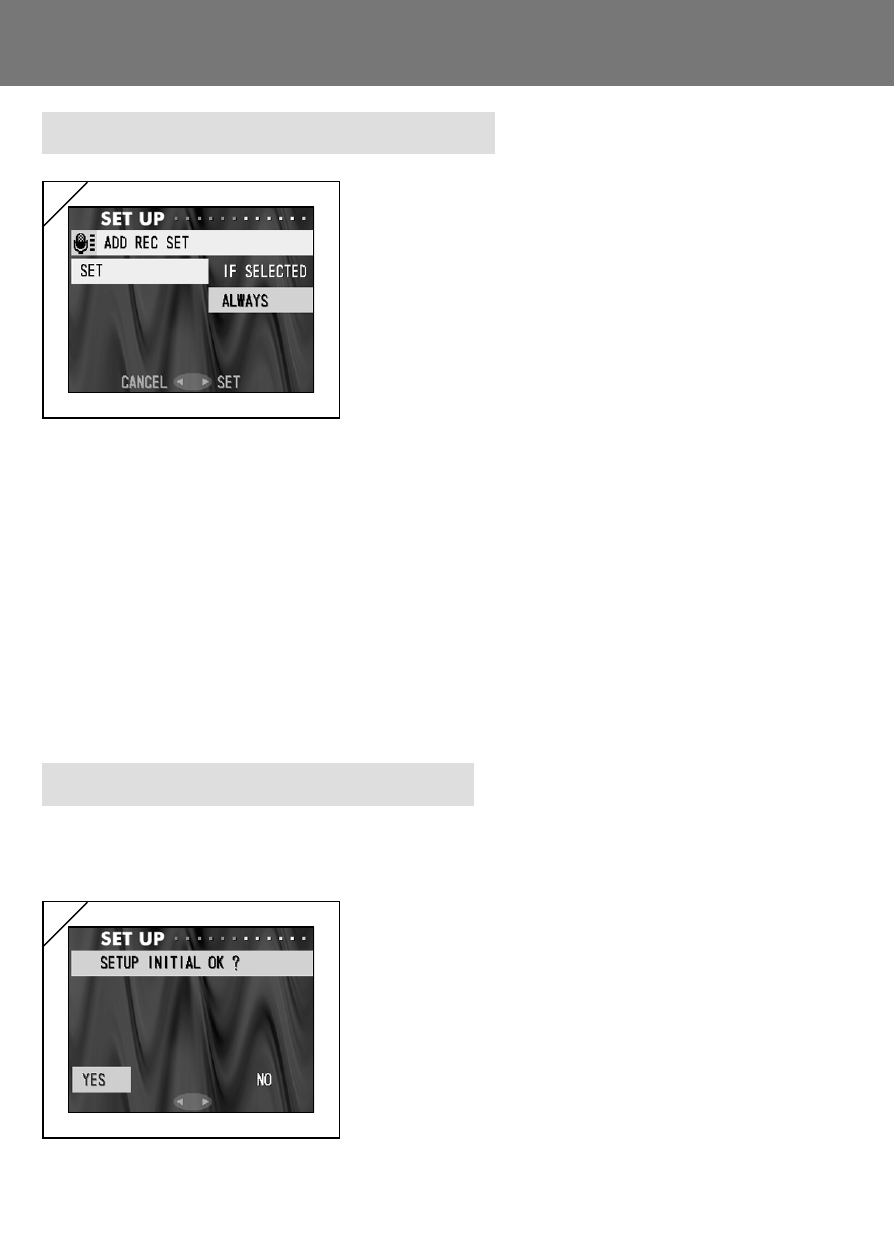
1. Select “ADD REC SET”, press
̈
and the
settings screen will appear.
Using
̄
or
̆
, select the desired setting and
press either
̈
or the MENU/SET button.
The setting is completed and you will return
to the set-up menu.
• If you press
̇
, the setting is invalidated and you
return to the set-up menu.
For the Choose-to-Record Setting (“IN SELECTED”)
This is the normal (default) mode. By using the REC menu (p.58) or the PLAY menu
(p.88) to select “ADD REC”, you can add sound to still images after they’ve been taken.
For the Always-ON Setting (“ALWAYS”)
You can add sound to every still image you take. Every time an image is taken, once
recording finishes, the After Recording screen is displayed, as Step 2 on page 58, so
by simply pressing the shutter, you can record sound. The maximum recording time is
about 15 seconds. During recording, the elapsed time is displayed on the upper right
corner of the image. When time runs out, the recording stops automatically. If you wish
to stop during a recording, press the shutter button again.
Restoring the Default Settings
- You can change the various settings made in the set-up menu back to their
default settings all at one time.
1. Select “DEFAULT”, press
̈
and a
confirmation screen will appear. Using
̇
or
̈
, select “YES” and press the MENU/SET
button.
The setting is completed and you return to
the set-up menu.
• If you select “NO” and press the MENU/SET
button, the setting is invalidated and you return
to the set-up menu.
1
1