Auto (auto flash), Red-eye reduction, Selecting the shooting mode – Konica Minolta Konica Digital Revio KD-400Z User Manual
Page 38: Cont’d), Switching the flash mode auto (auto flash)
38
Selecting the Shooting Mode
(Cont’d)
Switching the Flash Mode
AUTO (Auto Flash)
- This is the normal mode. When the camera is turned ON, it is set at Auto
(Auto Flash). No symbol will be displayed on the LCD monitor.
- The flash will operate automatically when it is dark.
• The red light after the flash indicates charging; while it is lit, you cannot take a
picture.
• The shutter speed when flash is used is about max. 1/60 sec. Be careful not to
shake when pressing the shutter.
• It is best to use the red-eye reduction when using a flash with people.
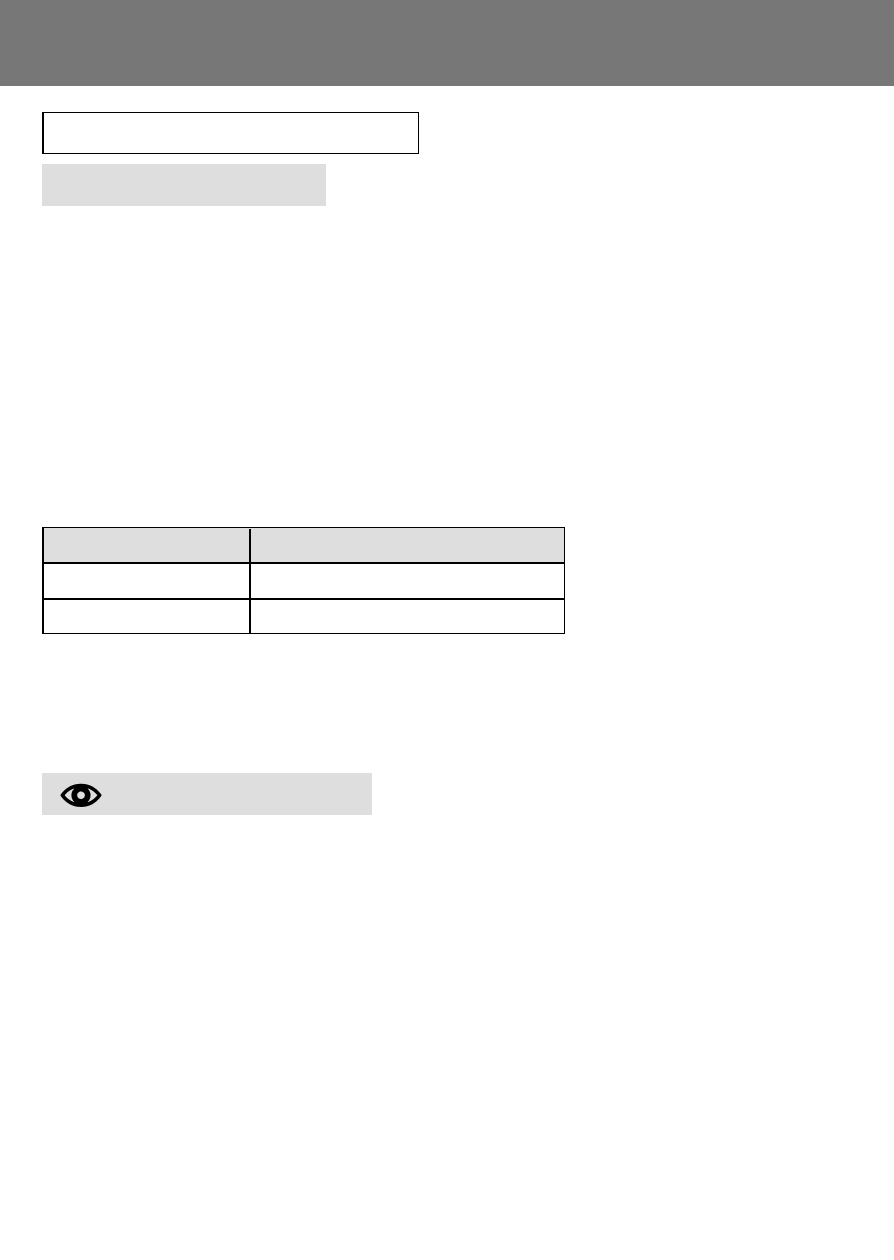
Flash Shooting Distances
Focus Distance
Shooting Distance
Wide-Angle *
0.5m (1.6ft) to 3.5m (9.9ft)
Telephoto **
0.5m (1.6ft) to 2.0m (6.6ft)
• If the shooting range is not in the above range, the picture may appear too bright
when it is too close, and the picture may appear dark without enough lighting when
it is too far. It is recommended you check the photo with the LCD monitor after
shooting.
Red-Eye Reduction
- Using this mode can reduce the “red-eye phenomenon”, which is people
with red glaring eyes caused by the flash.
- When you press the shutter button, the pre-flash comes on, followed by
the real flash which finishes the shot.
• Until the real flash comes on, do not move the camera or let the subject move.
• If the subject is not facing the pre-flash or final flash, or the distance to the subject
is too far, the red-eye reduction effect may not be apparent.
• The flash is in the AUTO flash mode and will not come on in a bright place.
* Equivalent to 39 mm in 35mm
camera conversion
**Equivalent to 117mm in
35mm camera conversion